Join Our Newsletter for Cozy Home Inspiration, Family Fun, and Delicious Recipes Every Week
10 Expert Tips for Organizing Craft Supplies Like a Pro
When you’re staring at towers of craft supplies, it’s easy to feel overwhelmed, especially when your favorite thread color mysteriously vanishes into the chaos, only to reappear in an unopened skein six months later.
In my own art home studio, I hit this wall when every drawer bulged with glitter, buttons, and half-used paper pads. My latest project stalled waiting for a missing stencil, and worse, my husband started hoarding duplicates of the same thread “just in case.” I realized we needed a system, fast, before our studio became a landfill of unopened treasures.
I began by treating each craft supplies category as a “project kit” instead of a product pile. All my embroidery floss, needles, and hoops went into one clear bin labeled “Embroidery Kit”, while my sketching pencils, erasers, and blending stumps lived in a second bin marked “Drawing Kit.”
Out went the catchall “markers box” and “paper drawer,” replaced by purpose-driven modules that made gathering materials a breeze and instantly revealed which supplies were truly running low. Every bin got a big, bold label, even the “temporary” ones I used mid‐sort, so nothing ever sat forgotten under a pile of tissue paper.
Now, once a month, I do a five-minute “stash reset”: I flip through each kit, restock my glue sticks, purge dried-out paints, and donate anything I haven’t touched in six months.
I store these project bins on a rolling open cart, everything visible, everything accessible, so “out of sight, out of mind” is banished from my studio forever.
With clear containers, strict labels, and habitually refreshed kits, my craft supplies no longer bury my creativity. Instead, they fuel it every time I wheel that cart up to my worktable and dive right into making.
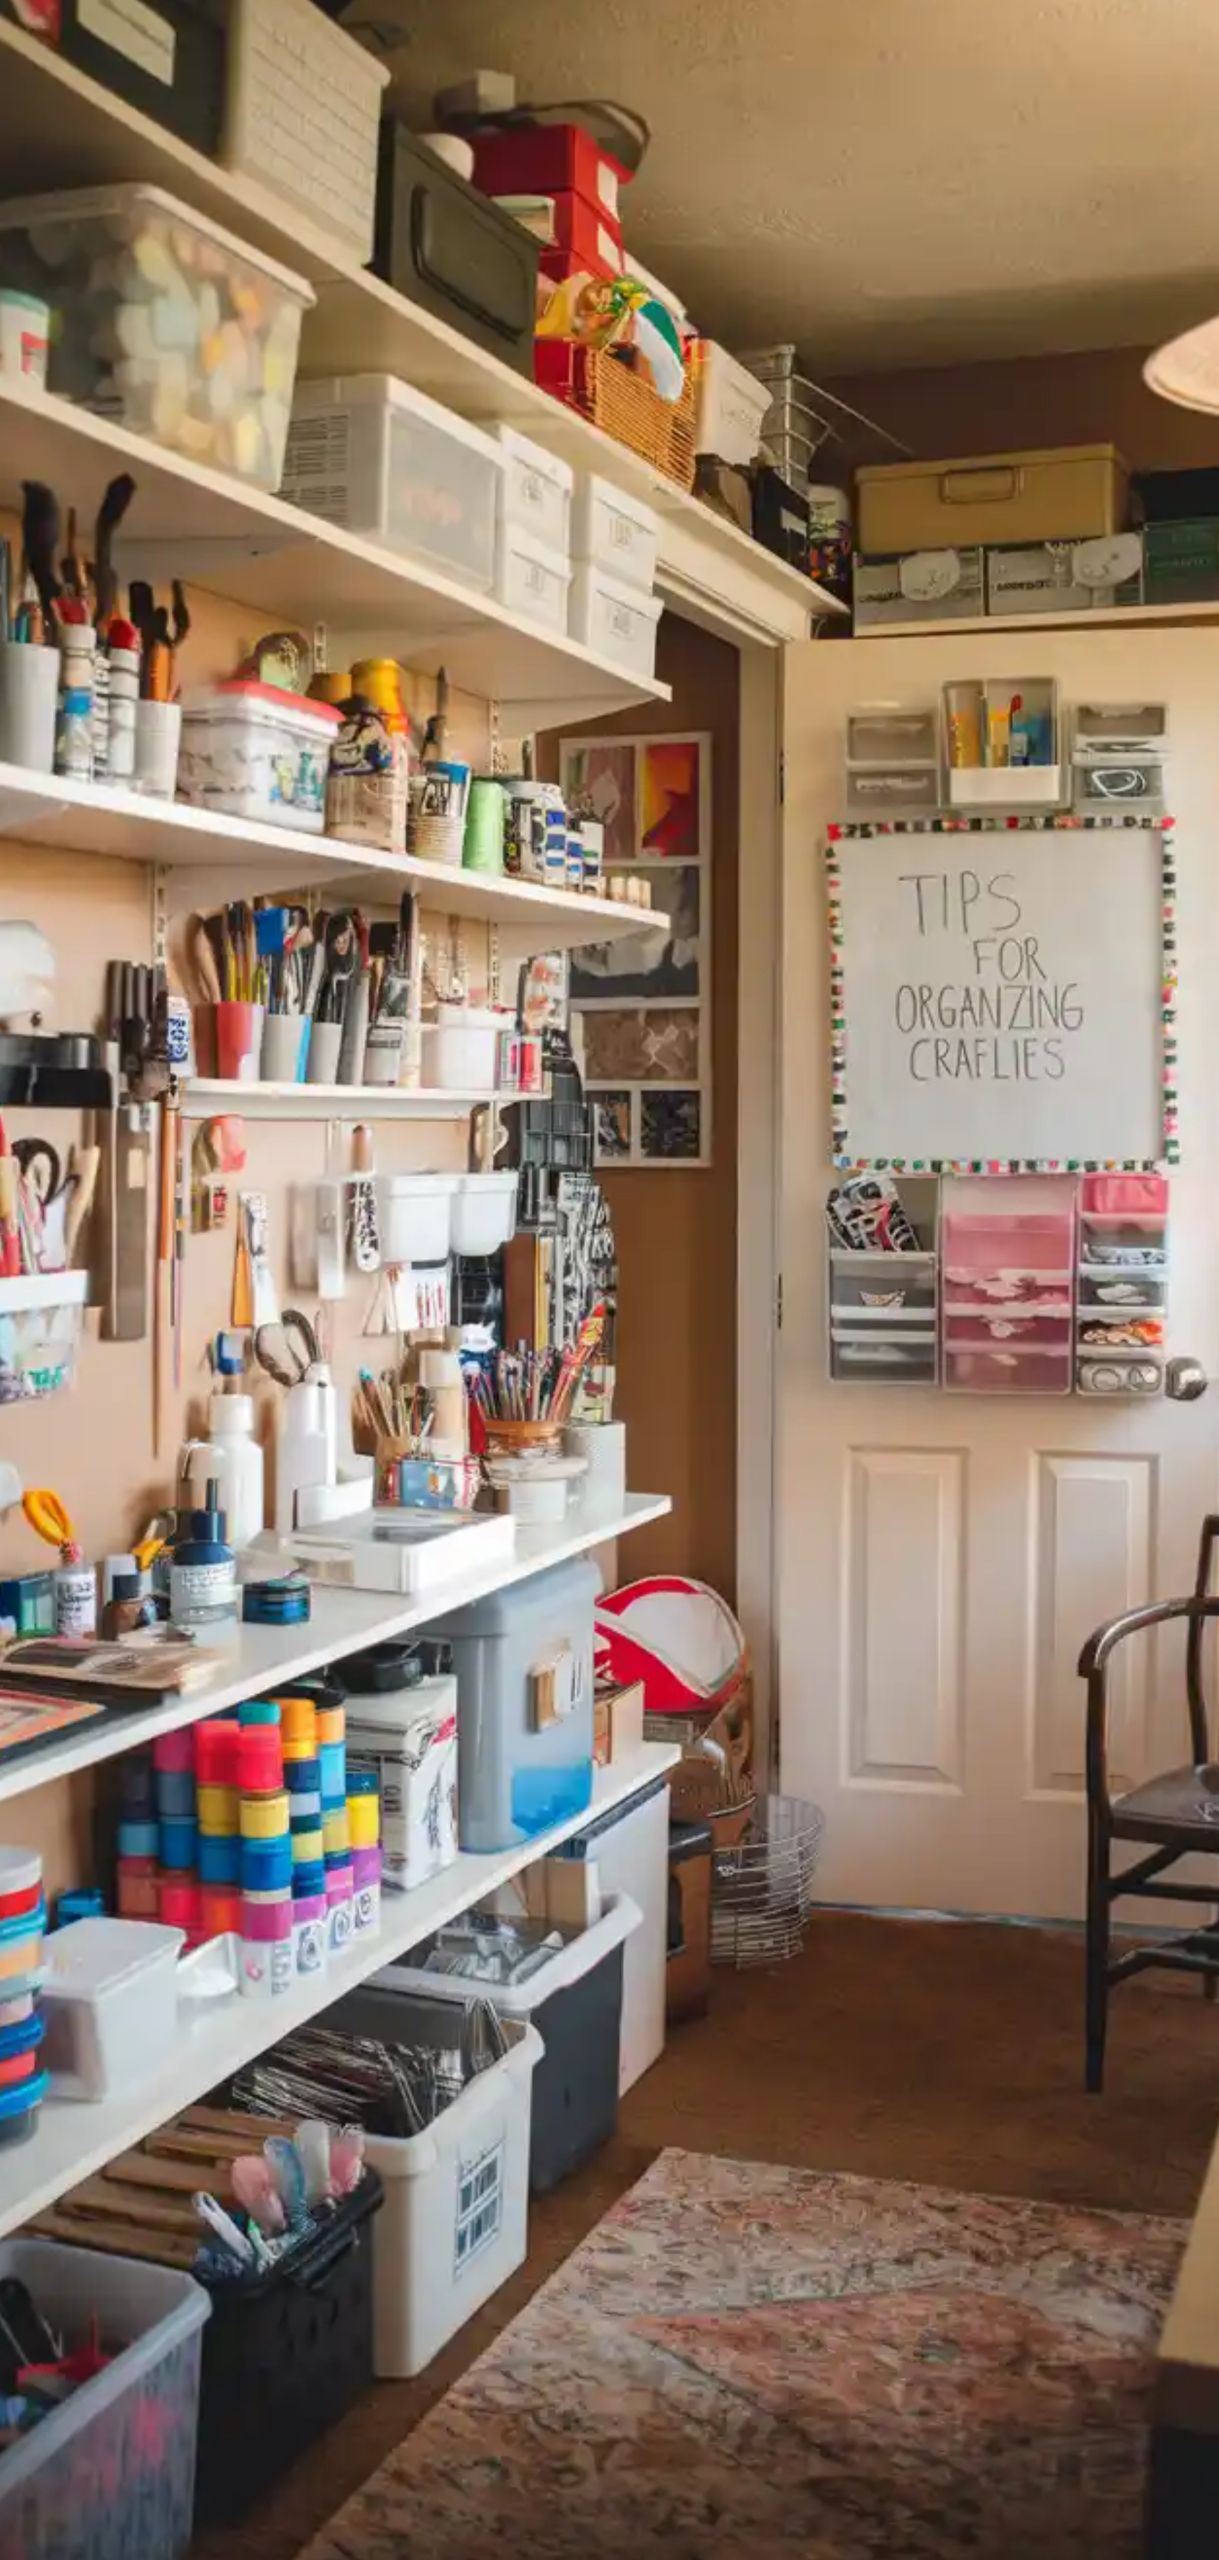
10. Create a Zoning System for Craft Categories
Establish distinct zones for each type of craft—scrapbooking, sewing, painting, knitting, etc. Assign shelving, drawers, or bins to each category so supplies never overlap.
Suggested Craft Zones:
- Paper Crafts: Cardstock, punches, embossing tools
- Textiles: Fabric, thread, needles, trims
- Paints & Brushes: Acrylics, watercolors, palettes
- Beads & Jewelry Making: Beads, findings, pliers
Use signage or labels on each shelf to visually enforce the system.
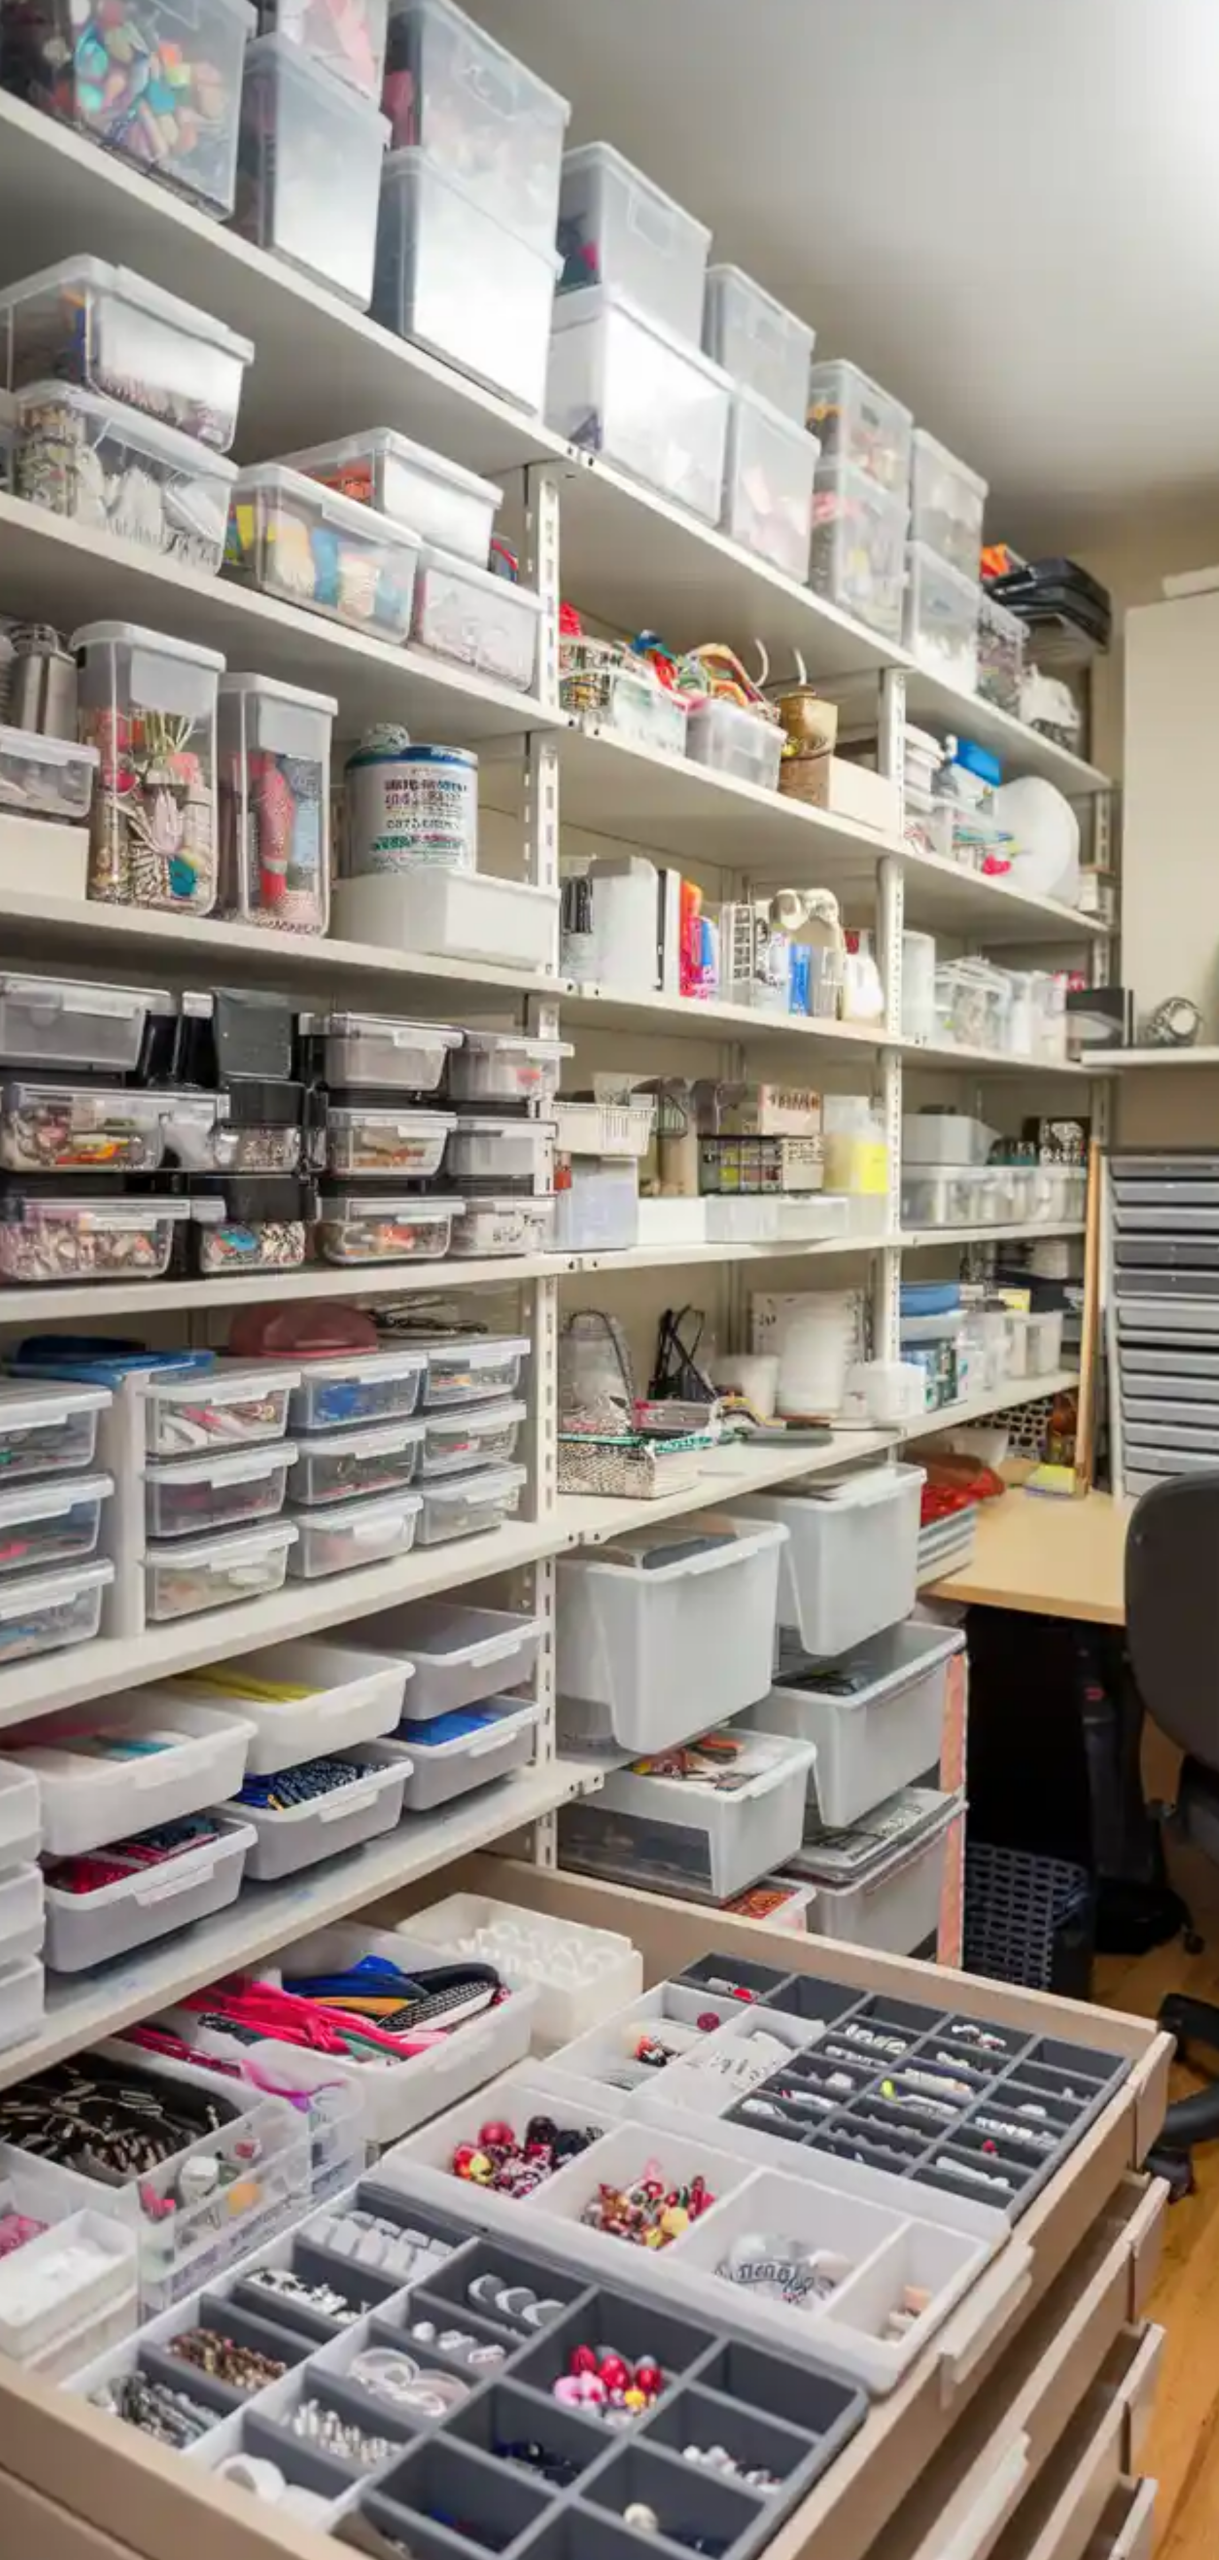
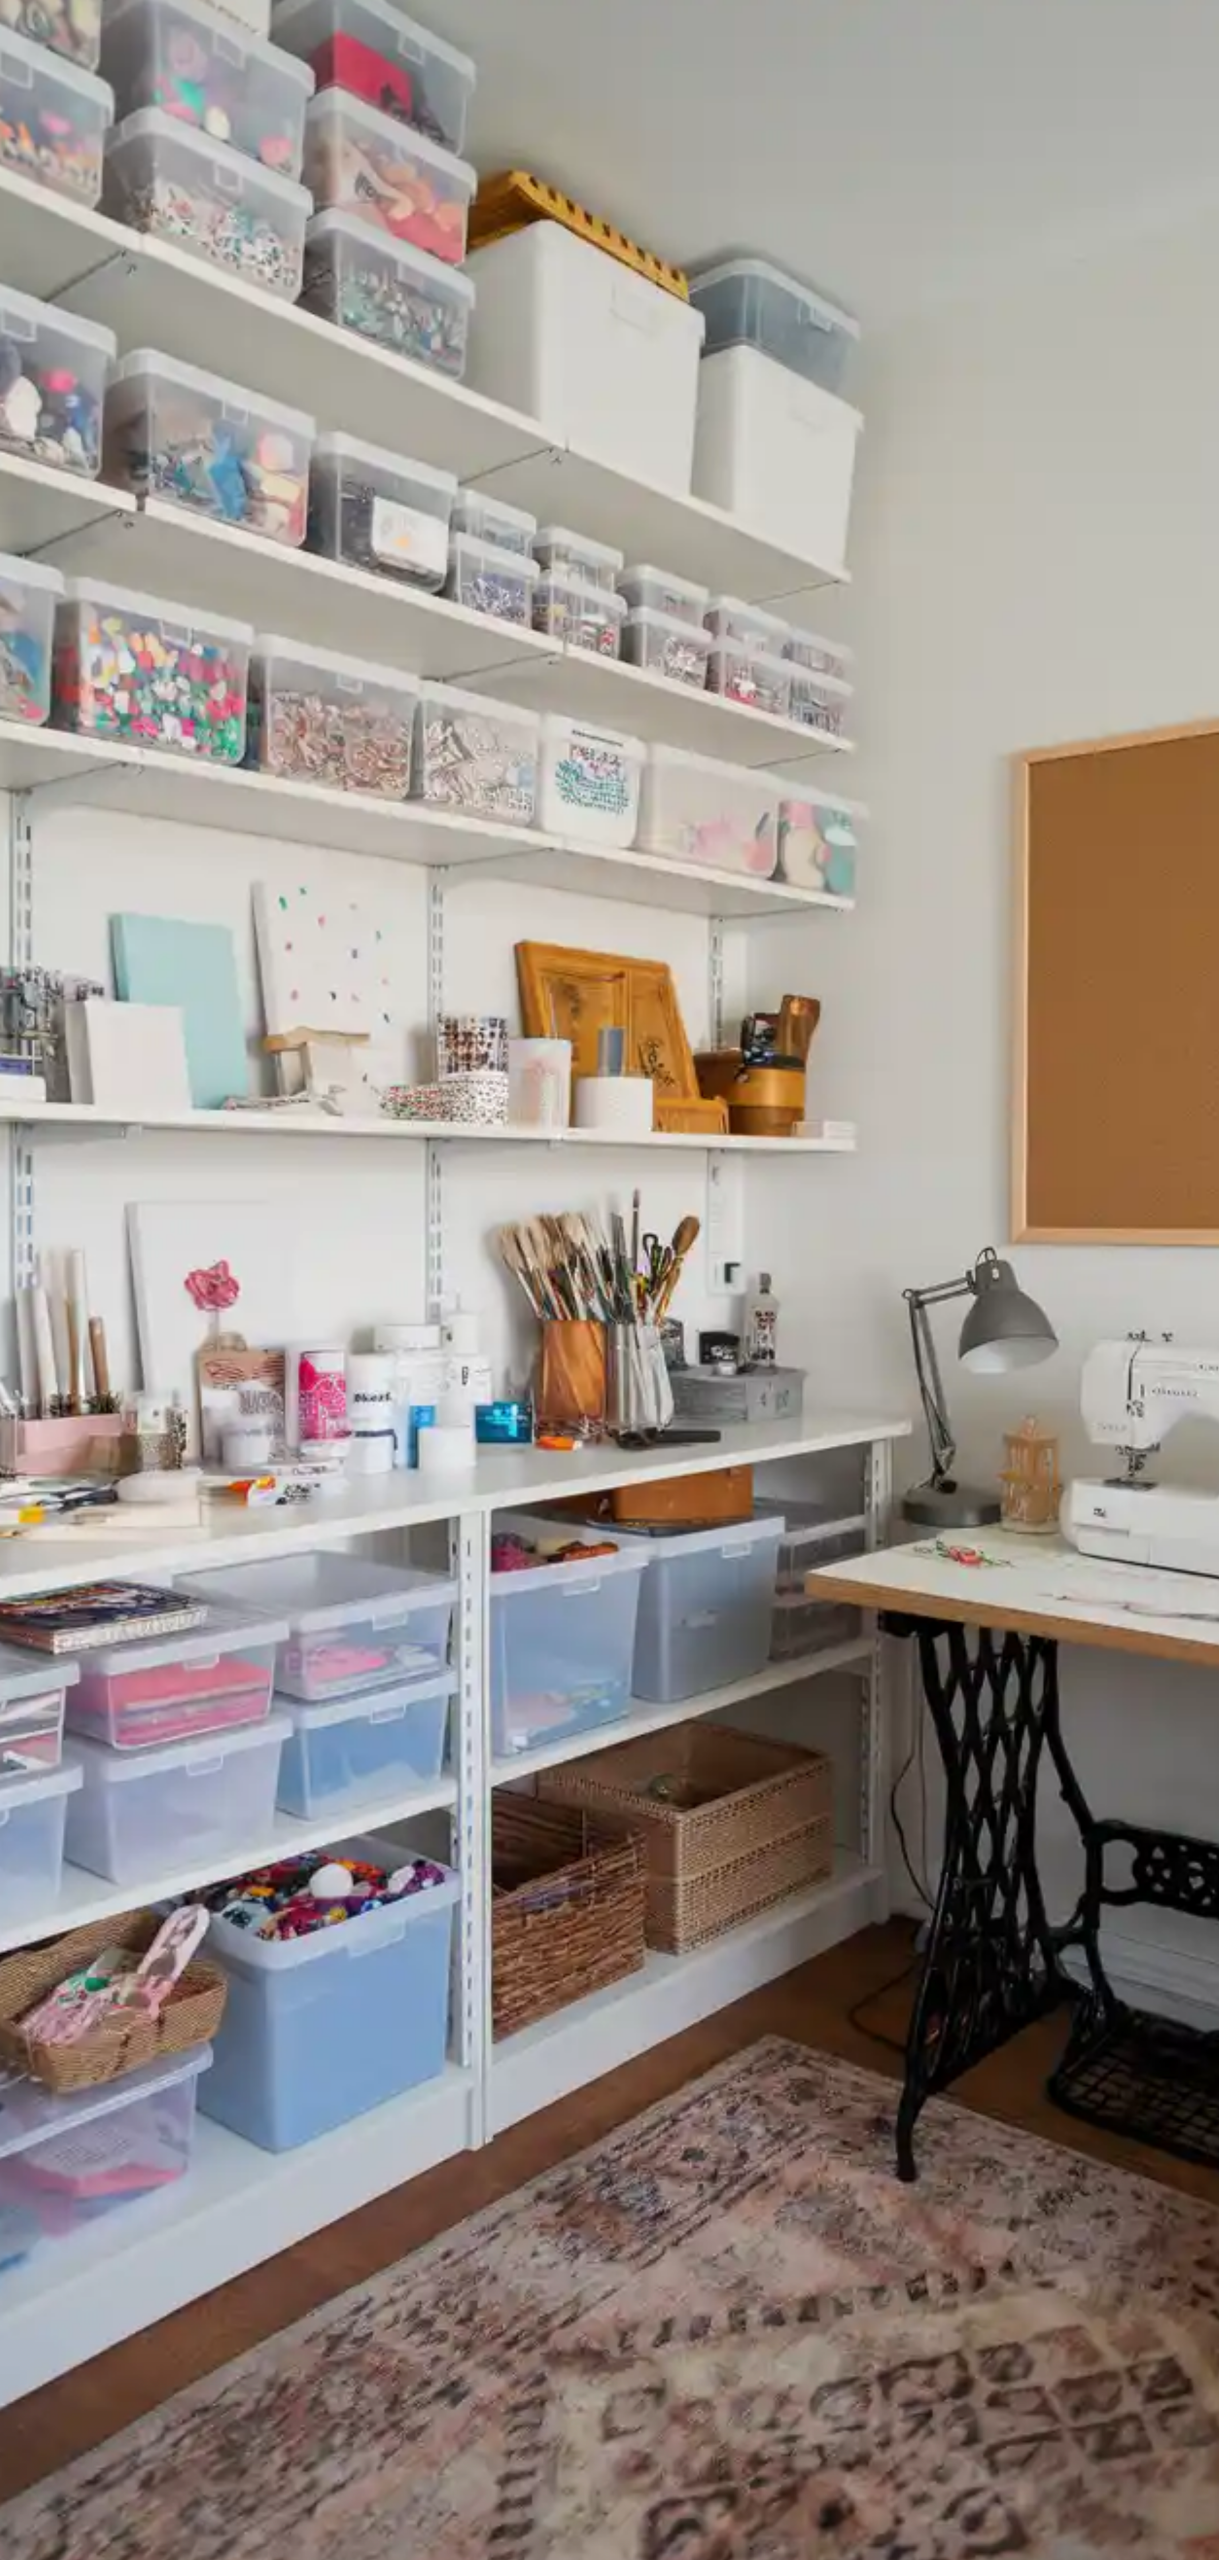
9. Use Transparent Storage for Quick Visibility
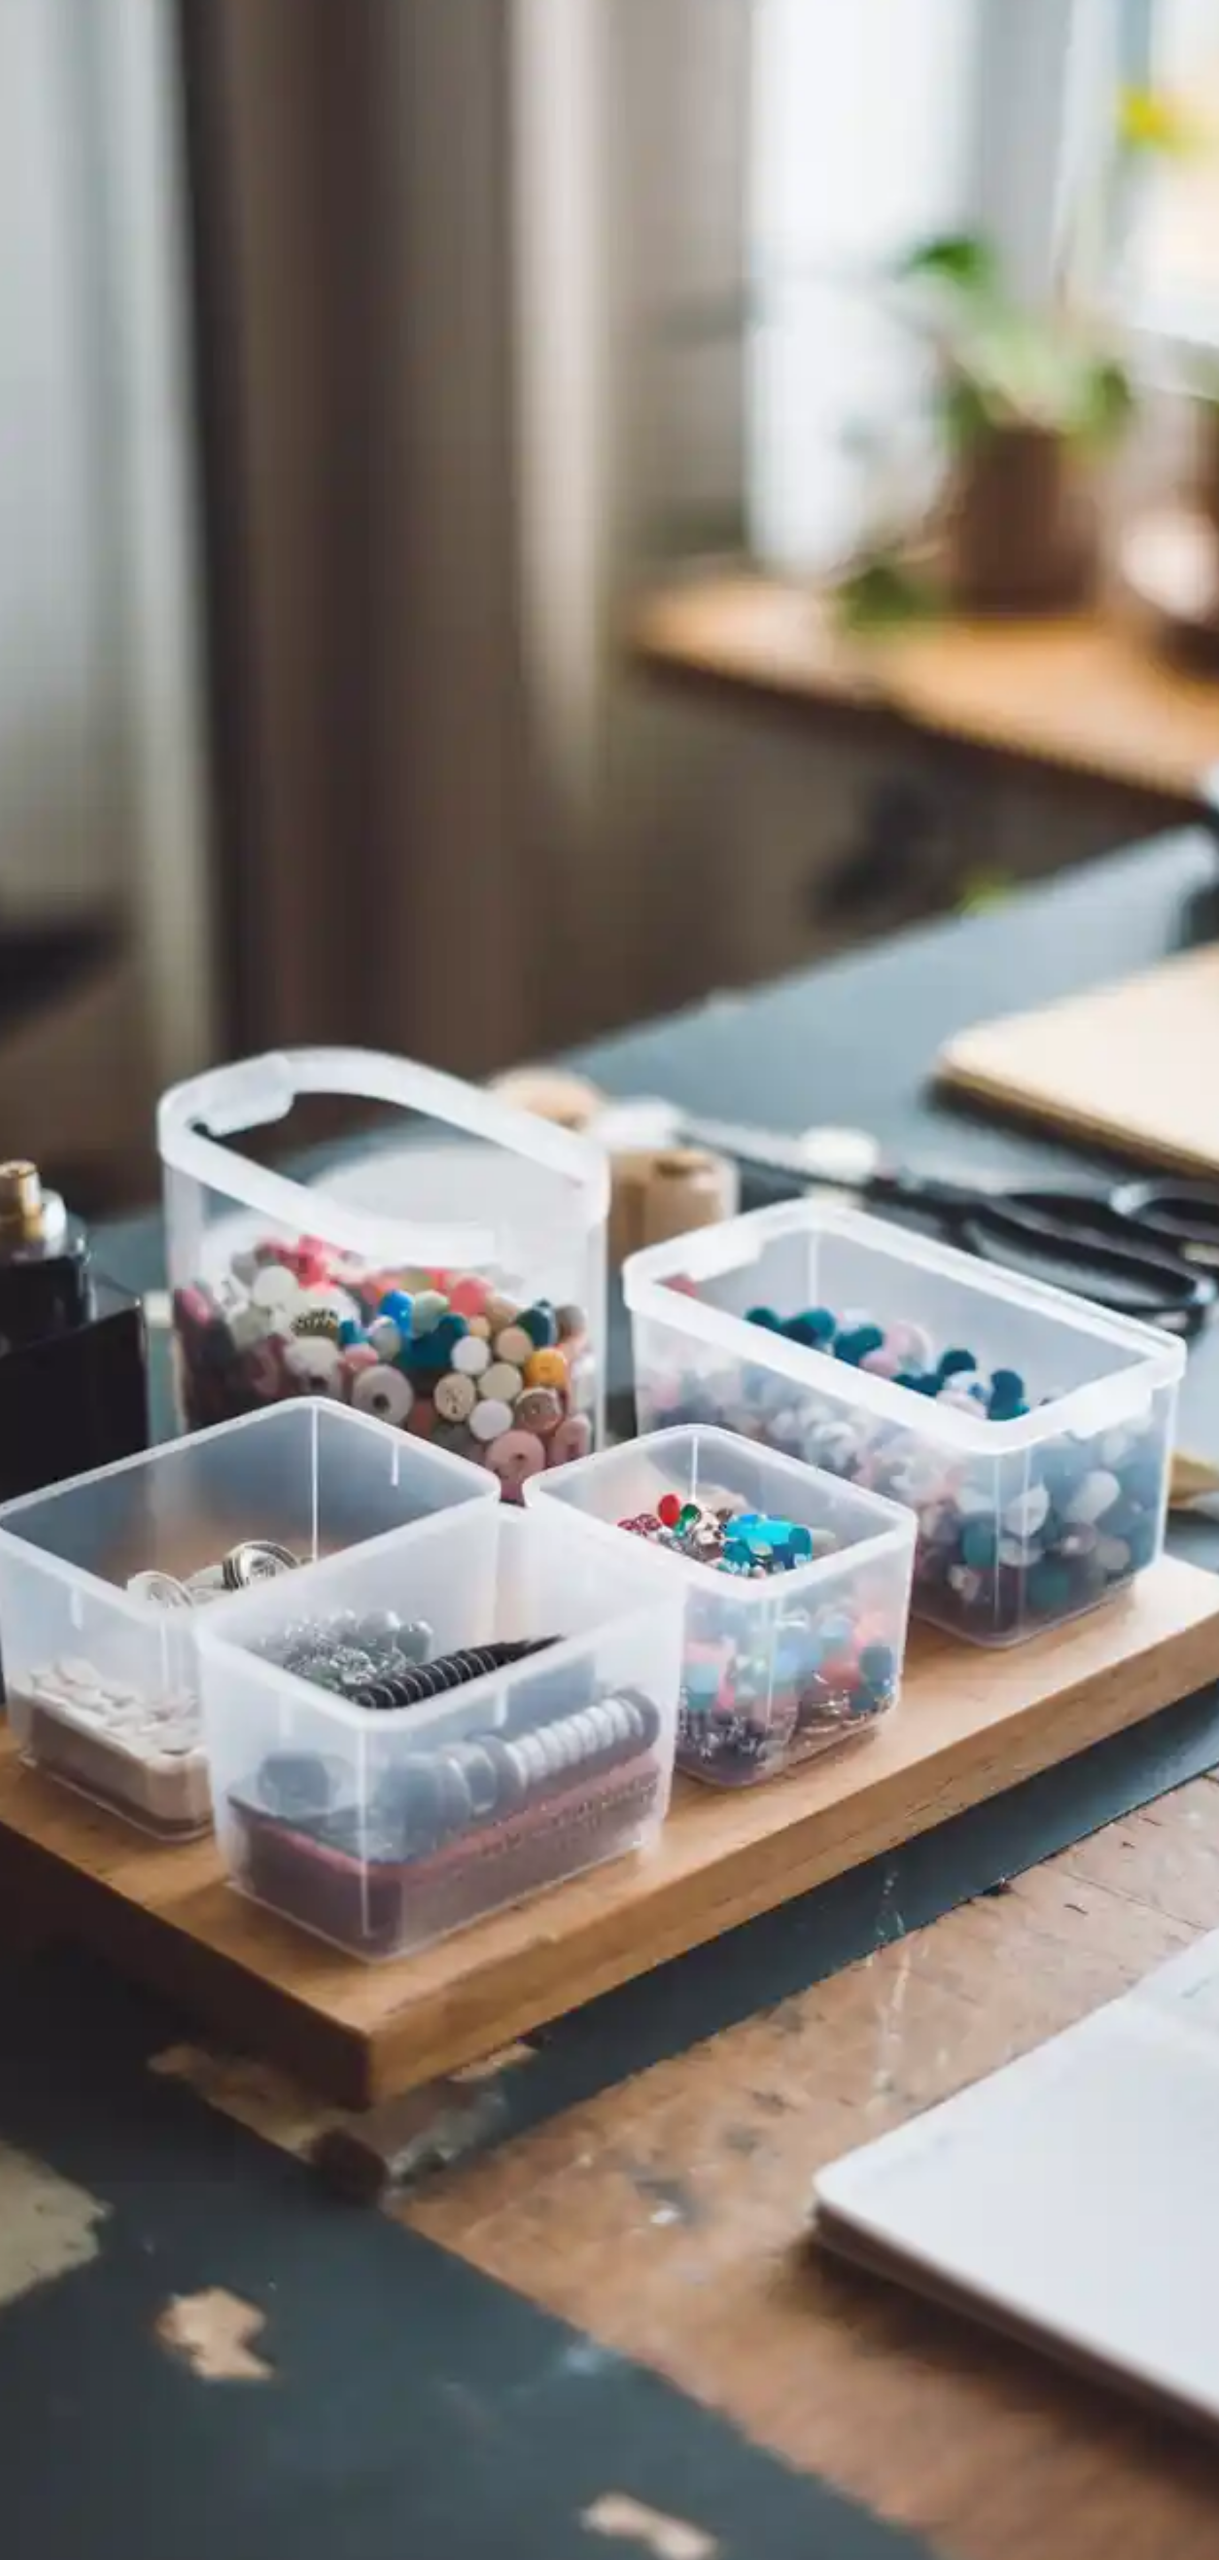
Invest in clear plastic drawers, bins, jars, and boxes. Seeing your craft supplies instantly reduces search time and enhances your workflow. Stack containers by type and label them.
- Use small jars for buttons, beads, sequins
- Clear shoebox-sized containers for yarn, stamps
- Acrylic drawers for thread spools or washi tape
Stackable clear bins maximize vertical space without hiding contents.
8. Label Everything with Color Codes or Icons
Label all containers, shelves, and drawers using a consistent system. Use a label maker, or print custom labels with icons and color-coding by material to organize your craft supplies.
- Blue for painting supplies
- Green for fabric
- Red for paper-based tools
- Icons for quick visual ID: scissors, brush, needle, etc.
Reinforce with matching washi tape or colored tags for added clarity.
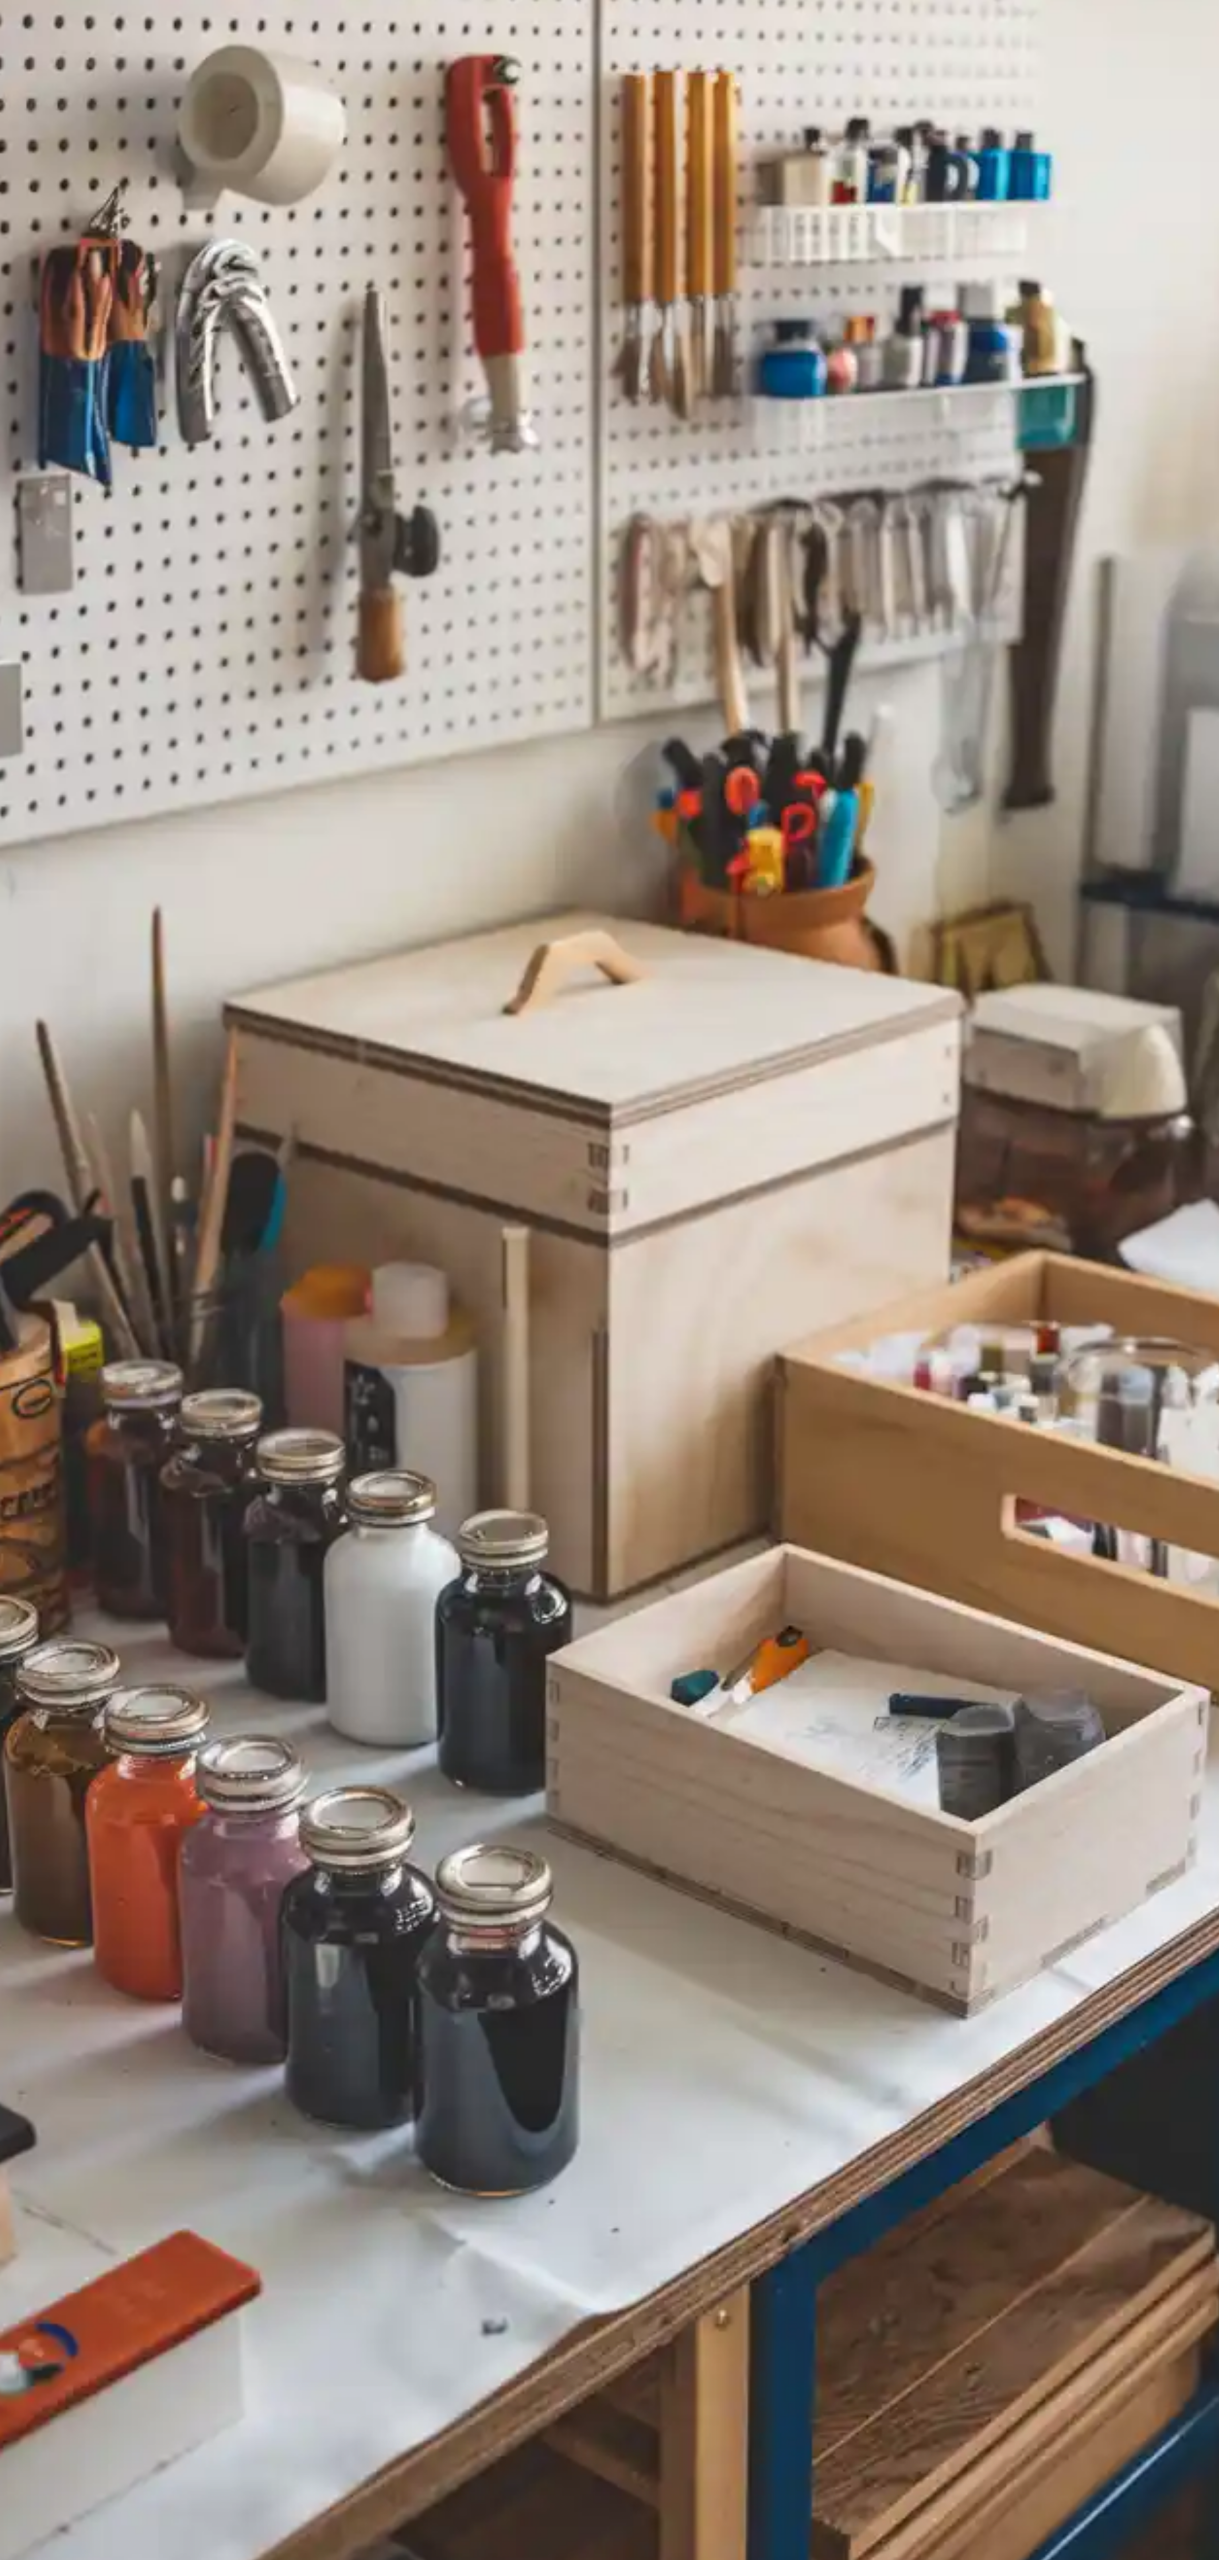
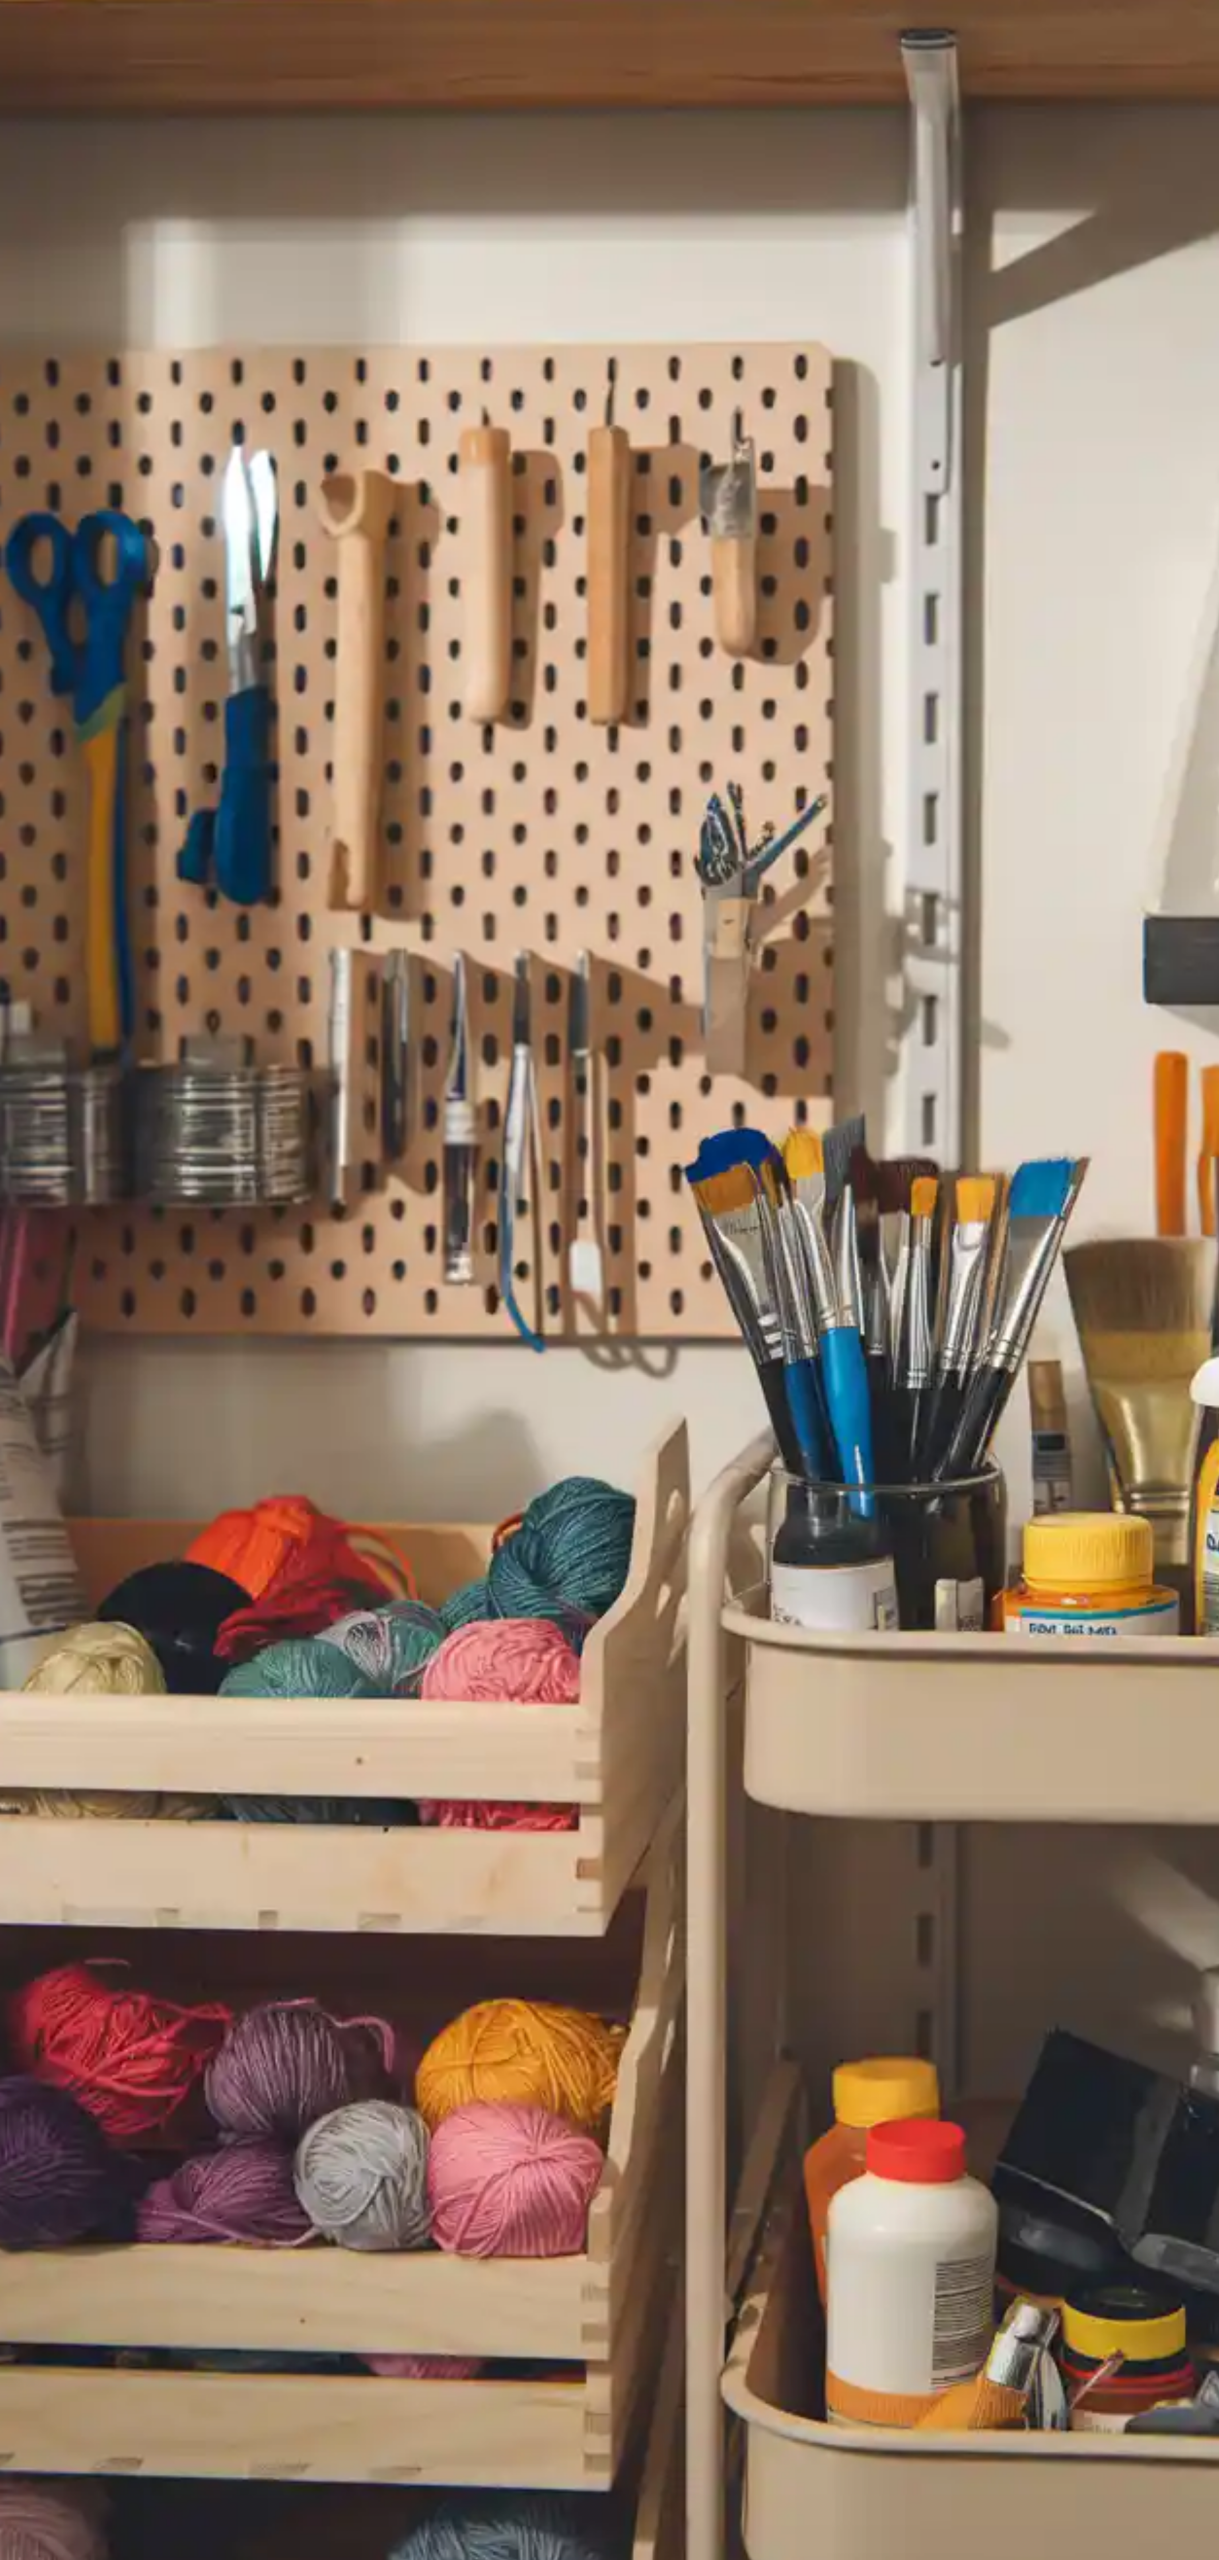
7. Install Pegboards for Vertical Tool Storage
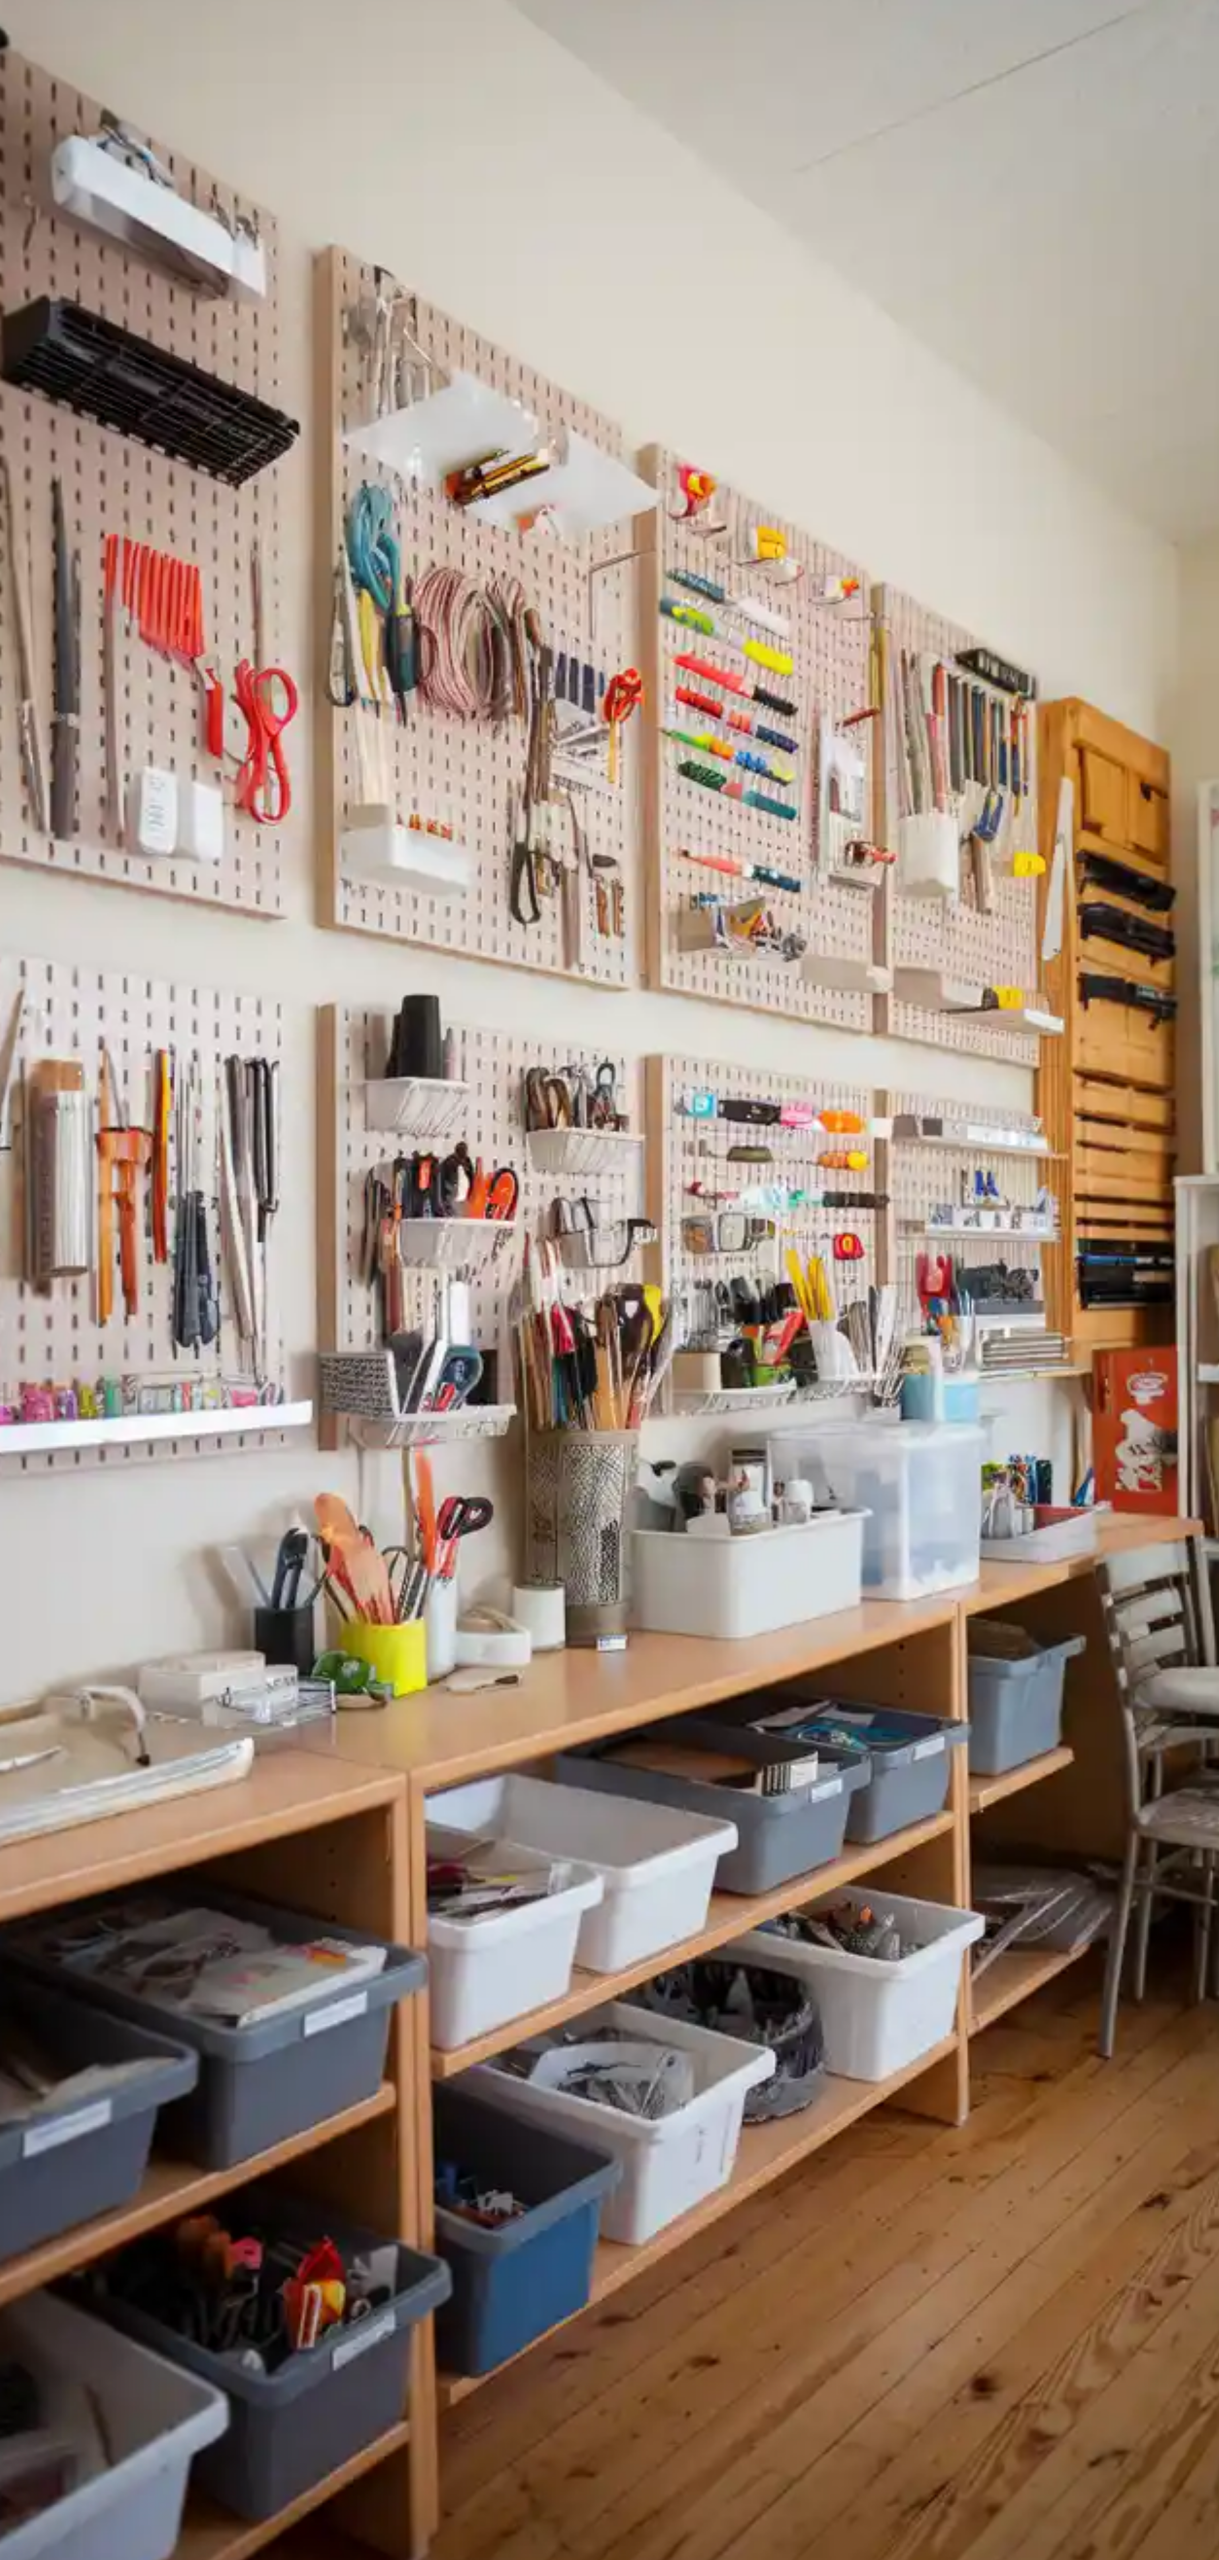
Mount a pegboard on your wall to hang scissors, rotary cutters, tape, ribbons, rulers, paintbrushes, and more. Customize it with:
- Hooks for tools
- Baskets for small items
- Shelves for glue or jars
- Clips for patterns or inspiration
Paint it in your room’s theme color for aesthetics and clarity.
6. Use Drawer Dividers and Tray Inserts
Avoid messy drawers by inserting customizable dividers and trays. Segment your craft supplies by function:
- Sewing drawers: pins, needles, bobbins, thimbles
- Jewelry: pliers, wire, clasps, charms
- Paper: adhesives, ink pads, blades
Use foam inserts or adjustable plastic organizers for best fit.
5. Repurpose Household Items Creatively
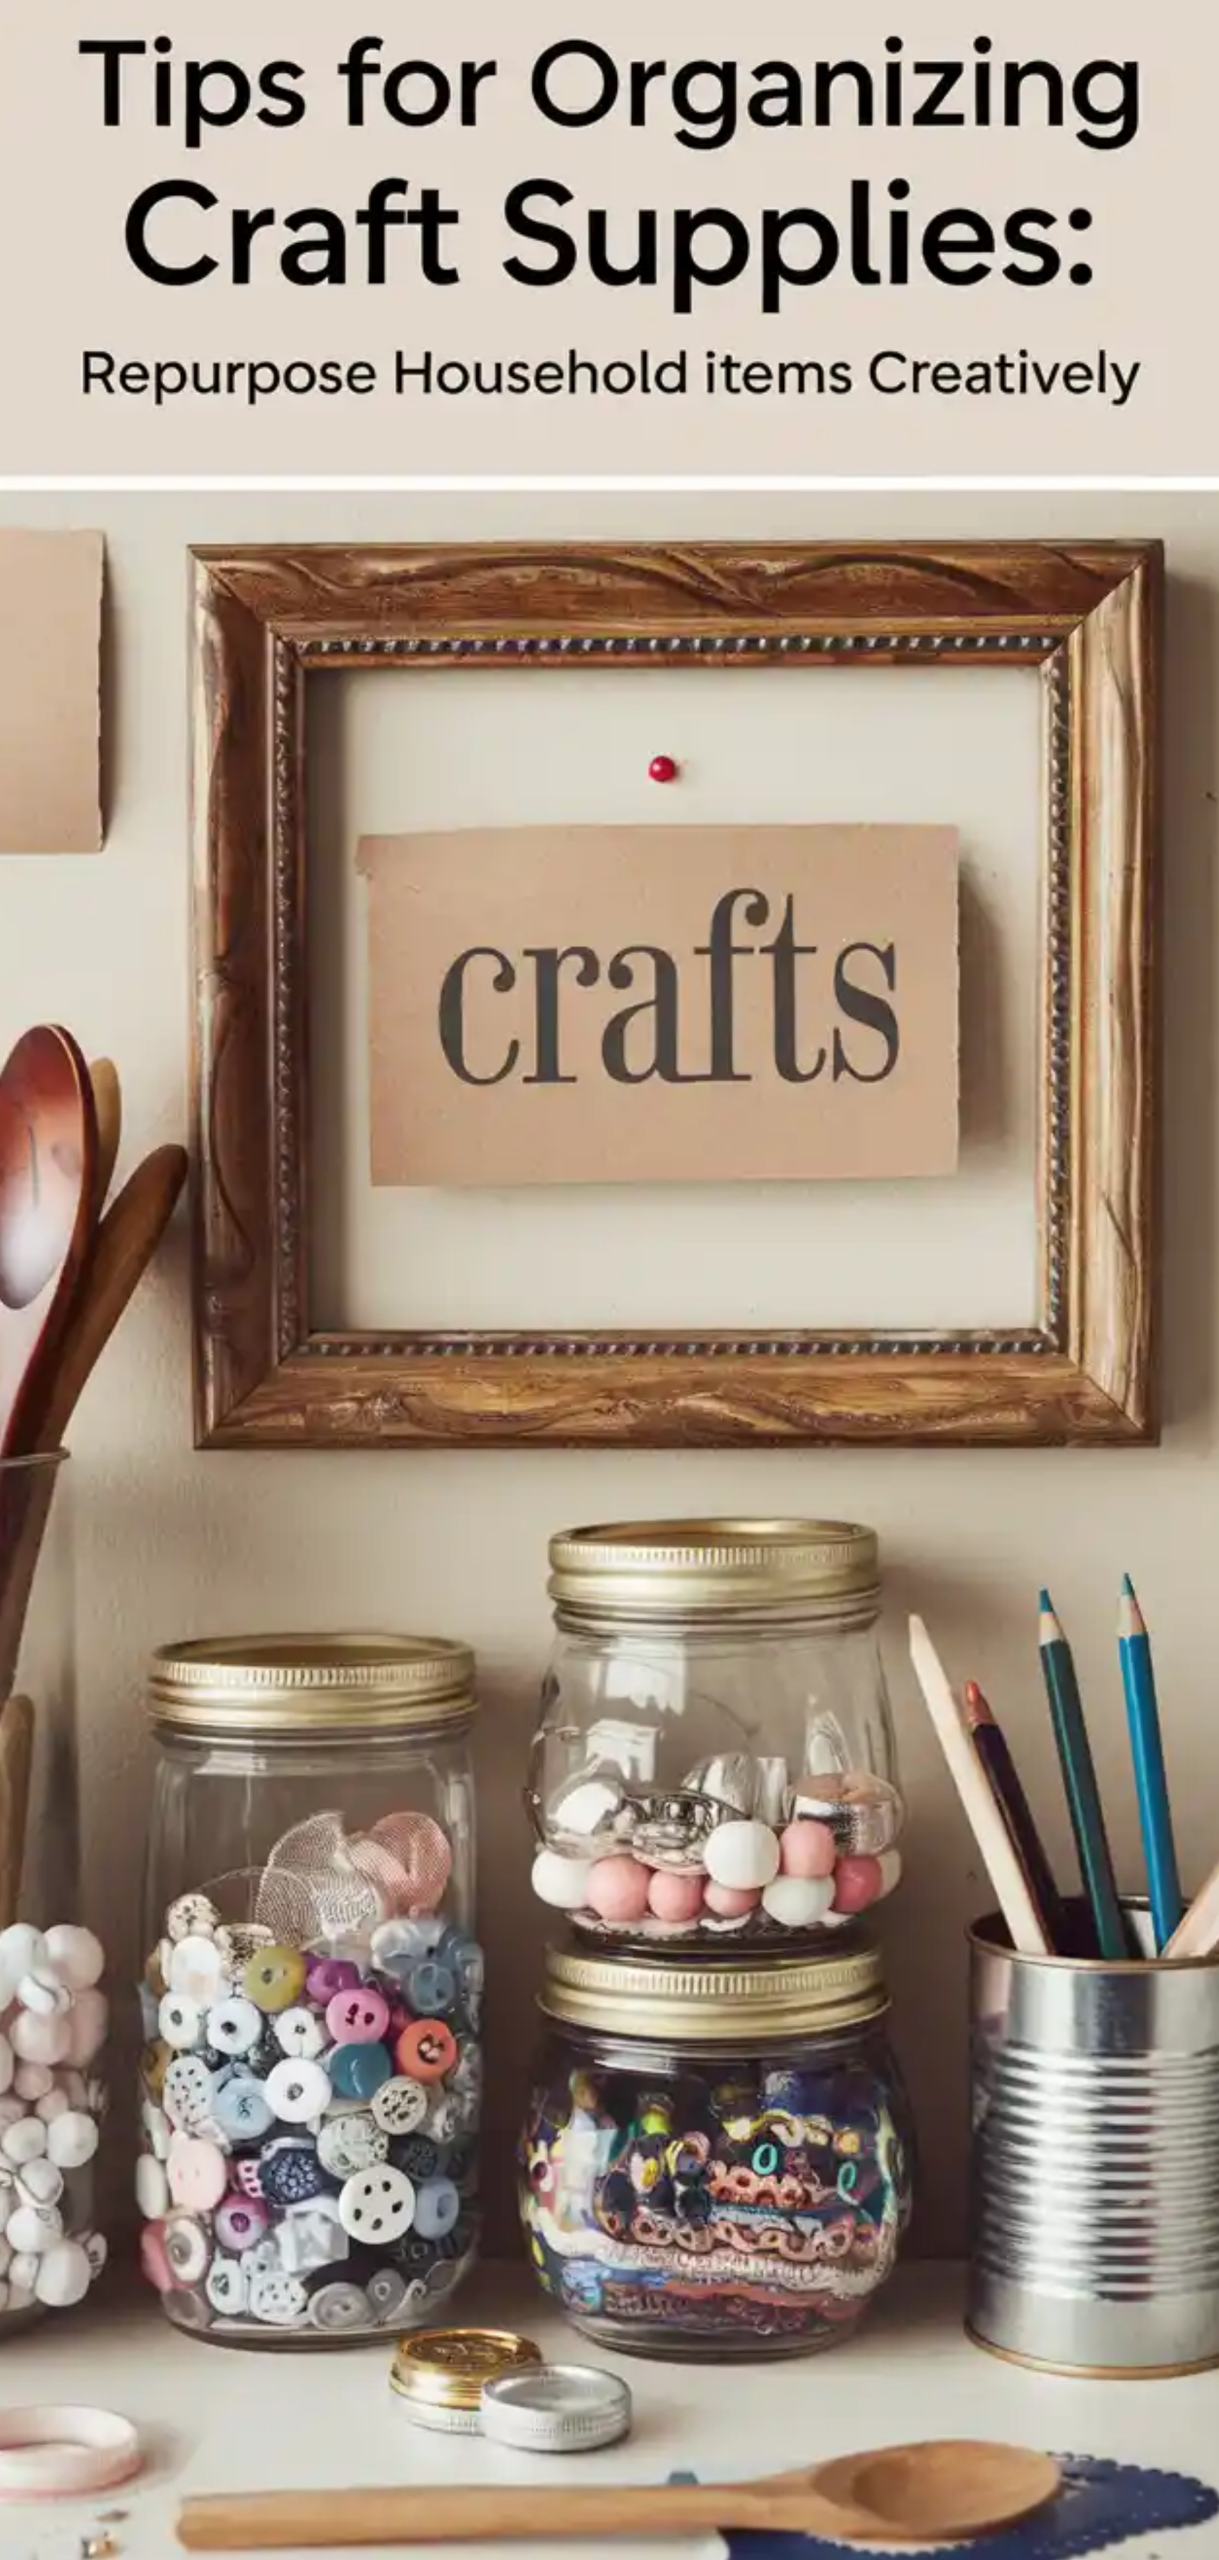
Convert unused or thrifted items into stylish storage:
- Spice racks for glitter or thread spools
- Muffin tins for buttons and small embellishments
- Magazine holders for paper stacks or sticker books
- Ice cube trays for beads, sequins, or googly eyes
This keeps costs low while customizing your craft supplies.
4. Add Rolling Carts for Mobile Crafting
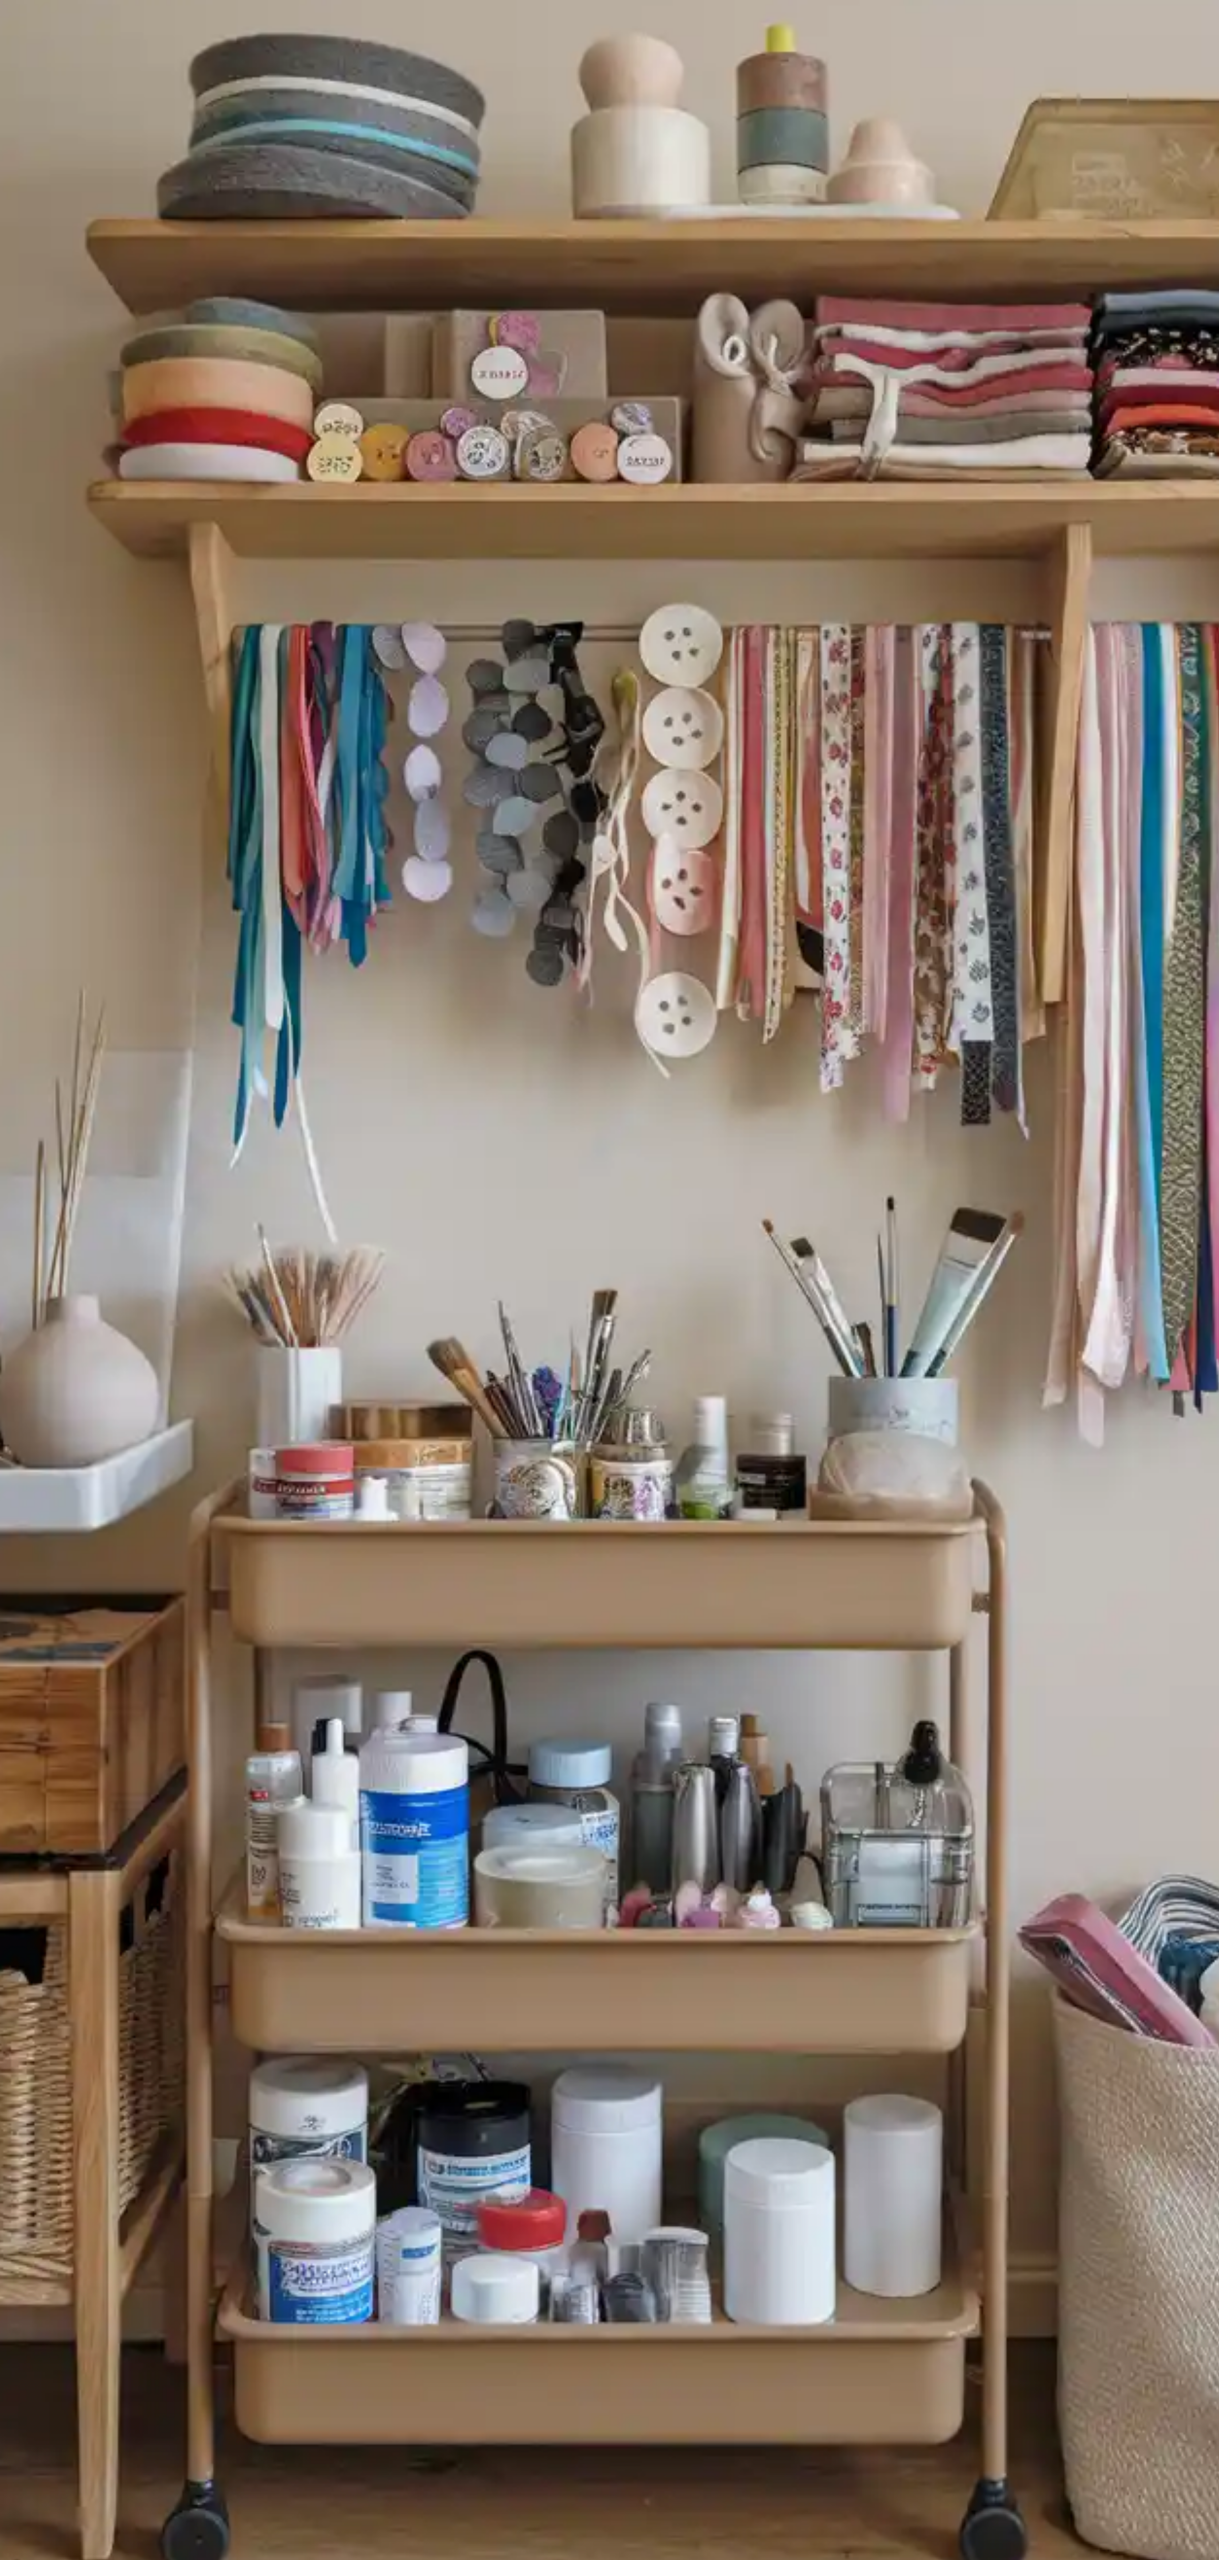
A three-tier rolling cart offers flexible, portable storage. Use each tier for craft supplies and roll it to where you work. Ideal for small spaces or multi-use rooms.
Common tier suggestions:
- Top: Current project essentials
- Middle: Paints, brushes, water jars
- Bottom: Cleaning supplies or backup materials
Use clip-on bins or magnetic cups to expand space.
3. Maximize Wall and Door Space
Install over-the-door organizers or hanging canvas pockets to hold your lightweight craft supplies like
- Markers
- Fabric scissors
- Hot glue guns
- Tape dispensers
- Ribbon rolls
Hang inspiration boards, cutting mats, or swatch charts. Use S-hooks for frequently used tools.
2. Designate a “Work-in-Progress” Bin
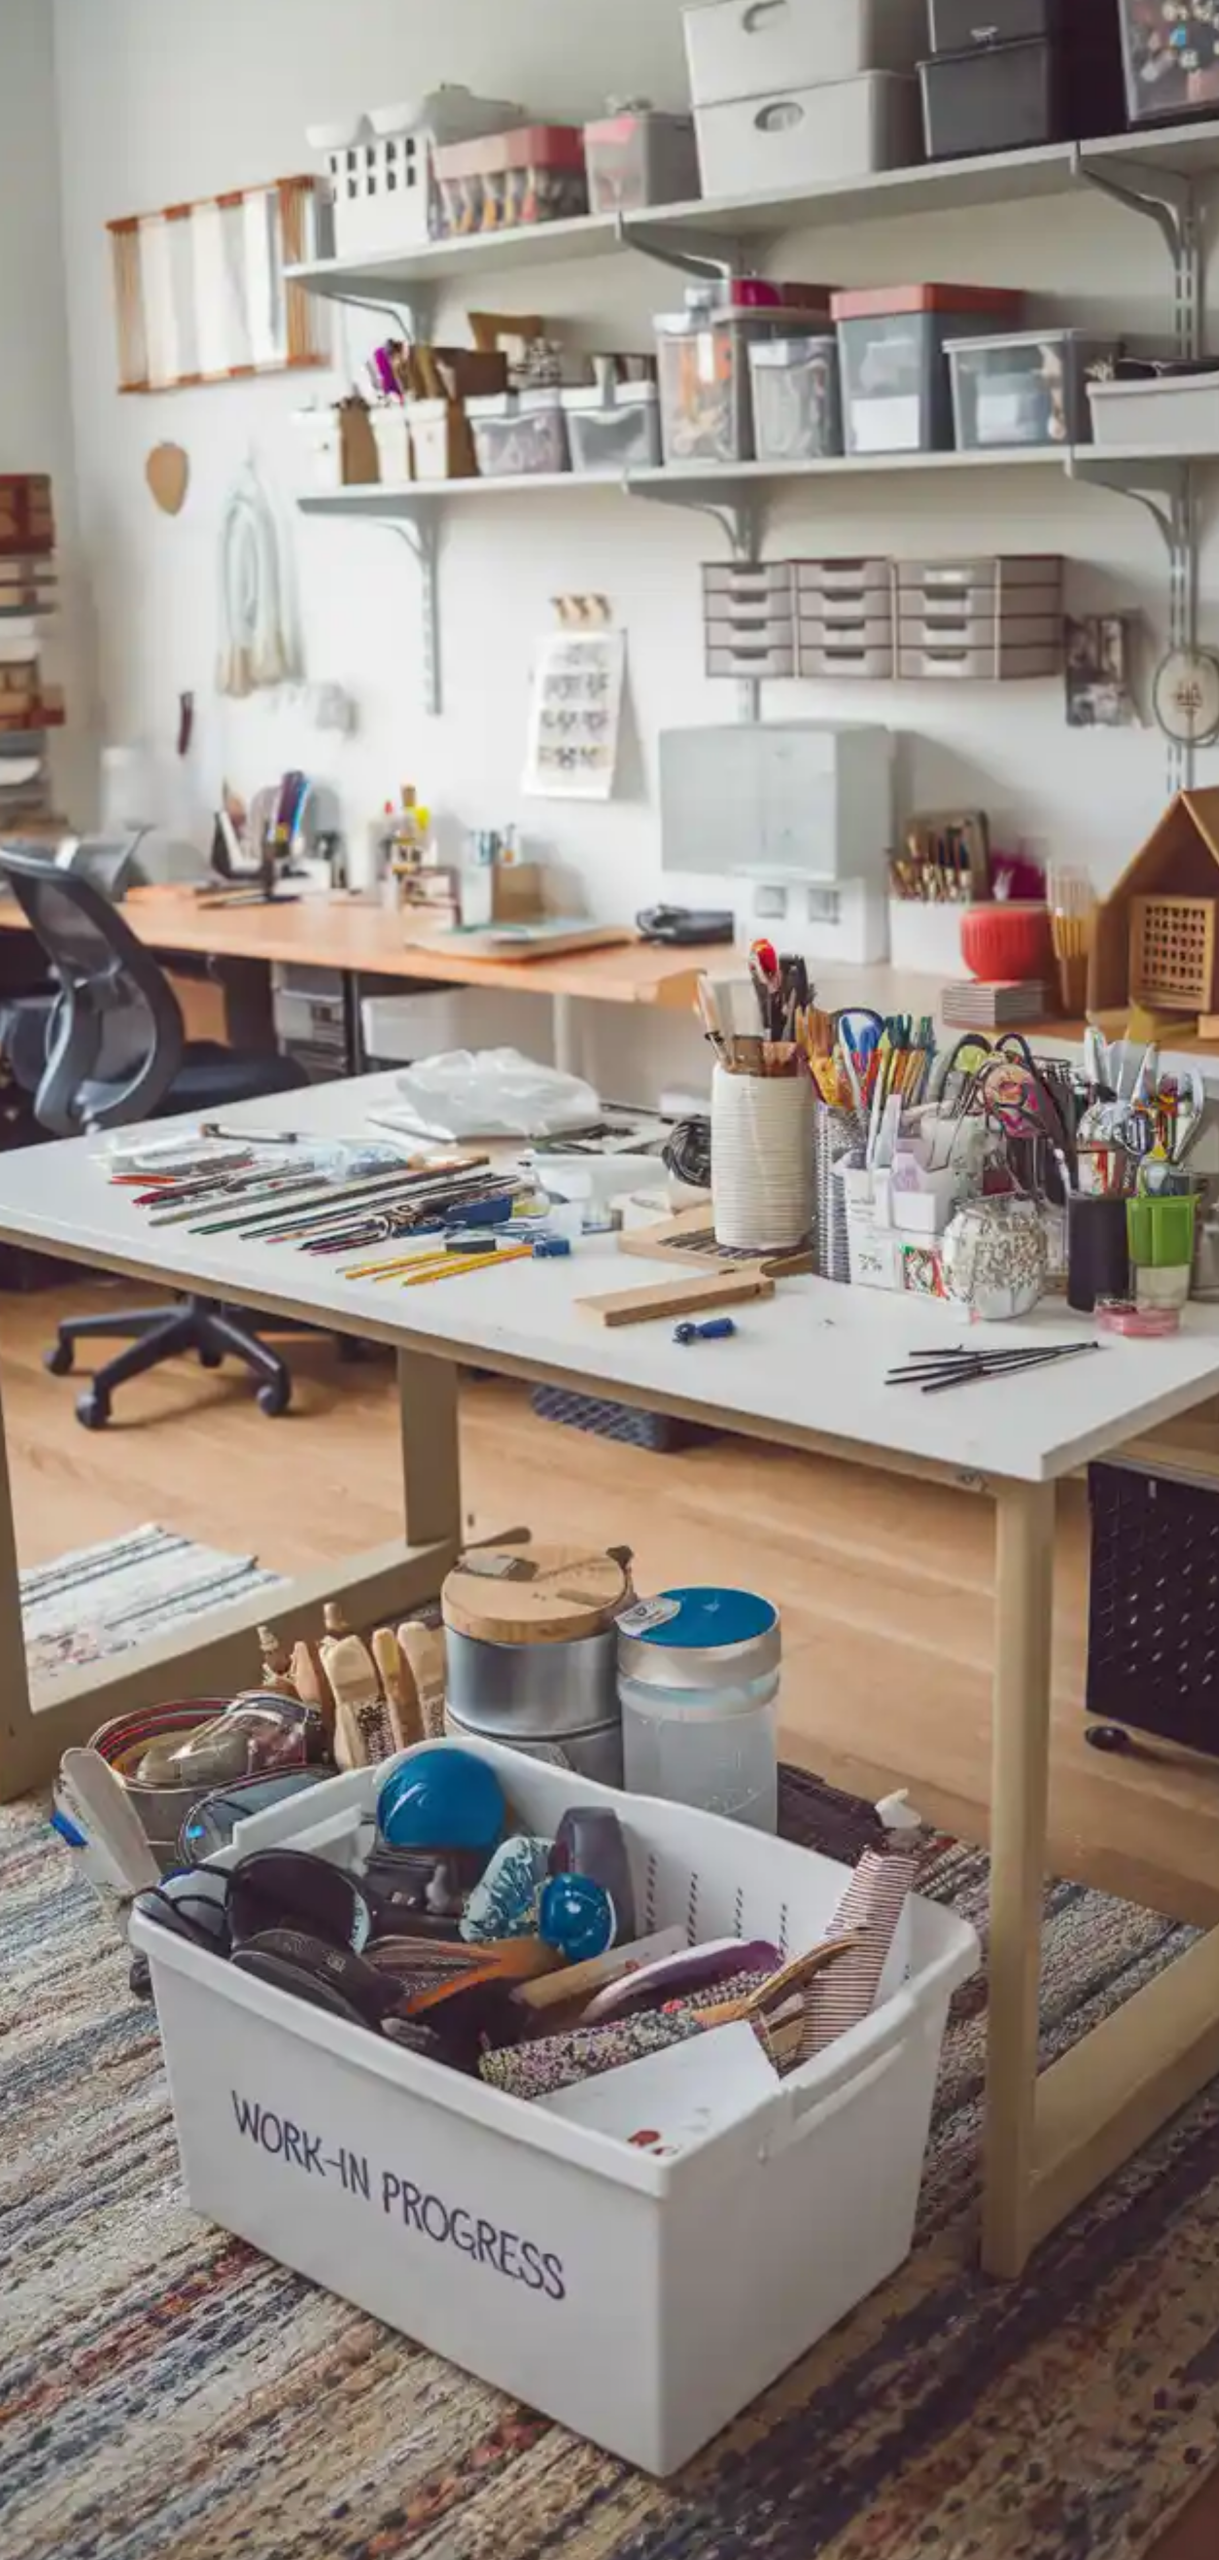
Set aside a clear bin, tray, or shallow drawer for your current project. This prevents clutter and keeps all essential supplies in one place without mixing them with the main stash.
Label it with the project name and date started. Rotate weekly to avoid stagnation.
1. Purge Regularly and Donate Extras
Schedule quarterly purges. Sort materials into:
- Keep
- Donate
- Discard
Give away surplus supplies to local schools, libraries, or youth centers. Recycle scraps and organize leftovers by size for future projects.
Keep a small donation box in your craft room to fill gradually.
Conclusion
An organized craft room is not only functional but creatively energizing. By zoning your supplies, labeling thoroughly, and maximizing space both vertically and horizontally, we can create a system that supports both inspiration and efficiency. Implement these methods to craft without chaos and maintain an orderly, inspiring studio every day.