Join Our Newsletter for Cozy Home Inspiration, Family Fun, and Delicious Recipes Every Week
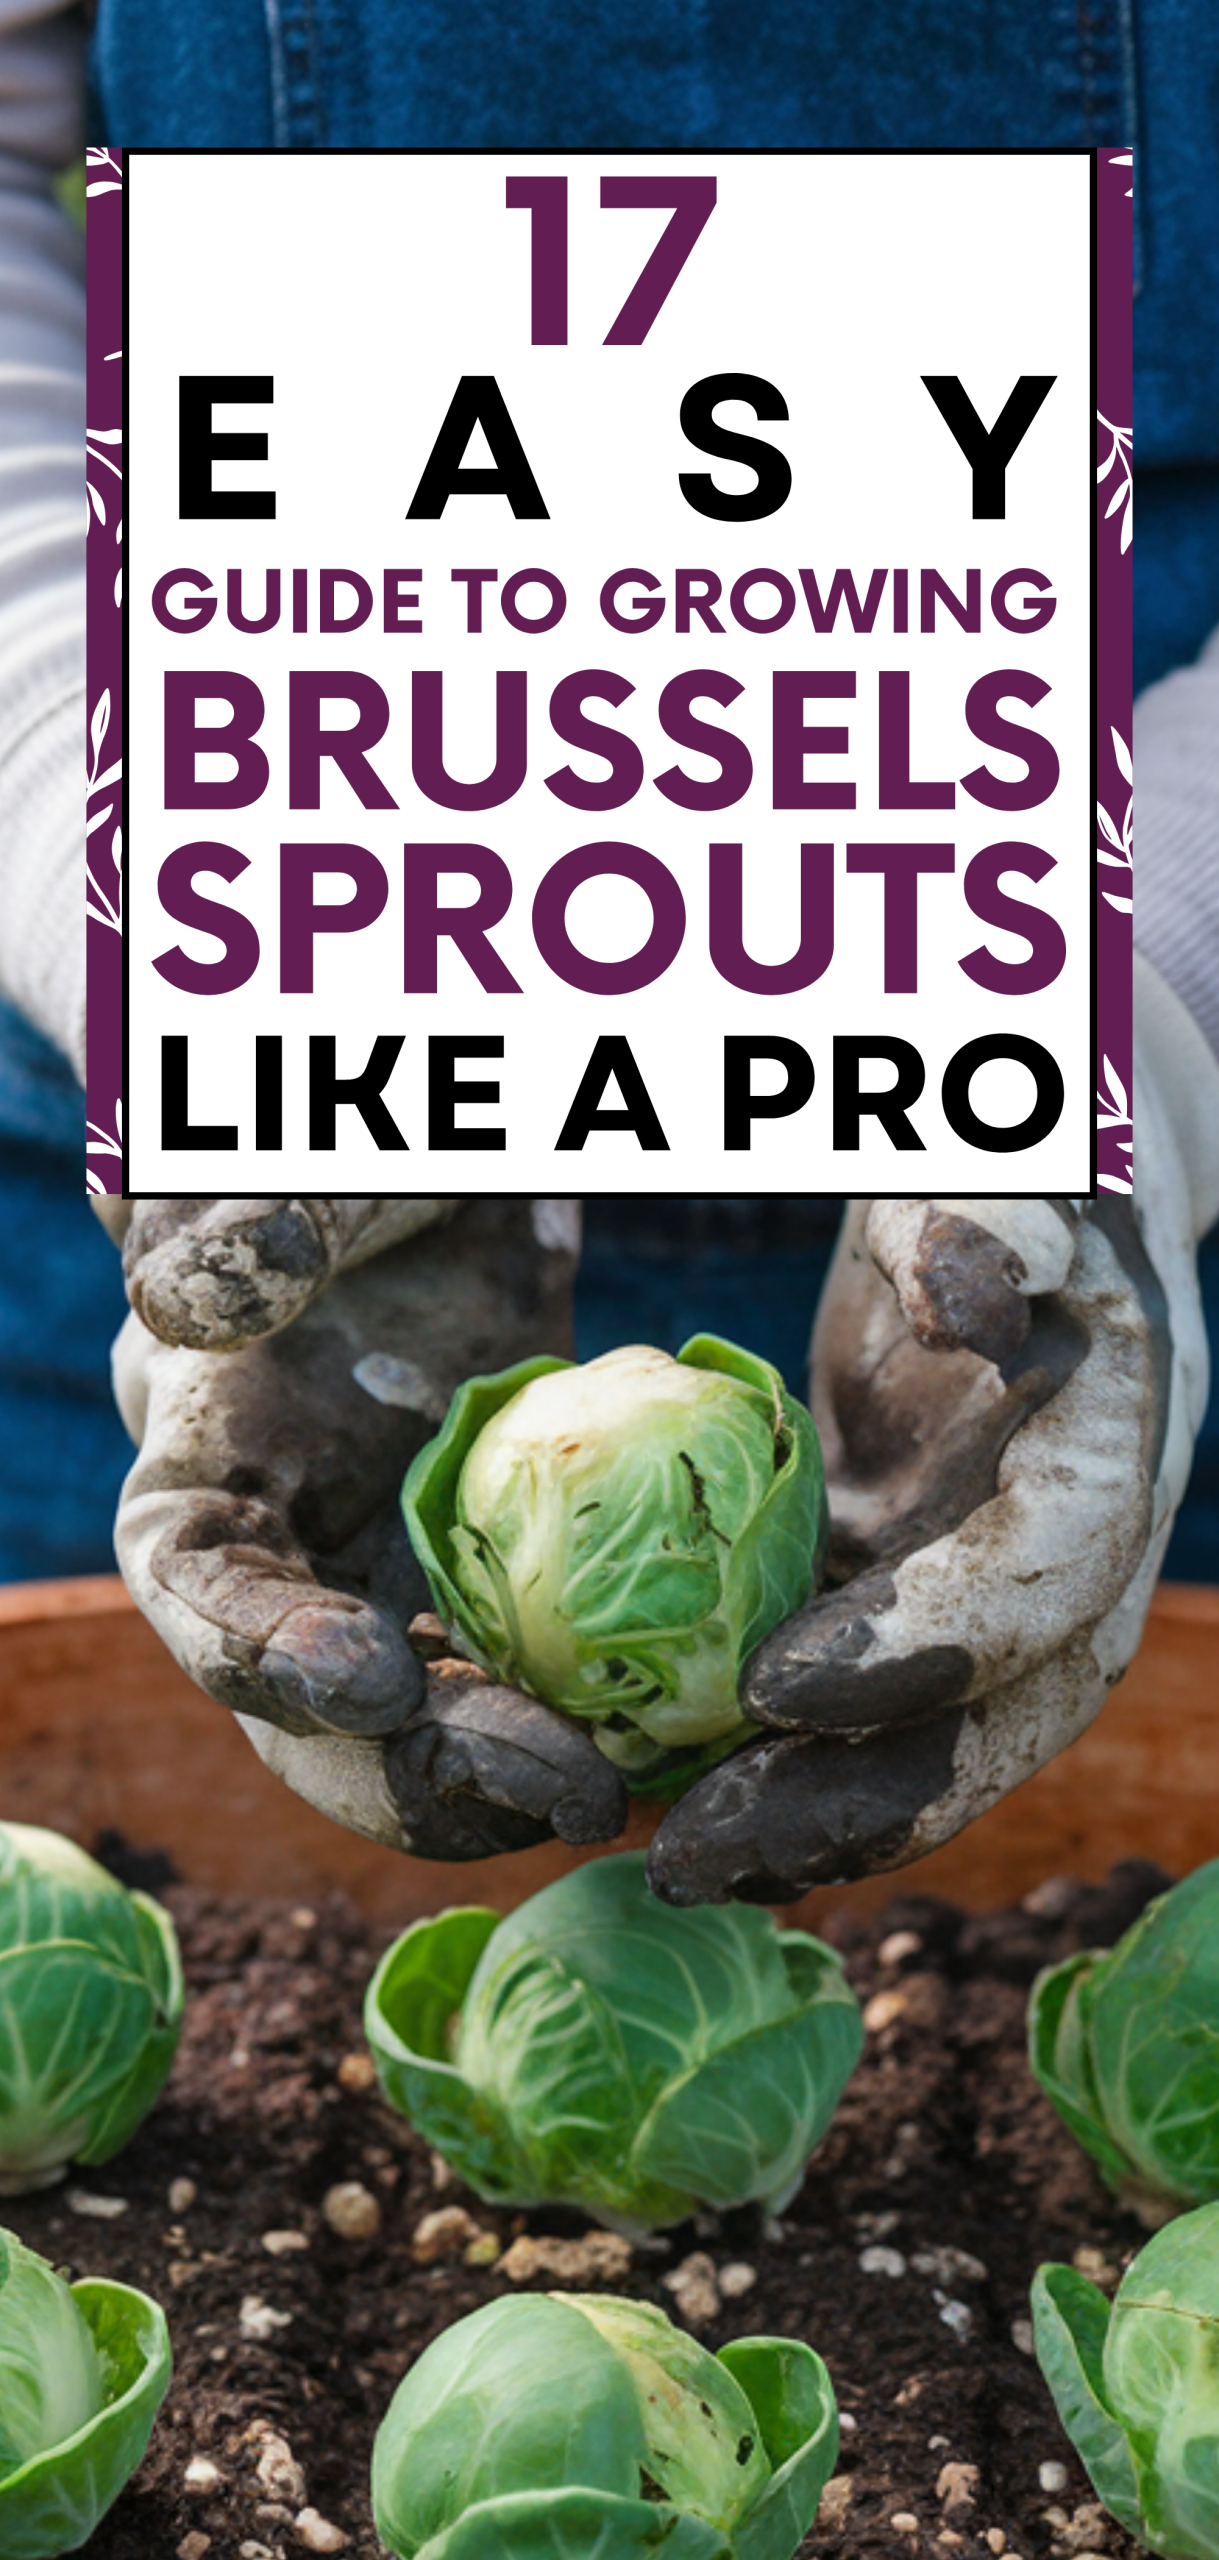
17 Easy Guide to Growing Brussels Sprouts Like a Pro
When I was a kid, Brussels sprouts were the enemy at the dinner table, tiny green cabbages that smelled like rotten eggs and tasted even worse. My parents would boil them until they turned gray, slap some mayo on top, and call it dinner. No amount of ketchup or pleading could make those soggy sprouts edible.
For years, I swore I’d never touch them again. But fast forward to adulthood, and everything changed the first time I roasted them myself with olive oil, salt, and a bit of balsamic.
Suddenly, Brussels sprouts weren’t the villains of my childhood but the heroes of my kitchen garden. (If you’re also looking to elevate your outdoor aesthetic, you might enjoy my article about Zen Garden Design Ideas
My love affair with Brussels sprouts deepened when I decided to grow them from scratch. At first, I thought they’d be too complicated; after all, they’re notorious for being picky.
But the truth? They just need patience and the right timing. I learned that starting seeds indoors about 6–8 weeks before the last frost gave them the strong head start they needed.
Once the seedlings were sturdy, I transplanted them into deep, rich soil with plenty of. The trick was consistency: steady watering to keep airflow. Watching those tiny buds form along tall green stalks felt like watching redemption grow.
Now, Brussels sprouts are my pride and joy, crisp, sweet, and nothing like the mushy horror of my childhood. I harvest them after the first light frost, when the cold air naturally sweetens their flavor. A quick roast with pancetta, garlic, and balsamic turns them into pure perfection.
Growing them taught me patience, and cooking them taught me transformation. If you ever hated Brussels sprouts, I promise it wasn’t the veggies’ fault. With the right care, they’ll surprise you by becoming one of the most rewarding and delicious crops in your urban garden.
17. Choose the Right Variety for Your Climate
The first step in mastering Brussels sprouts is choosing the right variety suited to your region. Some sprout varieties perform better in cooler climates, while others are more tolerant of mild heat.
Brussels Sprouts Tip: Always check the “days to maturity” on the seed packet to match your local growing season.
16. Start Seeds Indoors for Early Growth
Brussels sprouts have a long growing period (90–120 days). Start seeds indoors 6–8 weeks before the last frost to give them a head start.
Sow seeds ½ inch deep in trays filled with quality seed-starting mix. Keep soil moist and maintain a temperature of 65–75°F (18–24°C) for quick germination.
Brussels Sprouts Tip: Use a sunny windowsill or LED grow light to ensure steady growth before transplanting outdoors.
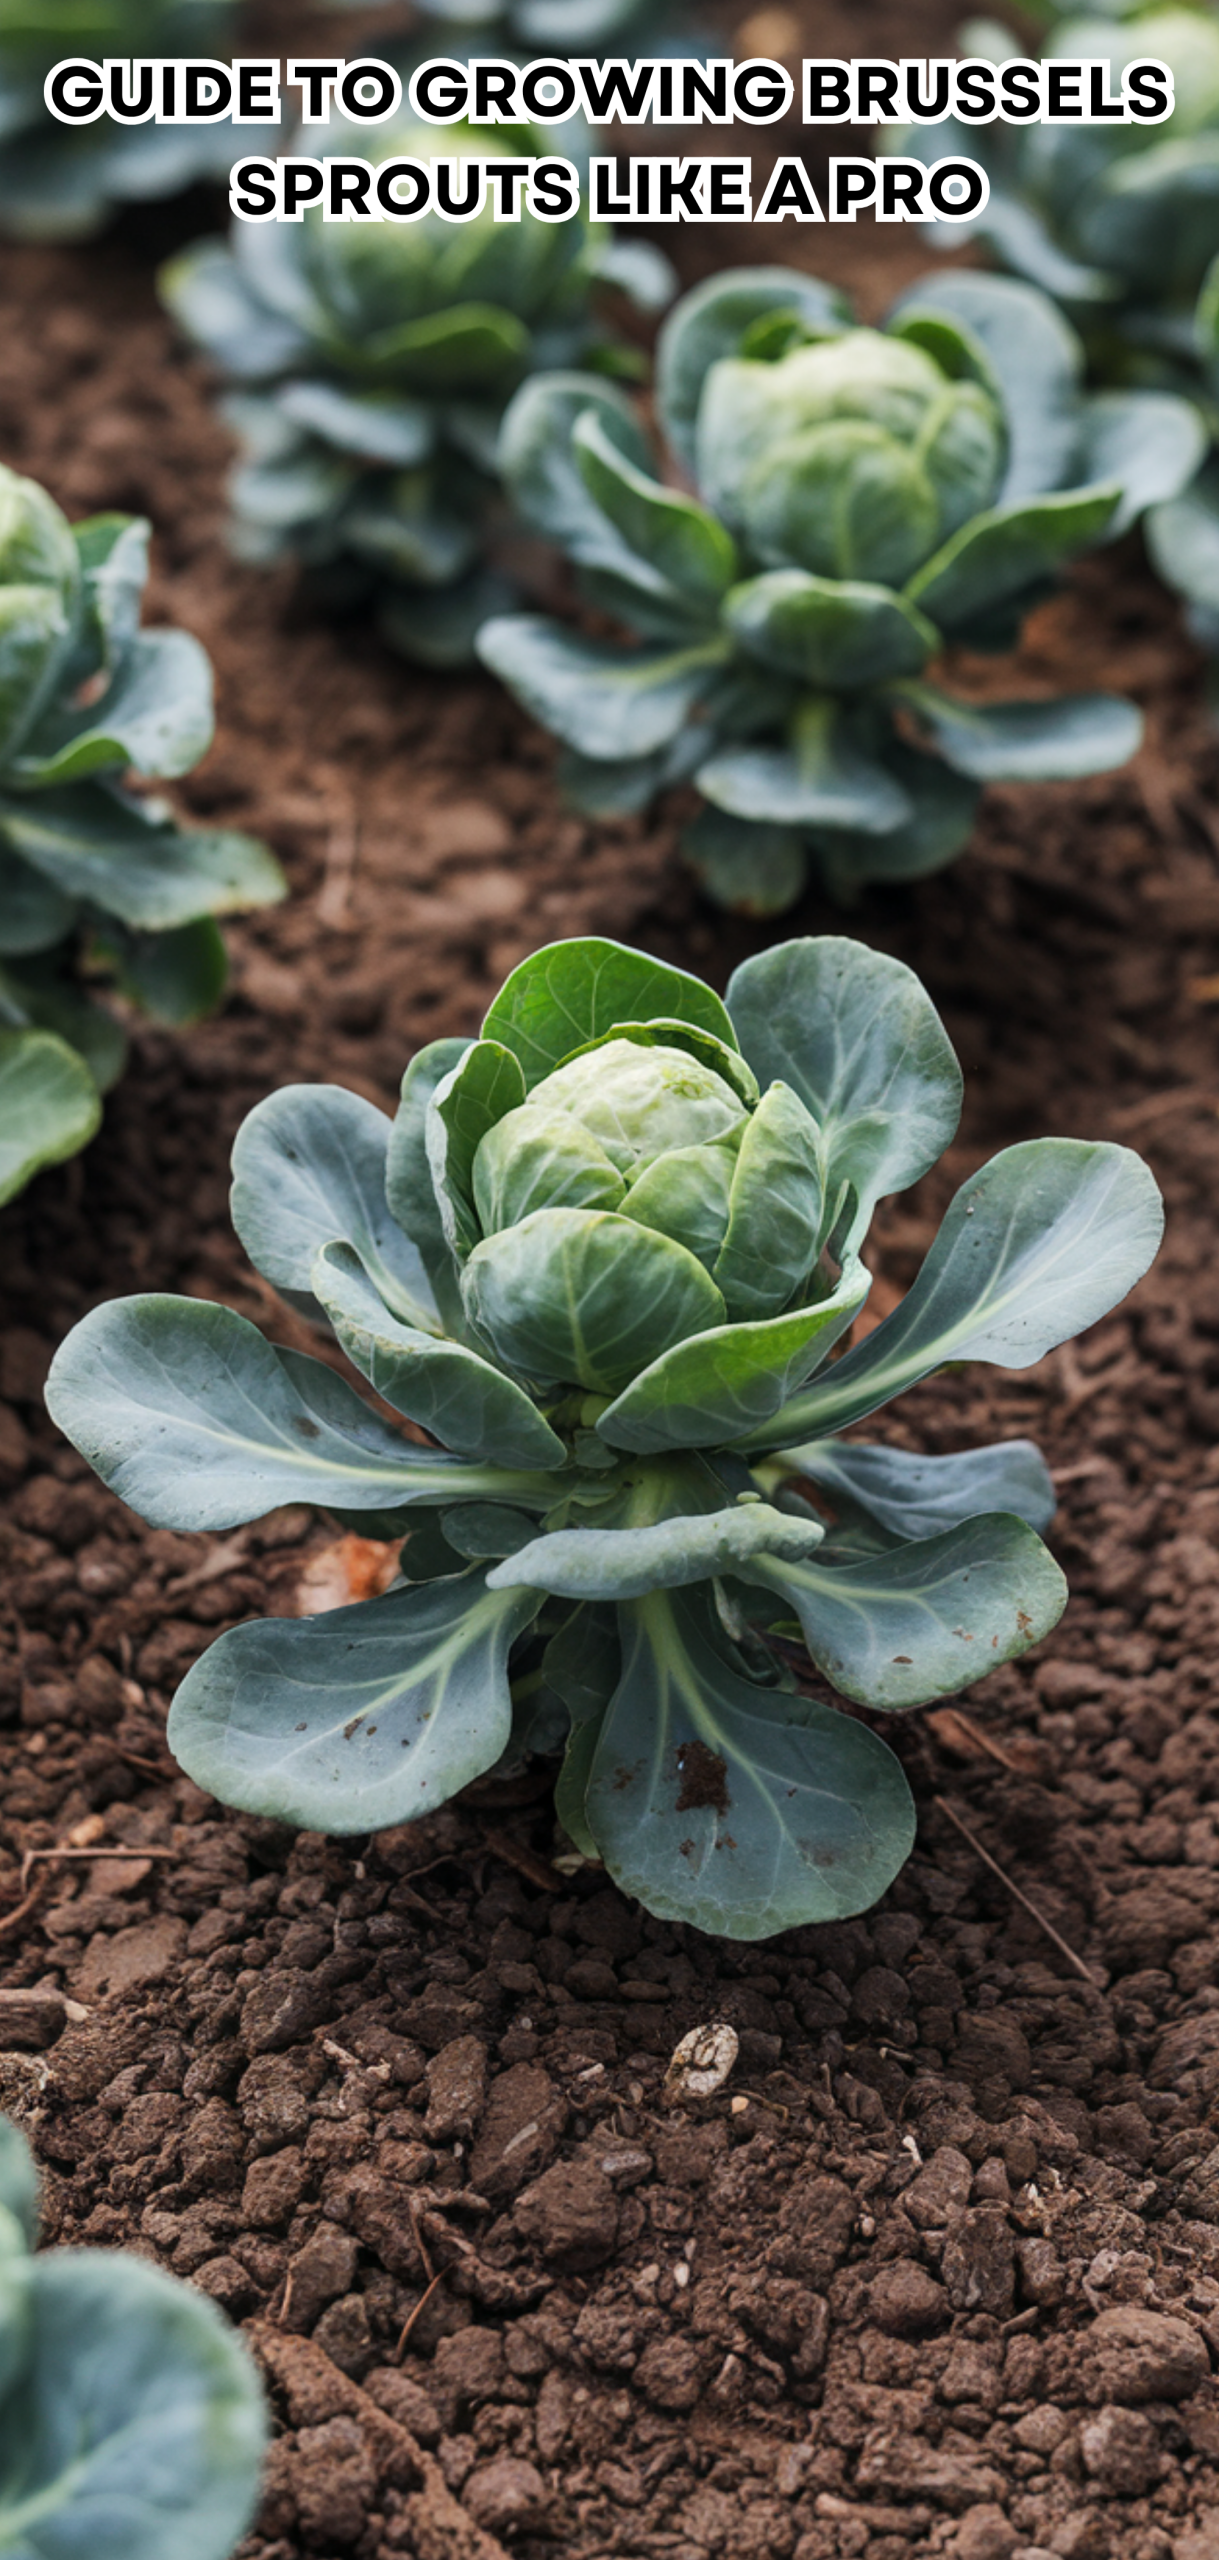
15. Transplant at the Right Time
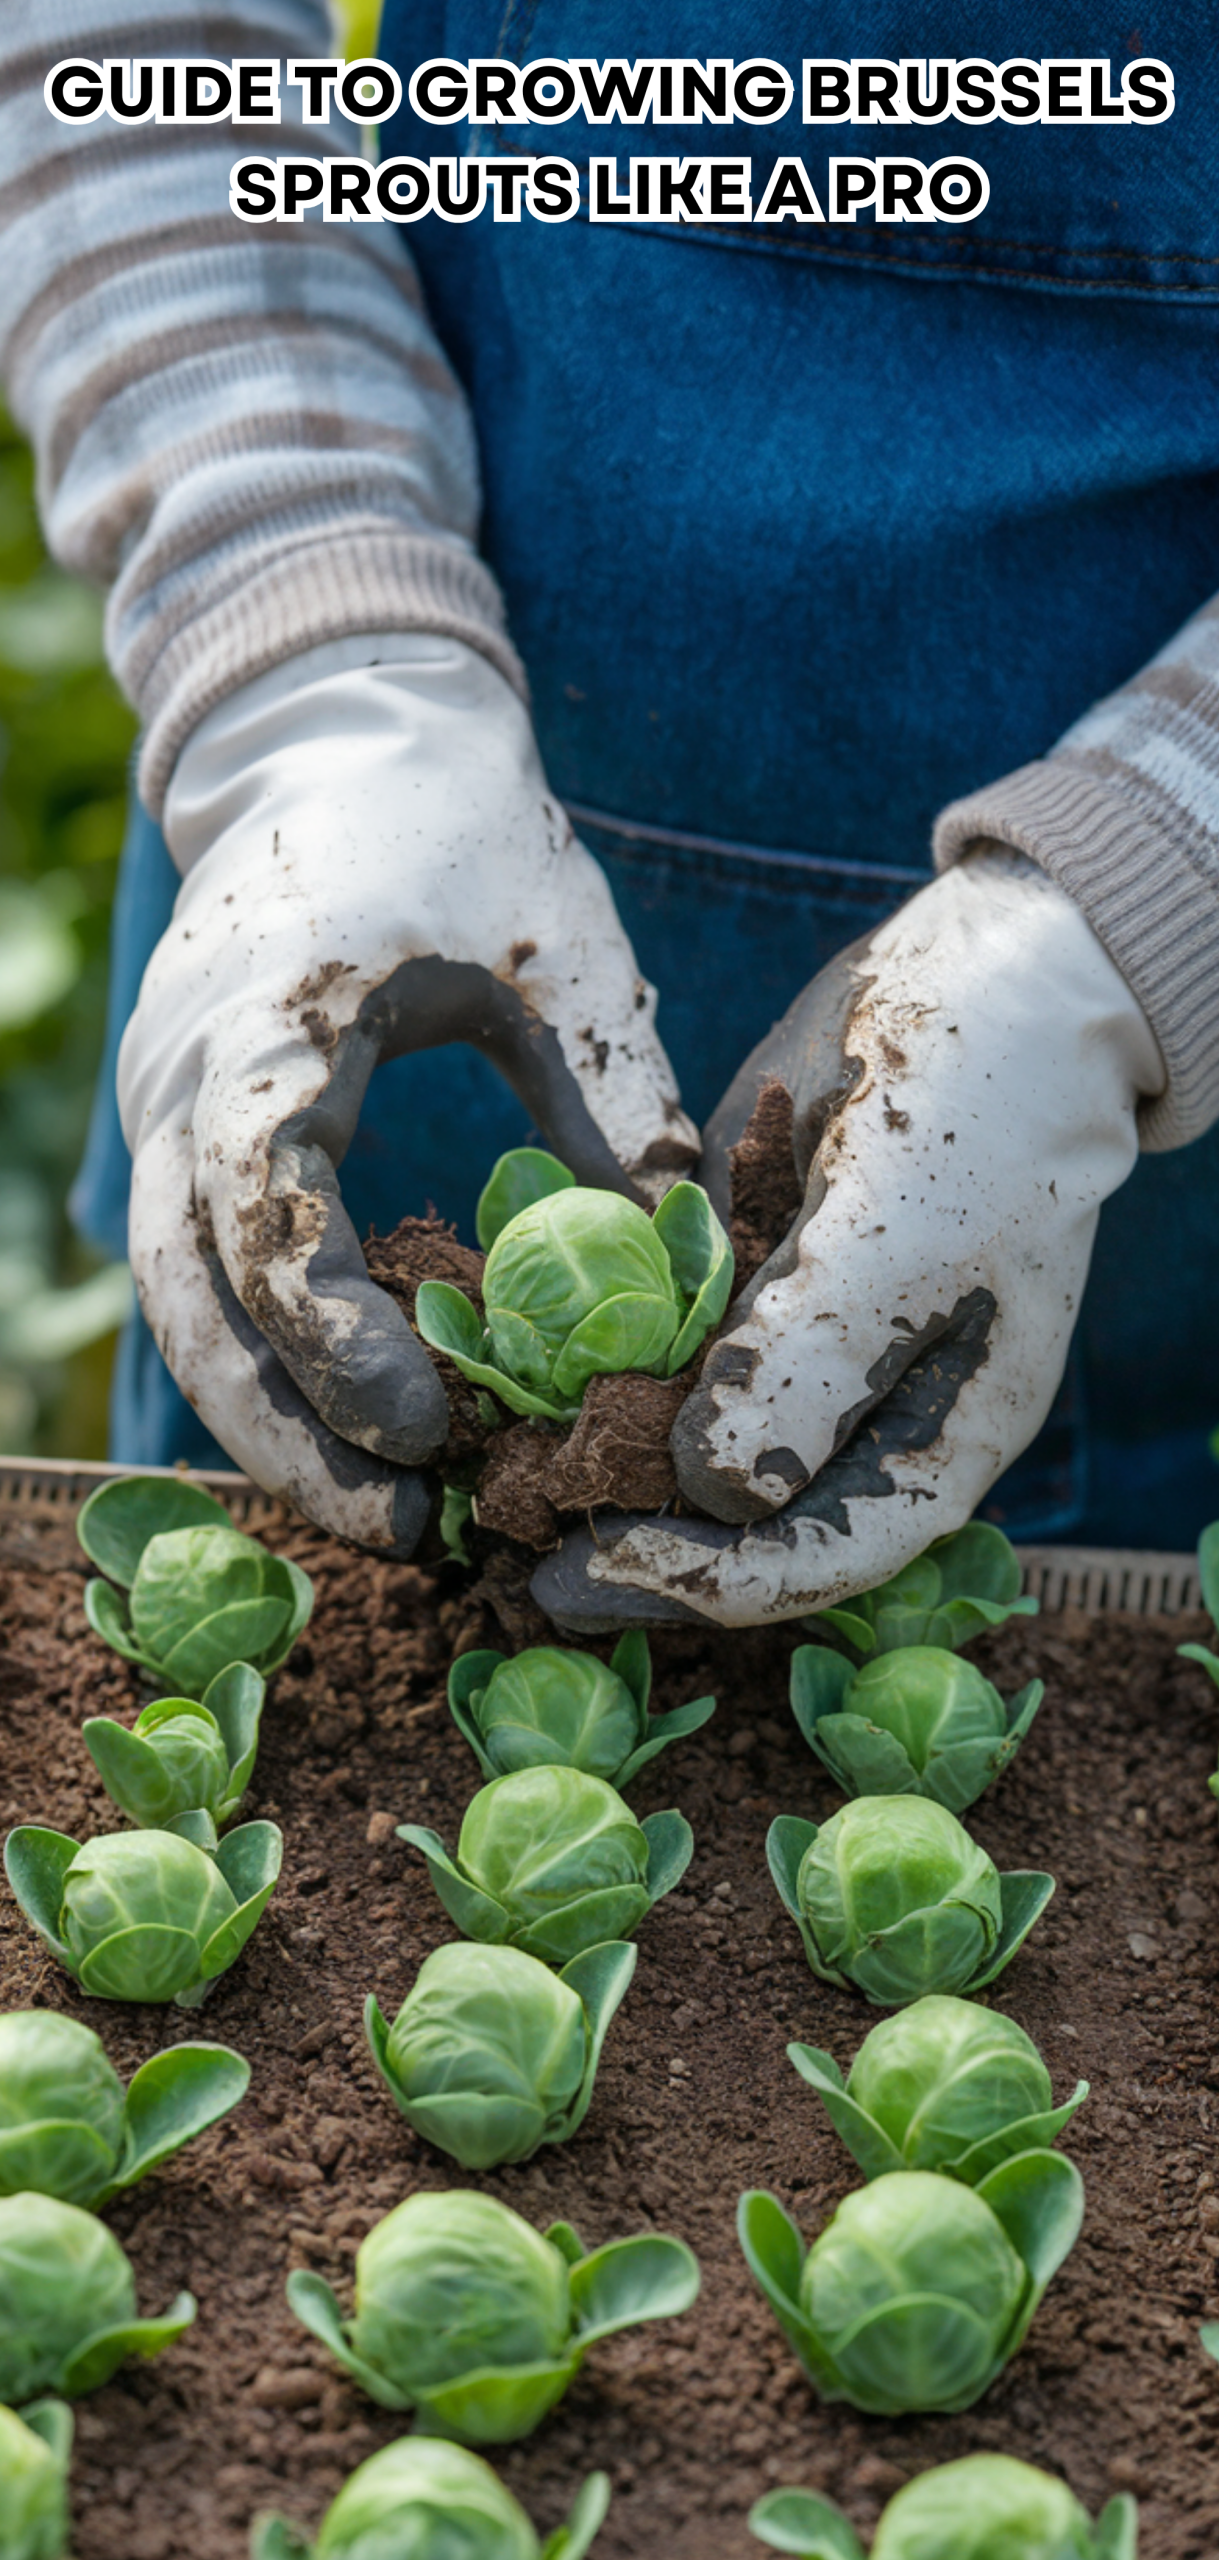
Transplant seedlings once they are 4–6 inches tall and have developed at least 2–3 true leaves. Wait until the soil temperature reaches at least 50°F (10°C).
Space each plant 18–24 inches apart, with 30 inches between rows for good airflow and growth.
Brussels Sprouts Tip: Harden off seedlings by gradually exposing them to outdoor conditions for a week before transplanting.
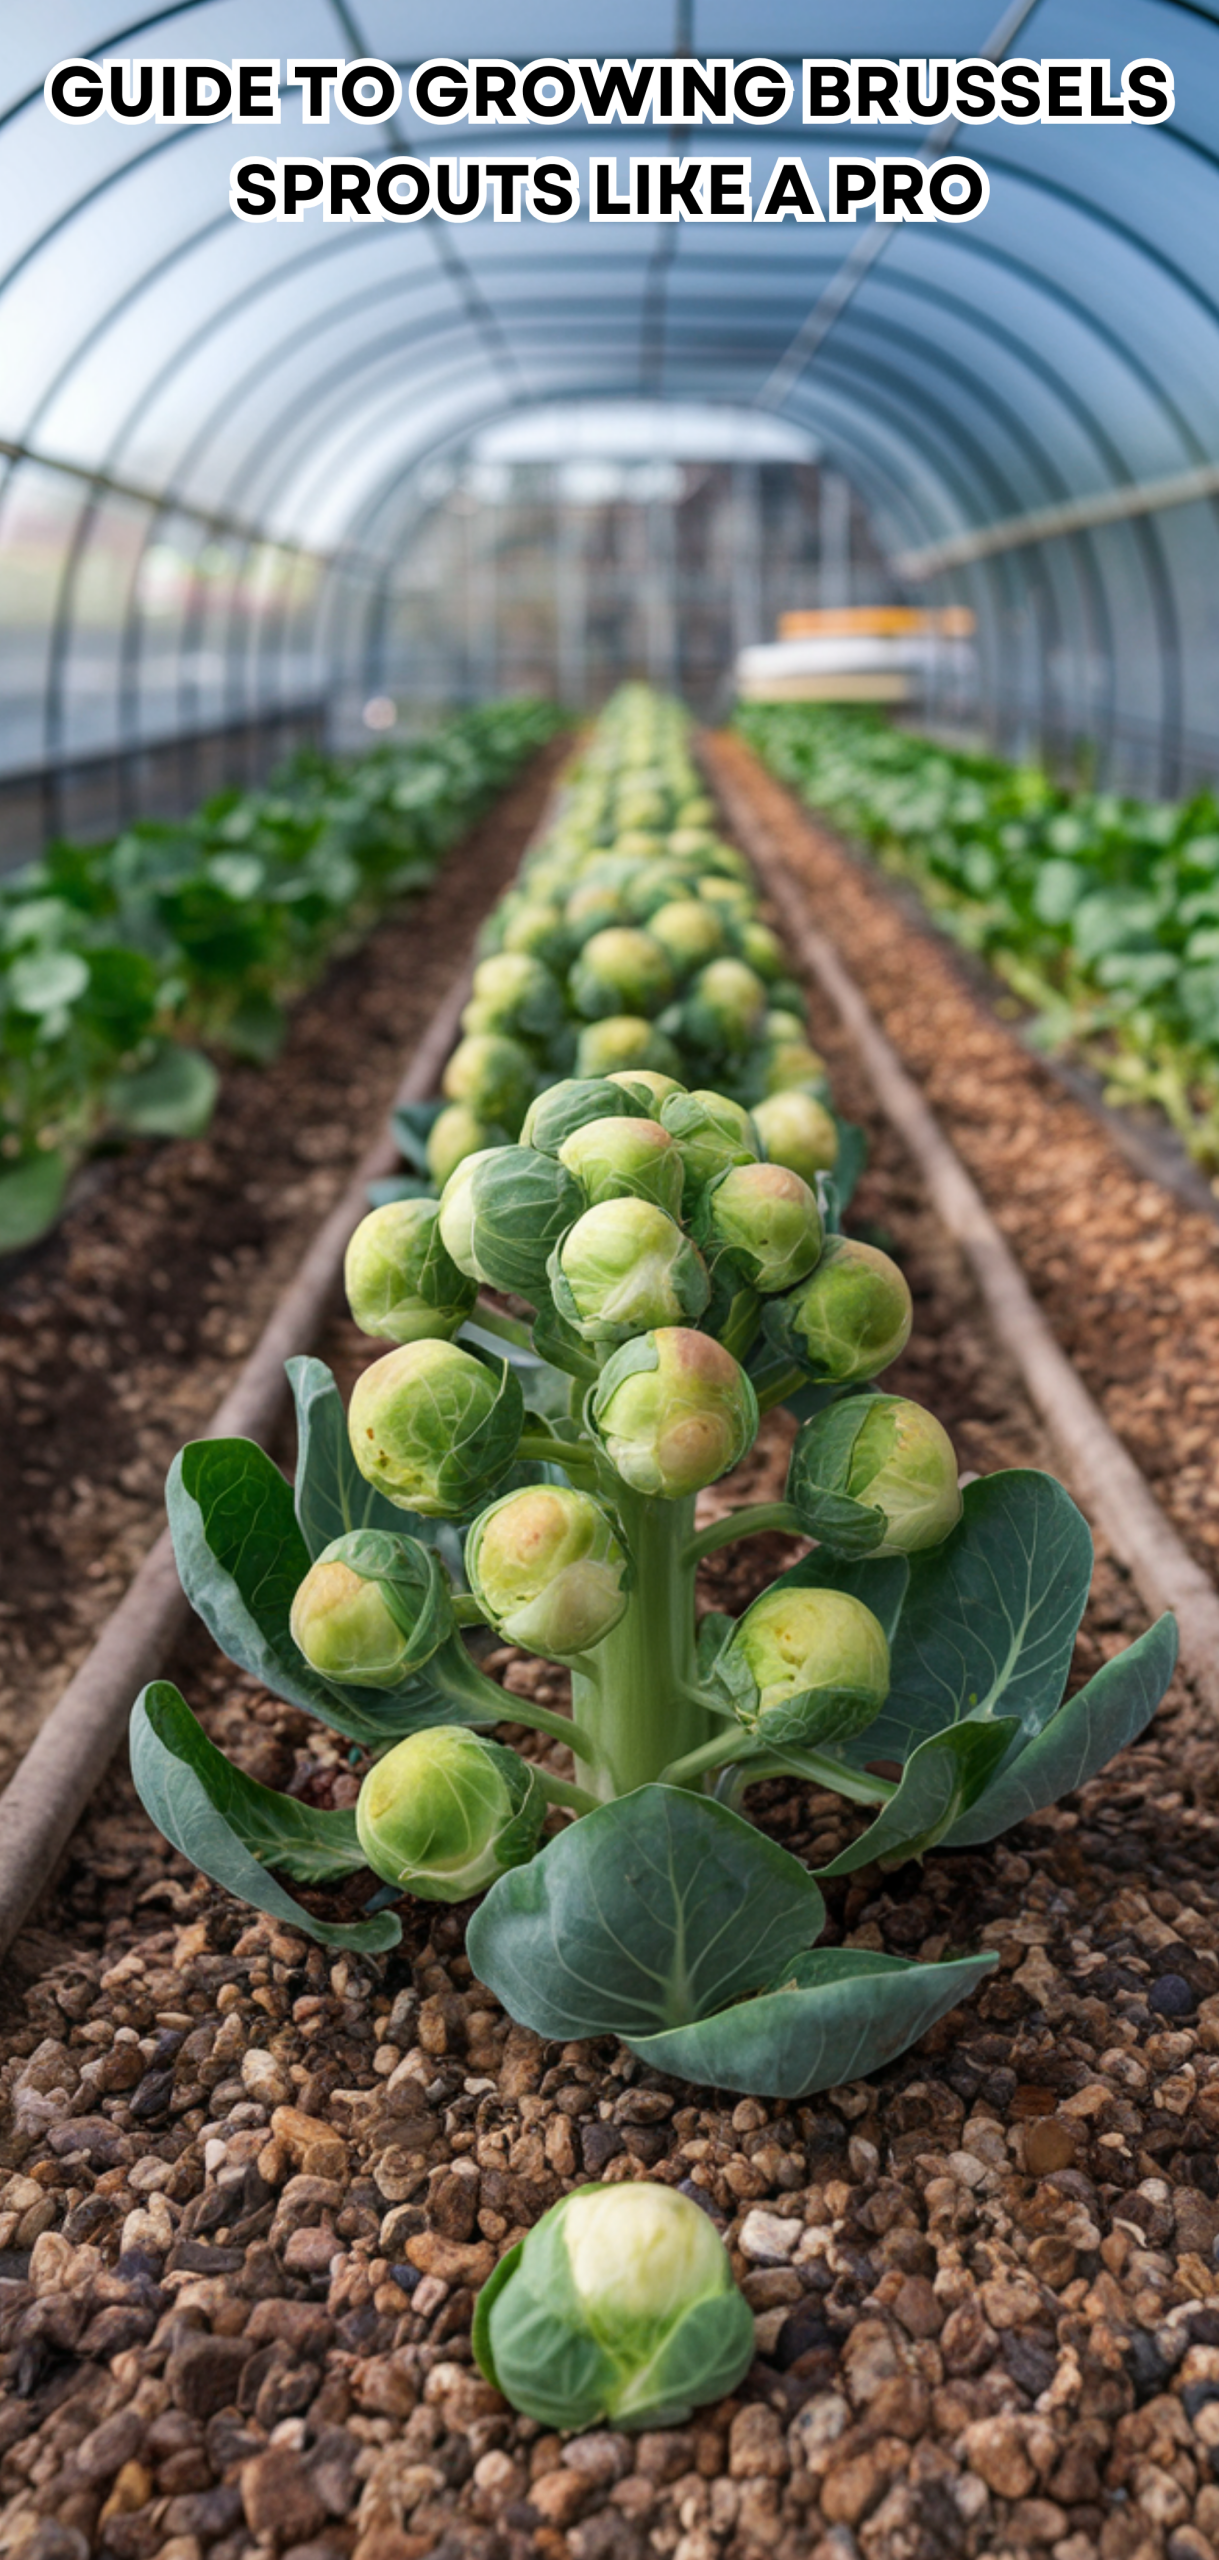
14. Select a Sunny Location with Rich Soil
Brussels sprouts thrive in full sunlight for at least 6 hours daily. Choose a location with loamy, well-draining soil rich in organic matter.
Ideal soil pH: Between 6.5 and 7.5.
Brussels Sprouts Tip: Add compost or aged manure before planting to enrich the soil and promote vigorous growth.
13. Feed Your Plants Regularly
Brussels sprouts are heavy feeders that require consistent nutrition. Apply a balanced fertilizer (10-10-10) at planting time, and side-dress with compost or liquid fertilizer every 3–4 weeks.
Brussels Sprouts Tip: Use organic options like fish emulsion or seaweed extract for steady, natural feeding.
12. Keep the Soil Evenly Moist
Consistent moisture is essential for uniform sprout formation. Water deeply once or twice per week, depending on rainfall and temperature.
Avoid waterlogging, which can cause root rot and fungal diseases.
Brussels Sprouts Tip: Add mulch around the base to retain moisture and regulate soil temperature.
11. Control Weeds Early
Weeds compete for nutrients and can harbor pests. Keep the garden bed clean by gently hoeing or hand-pulling weeds regularly.
Brussels Sprouts Tip: Apply an organic mulch layer (straw or shredded leaves) to prevent weed growth and protect the soil.
10. Watch Out for Pests and Diseases
Common pests include aphids, cabbage worms, and flea beetles. Check the undersides of leaves frequently.
Brussels Sprouts Tip: Rotate crops each year to prevent soil-borne diseases like clubroot.
9. Support Tall Plants
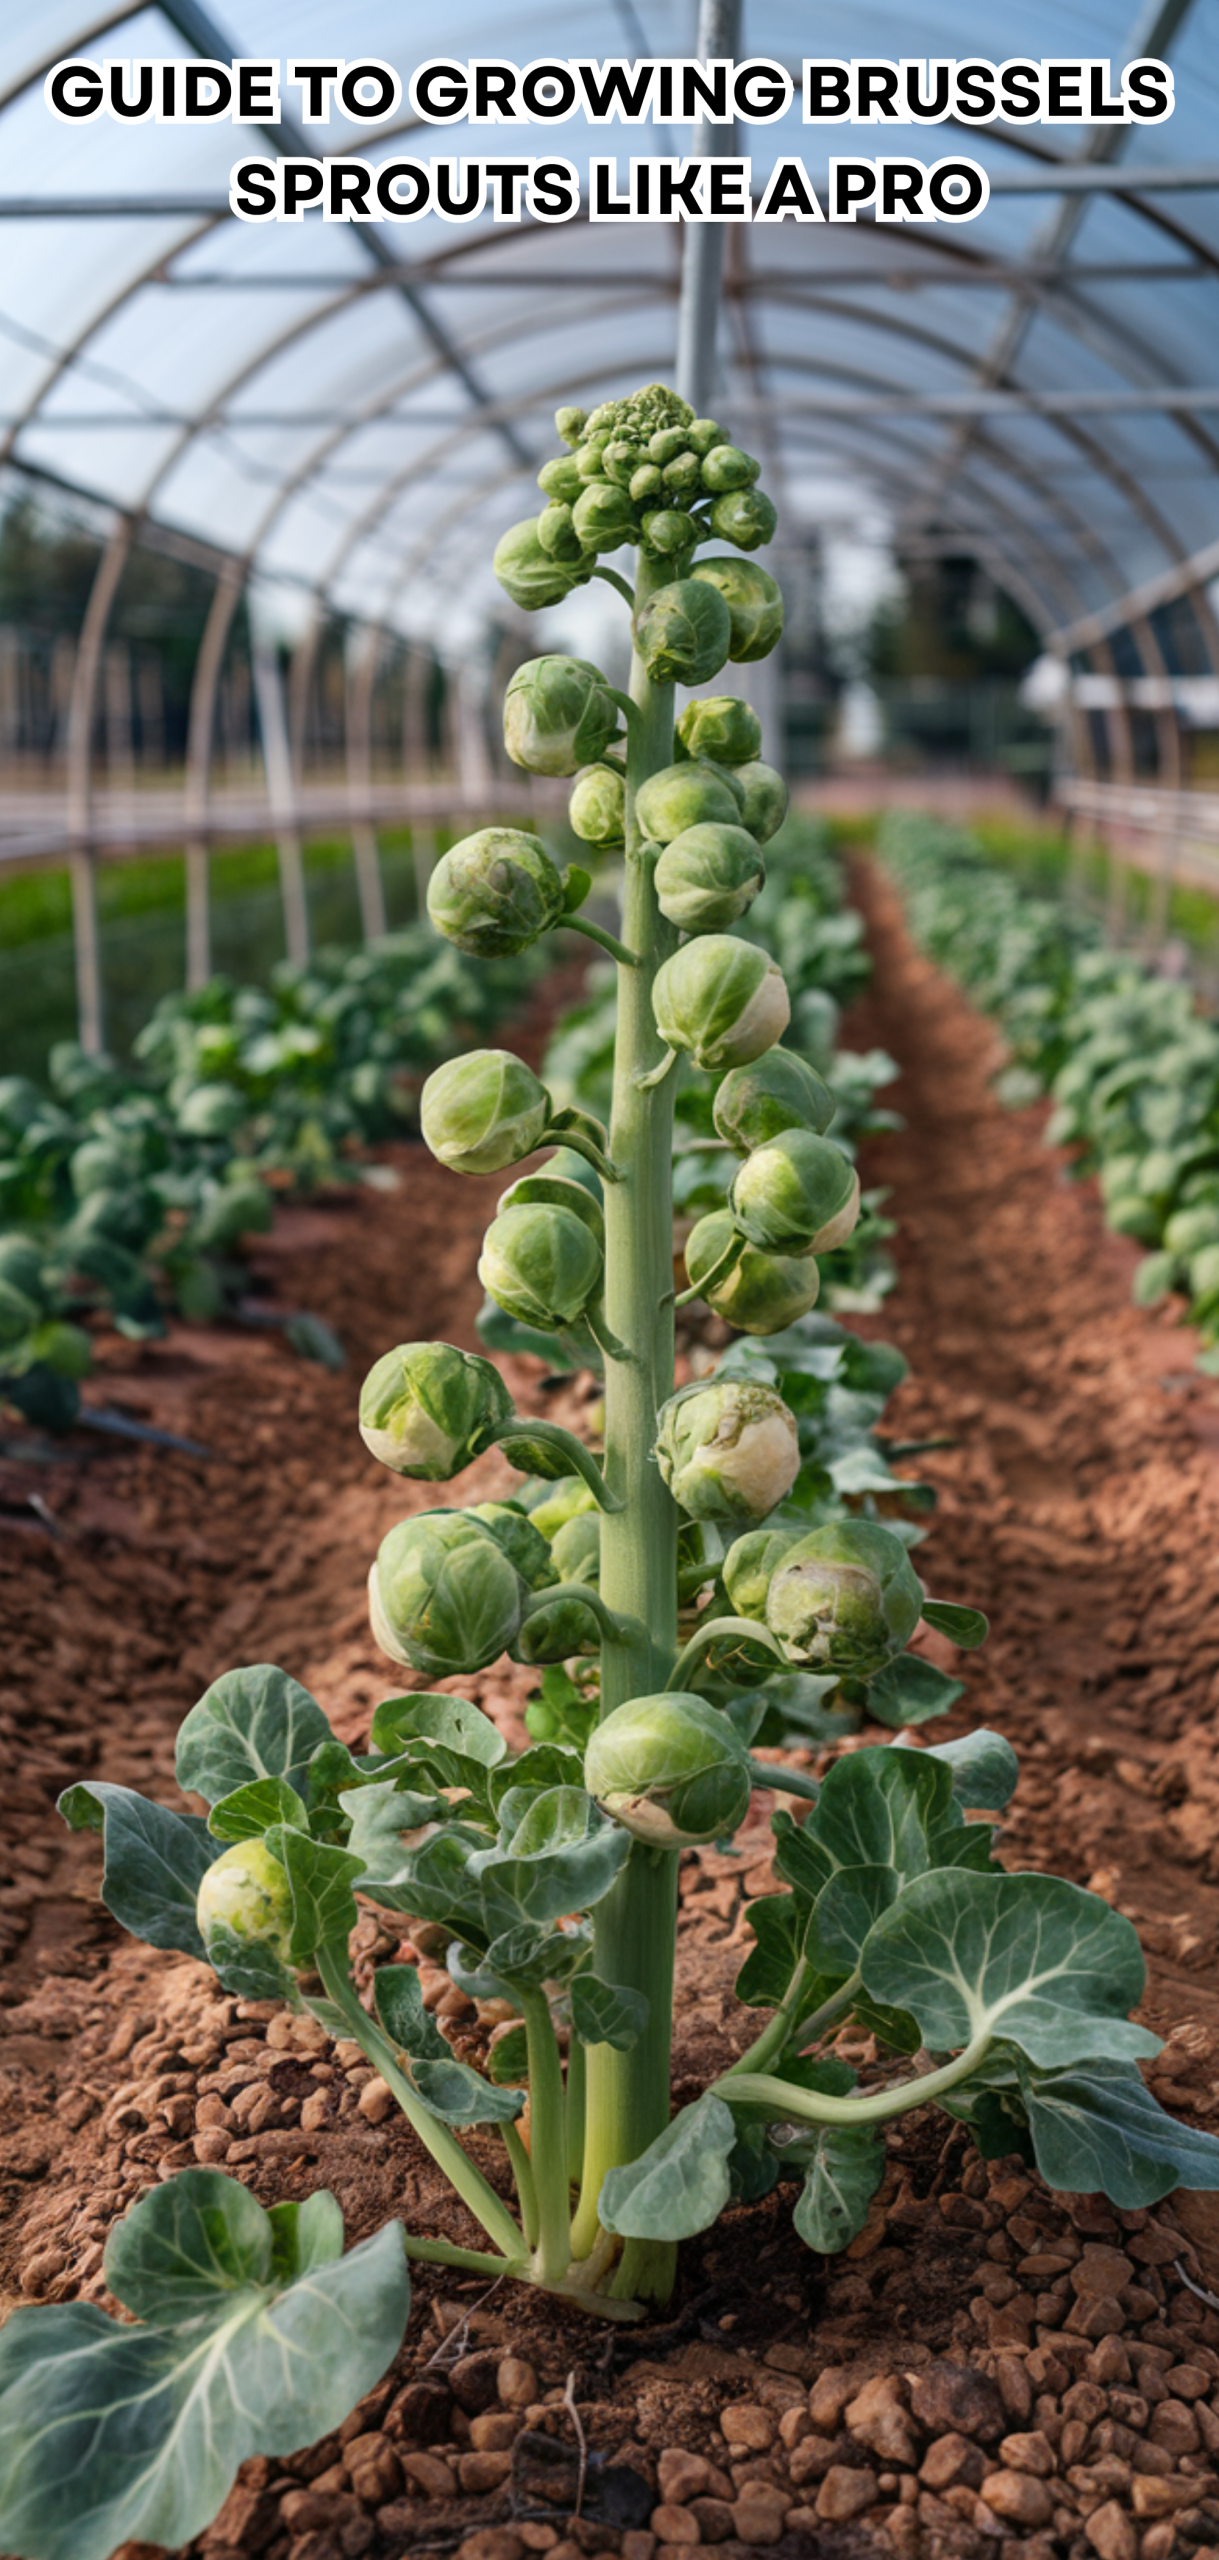
As Brussels sprouts mature, tall stalks may become top-heavy. Use garden stakes or small trellises to prevent bending or breaking.
Brussels Sprouts Tip: Tie plants loosely with soft twine to support the stem without restricting growth.
8. Prune for Better Airflow and Yield

Remove yellowing lower leaves as the plant grows to improve air circulation and direct energy toward sprout development.
Brussels Sprouts Tip: Avoid heavy pruning; remove only a few leaves at a time to keep the plant healthy.
7. Encourage Tight, Compact Sprouts
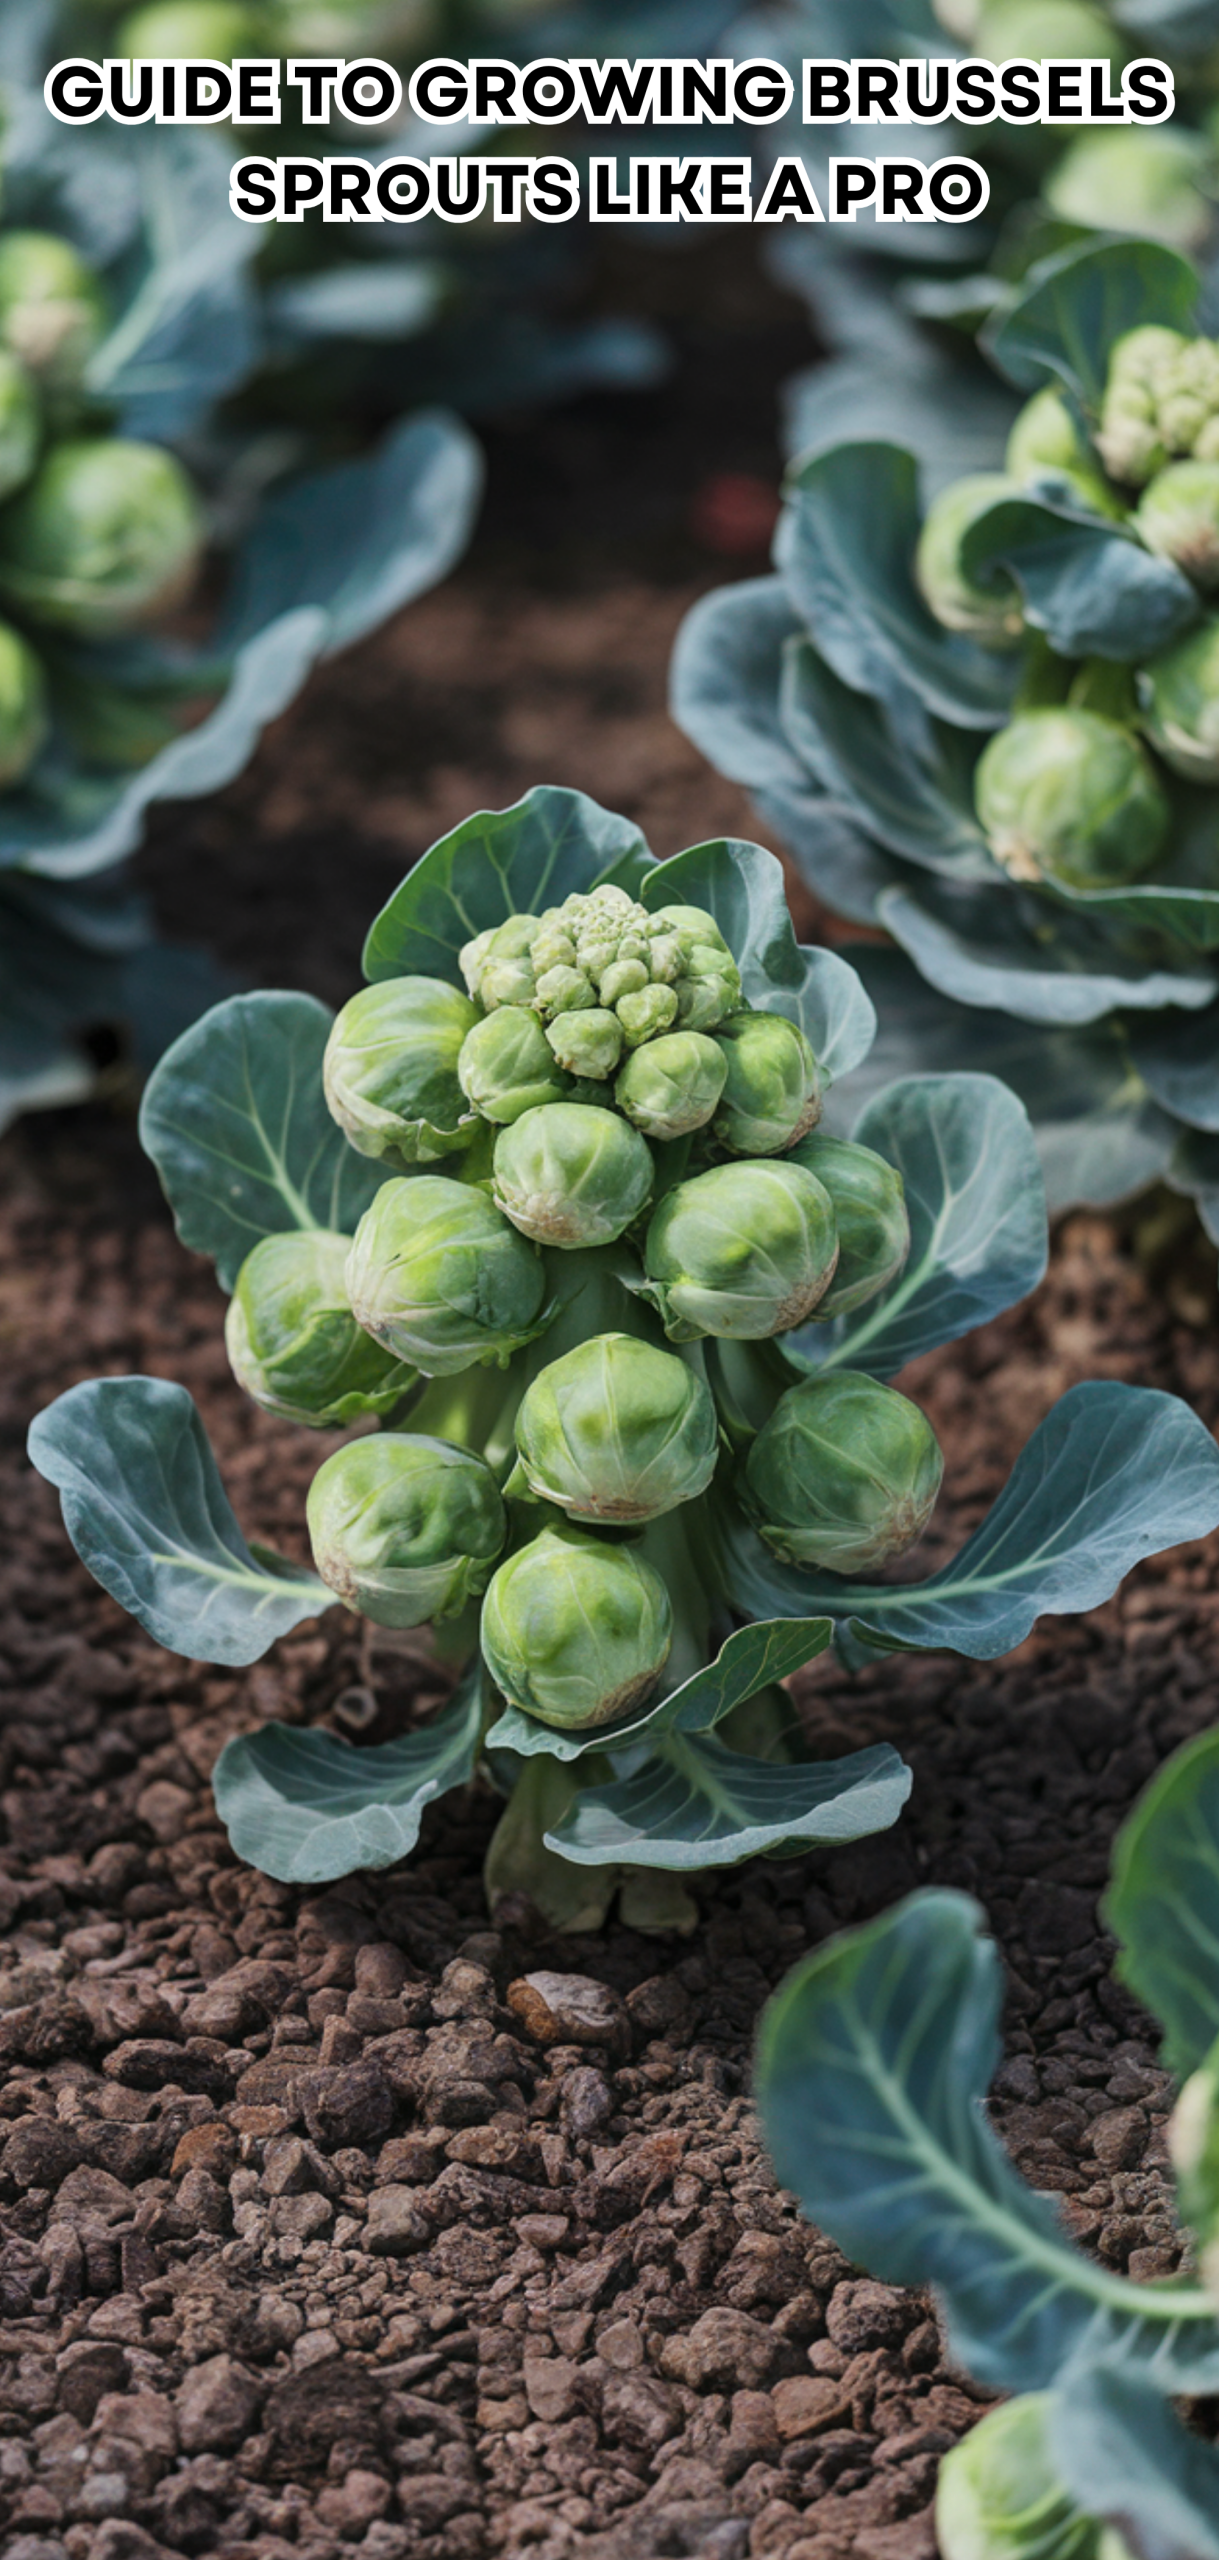
Pinching the growing tip (top of the plant) 3–4 weeks before harvest encourages all sprouts to mature simultaneously and tightly.
Brussels Sprouts Tip: This technique is especially useful for late-season crops before frost.
6. Provide Consistent Cool Temperatures
Brussels sprouts grow best in cool weather (45–75°F / 7–24°C). Prolonged heat can cause loose, bitter sprouts.
Brussels Sprouts Tip: For summer planting, use shade cloth to protect plants from intense sunlight.
5. Apply Mulch for Soil Health

Mulching keeps the roots cool, conserves moisture, and minimizes weed competition. Use organic mulch such as straw, compost, or bark chips.
Brussels Sprouts Tip: Refresh mulch layers every few weeks as they break down.
4. Fertilize Mid-Season for Boosted Growth
When sprouts begin forming along the stem, apply a nitrogen-rich fertilizer or compost tea to encourage tight, firm heads.
Brussels Sprouts Tip: Avoid over-fertilizing; too much nitrogen causes leafy growth instead of sprout formation.
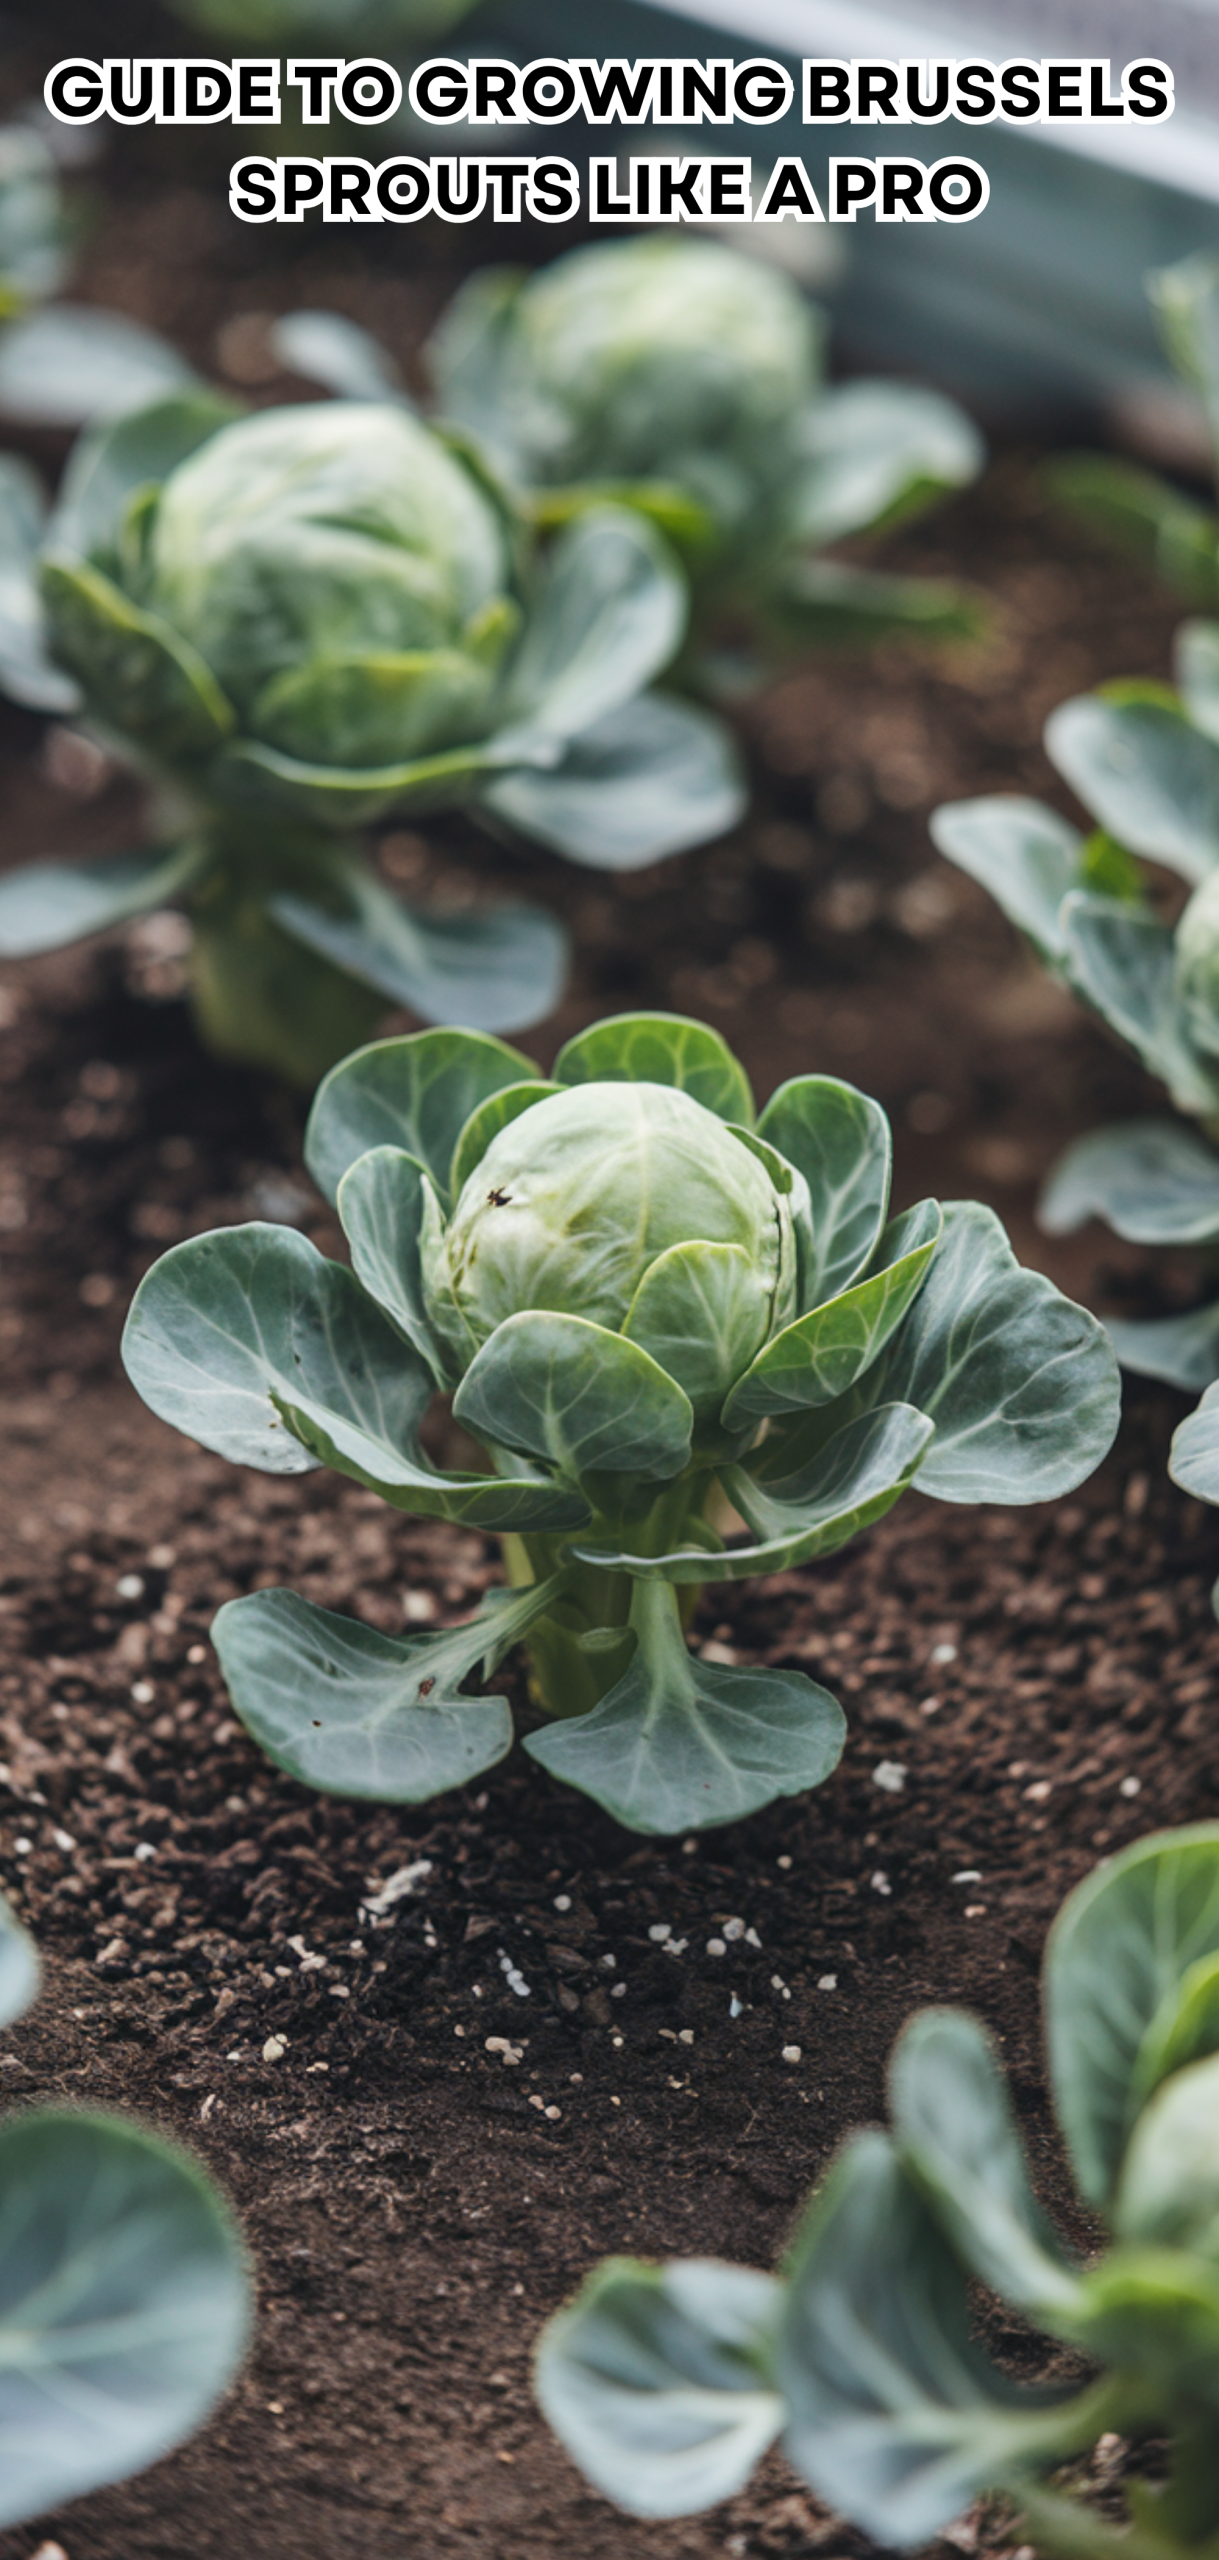
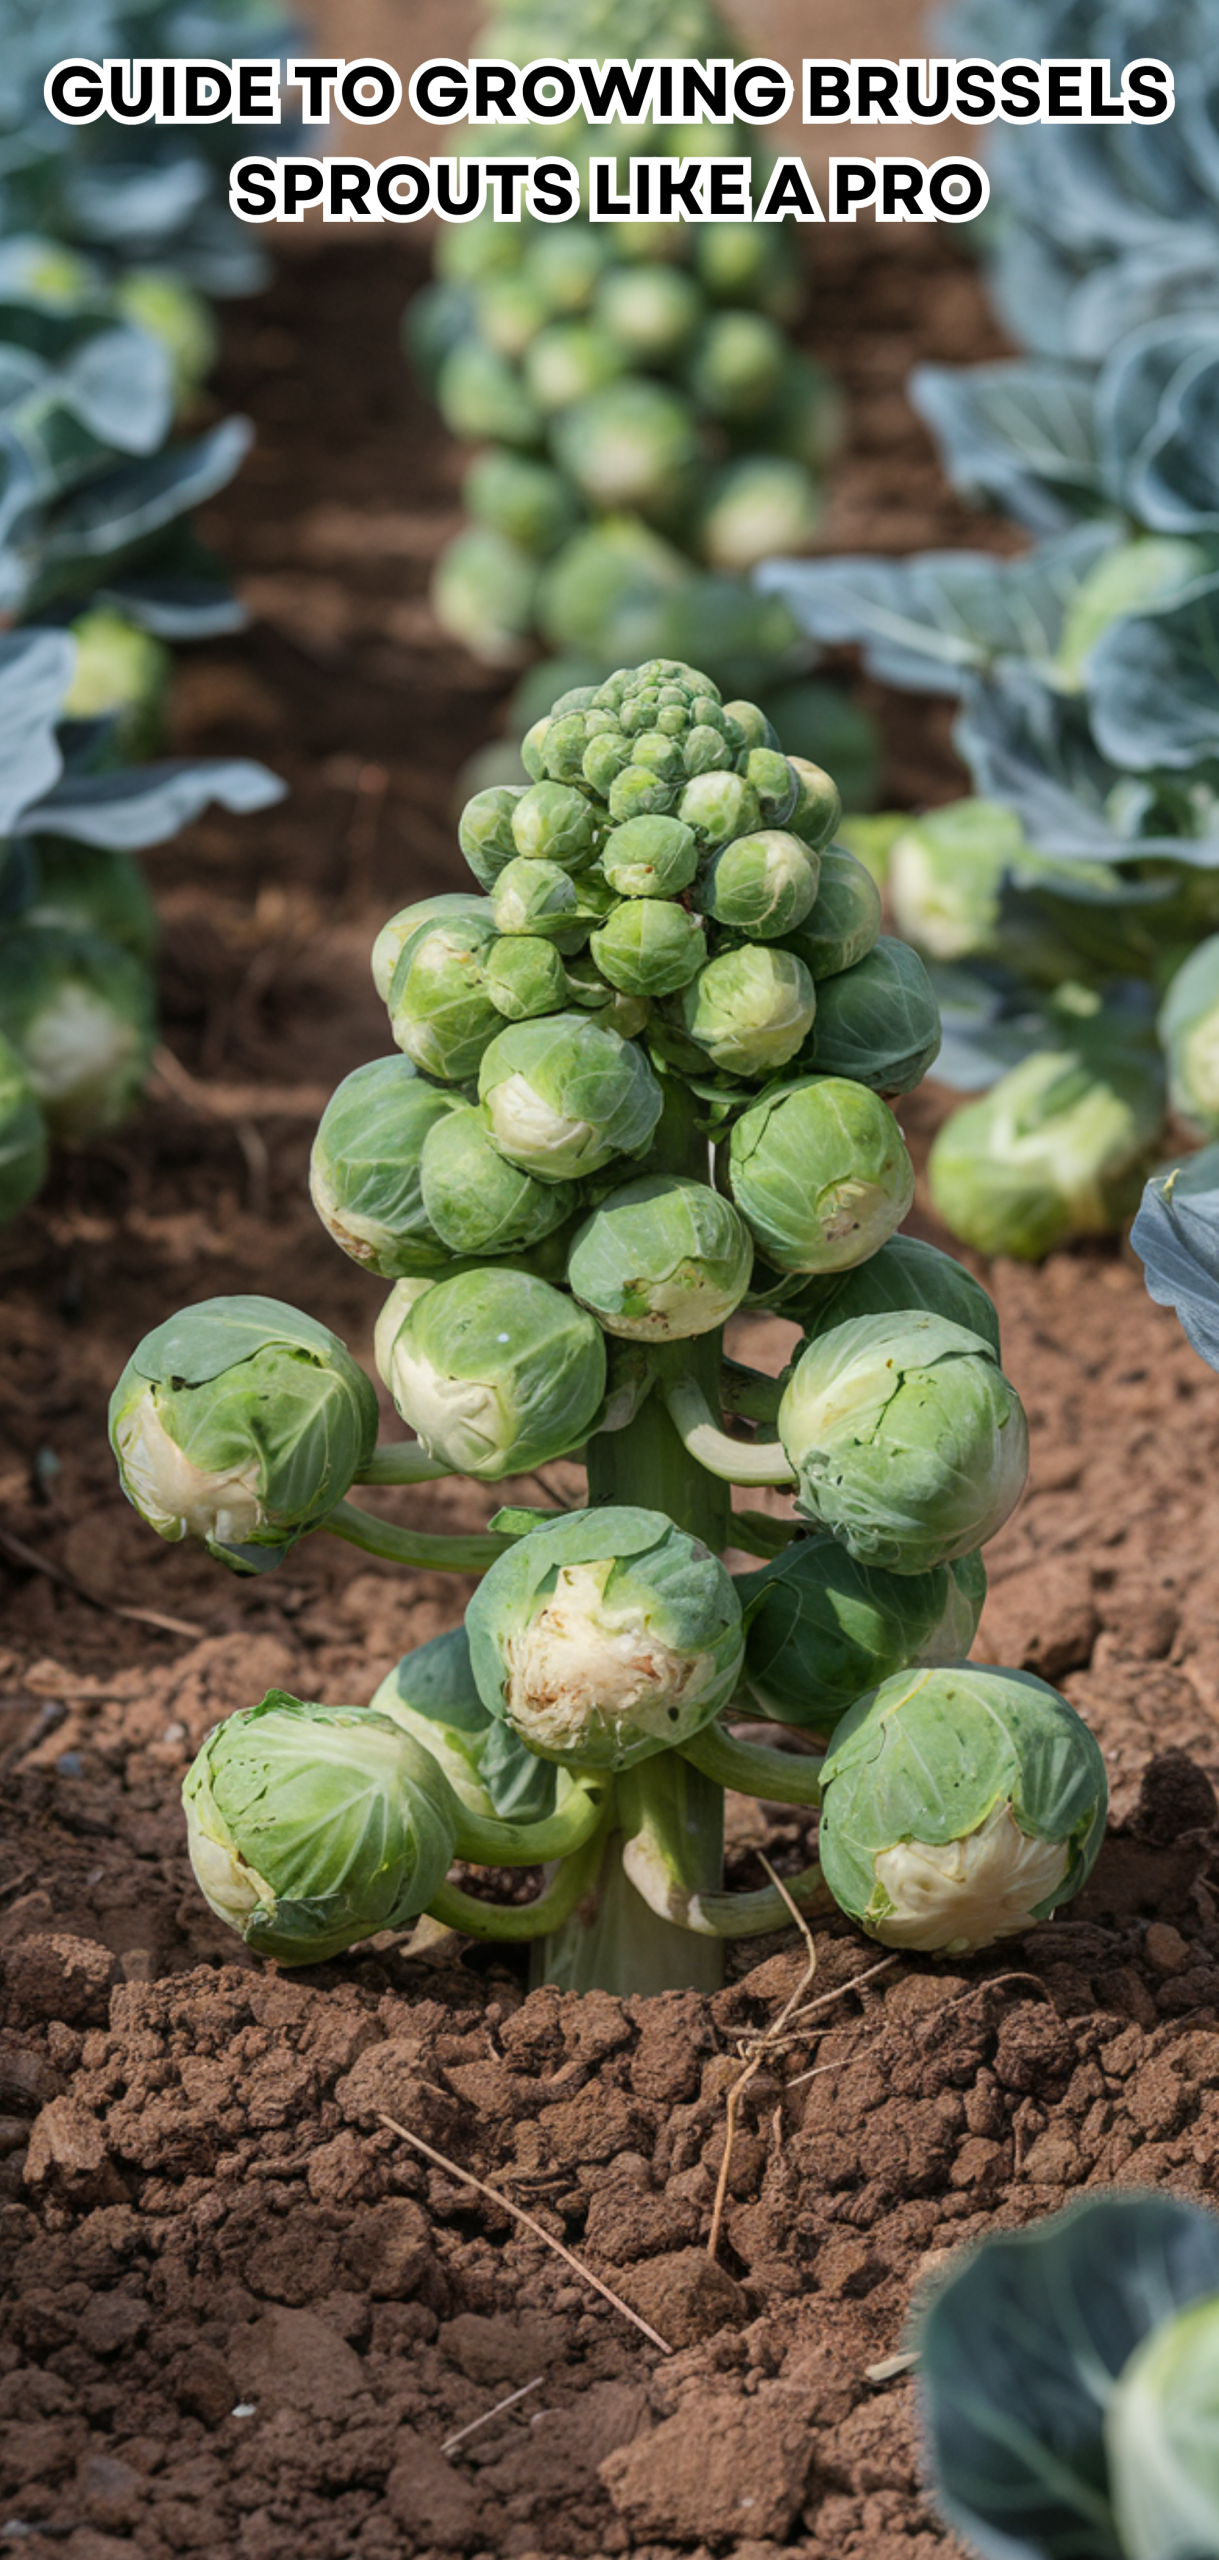
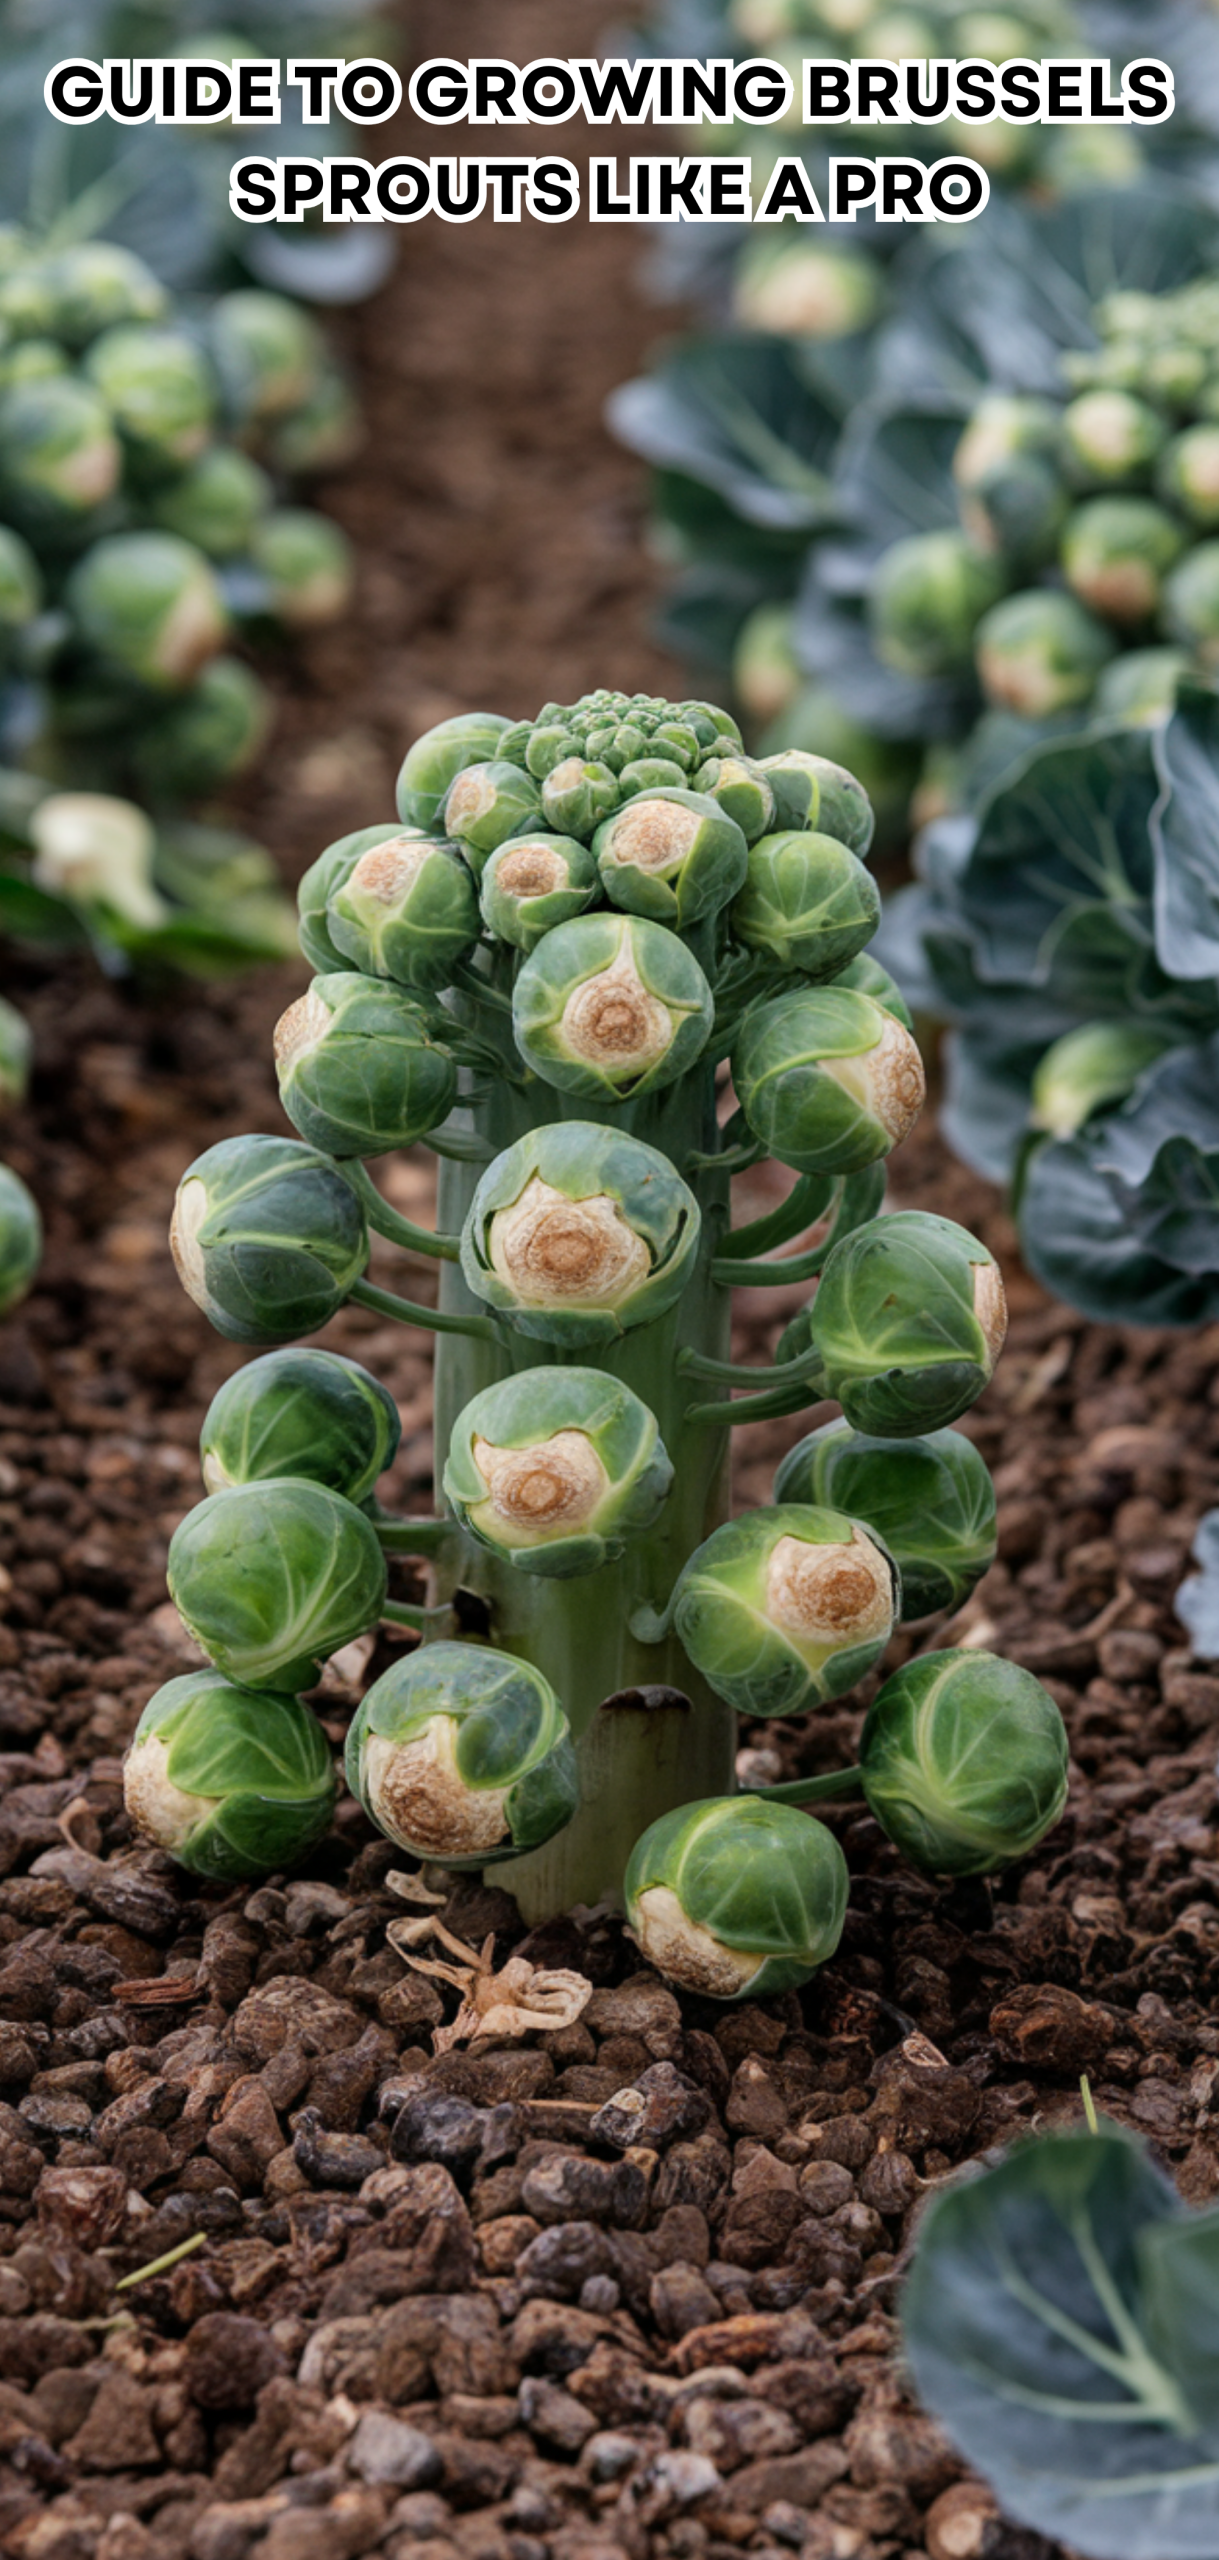
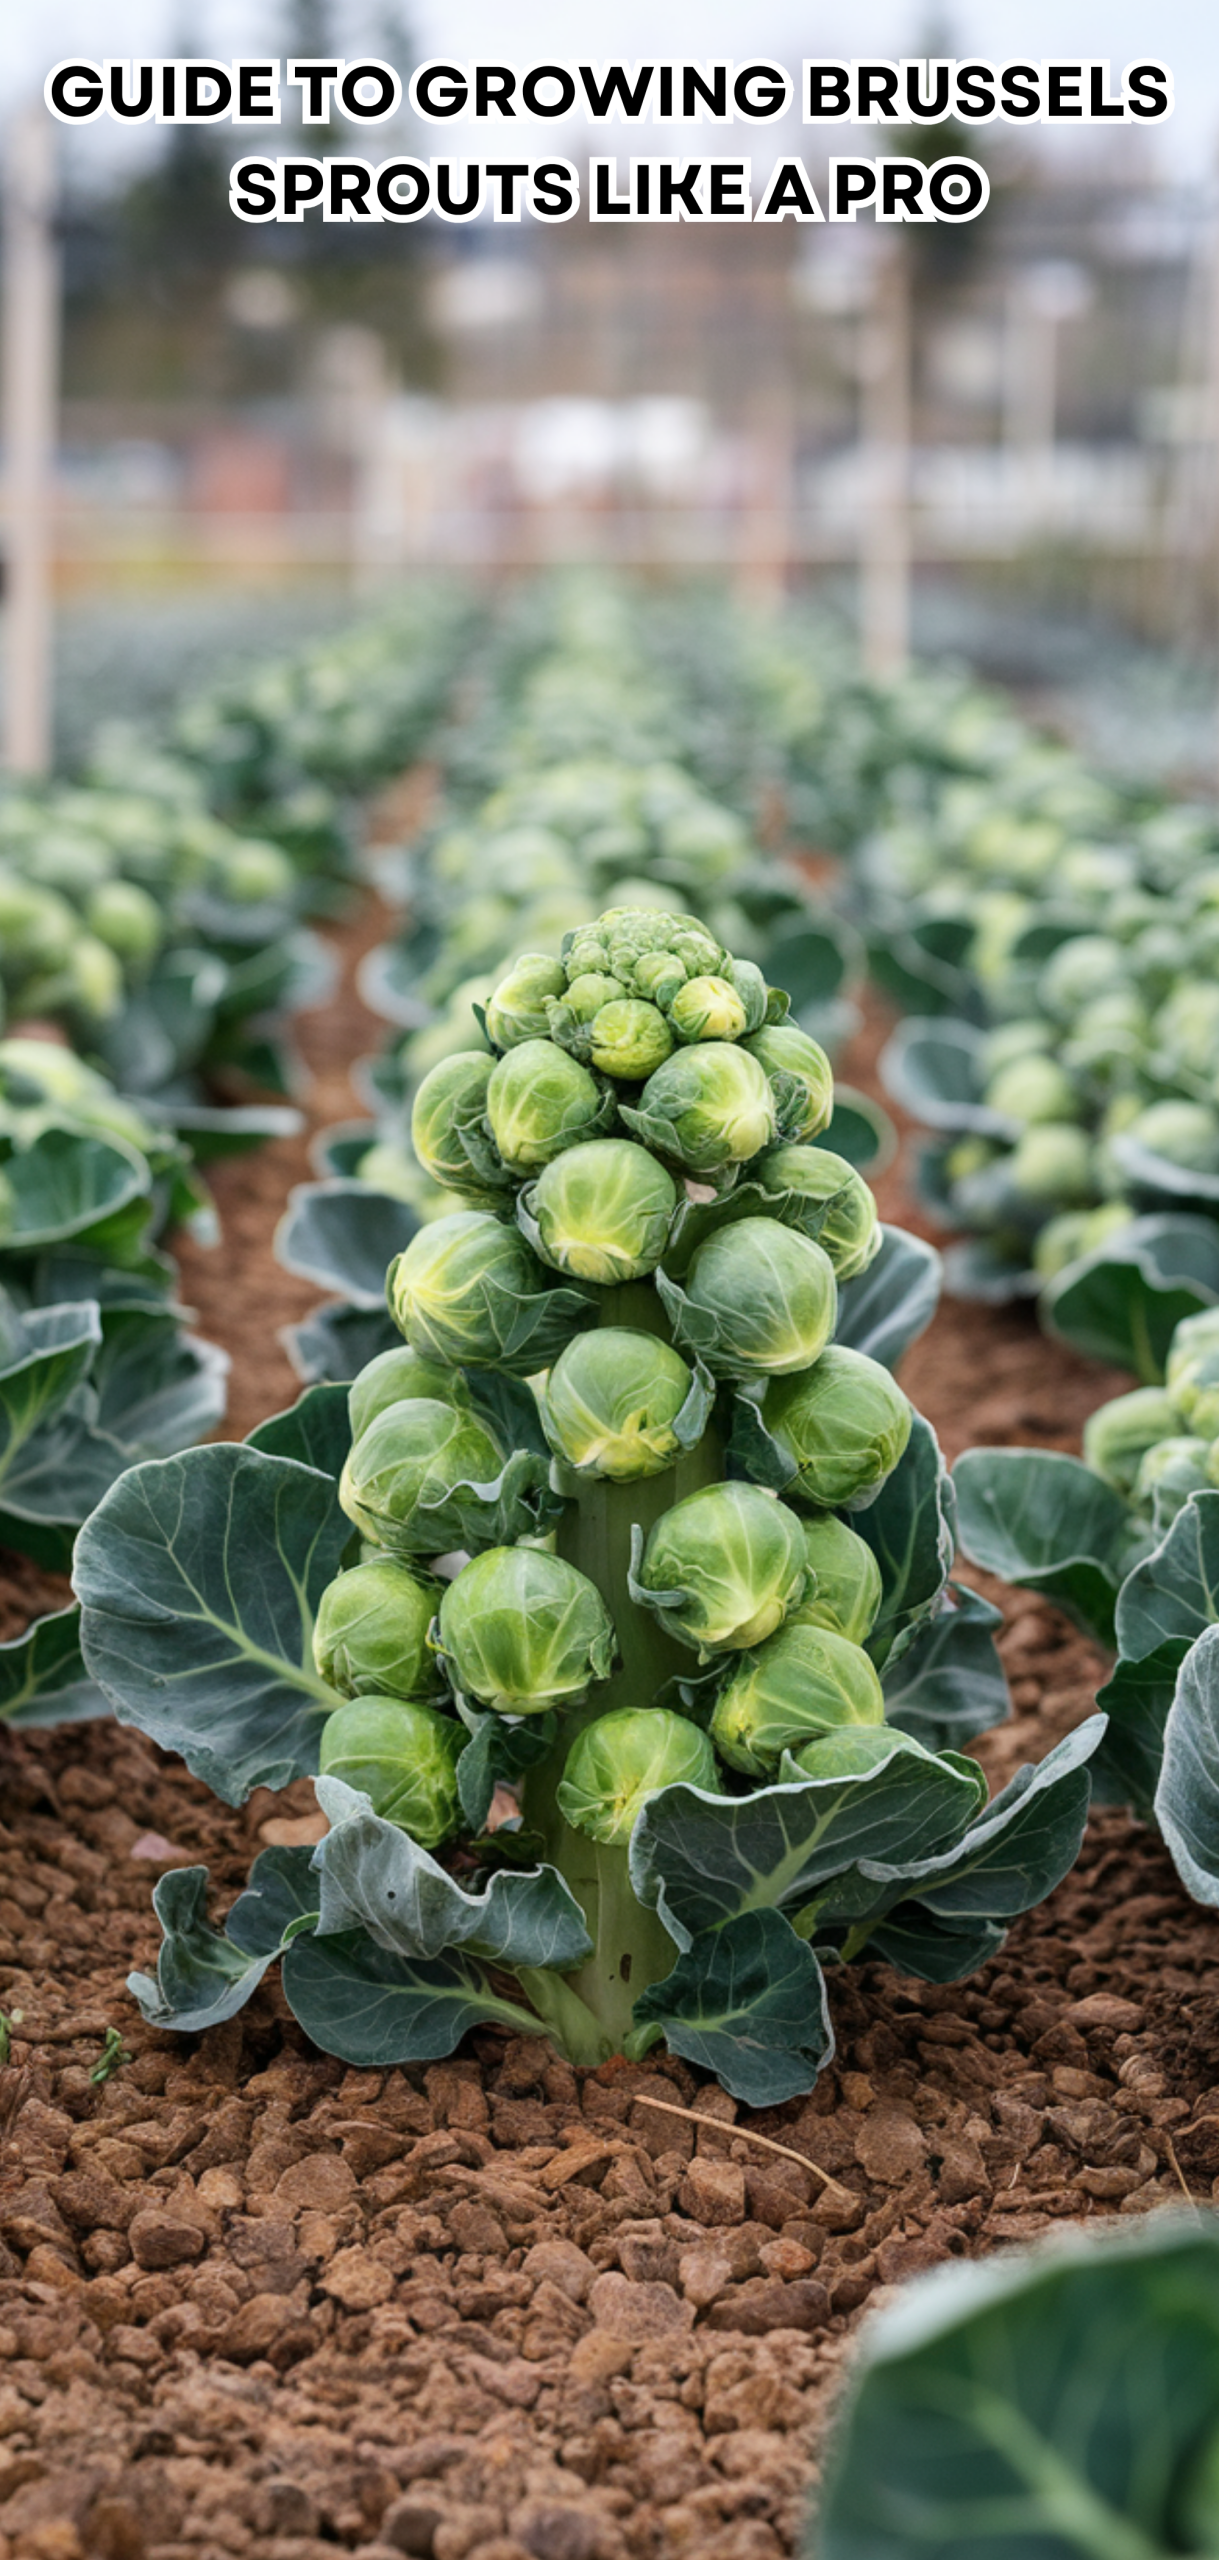
3. Monitor Growth Stages Carefully
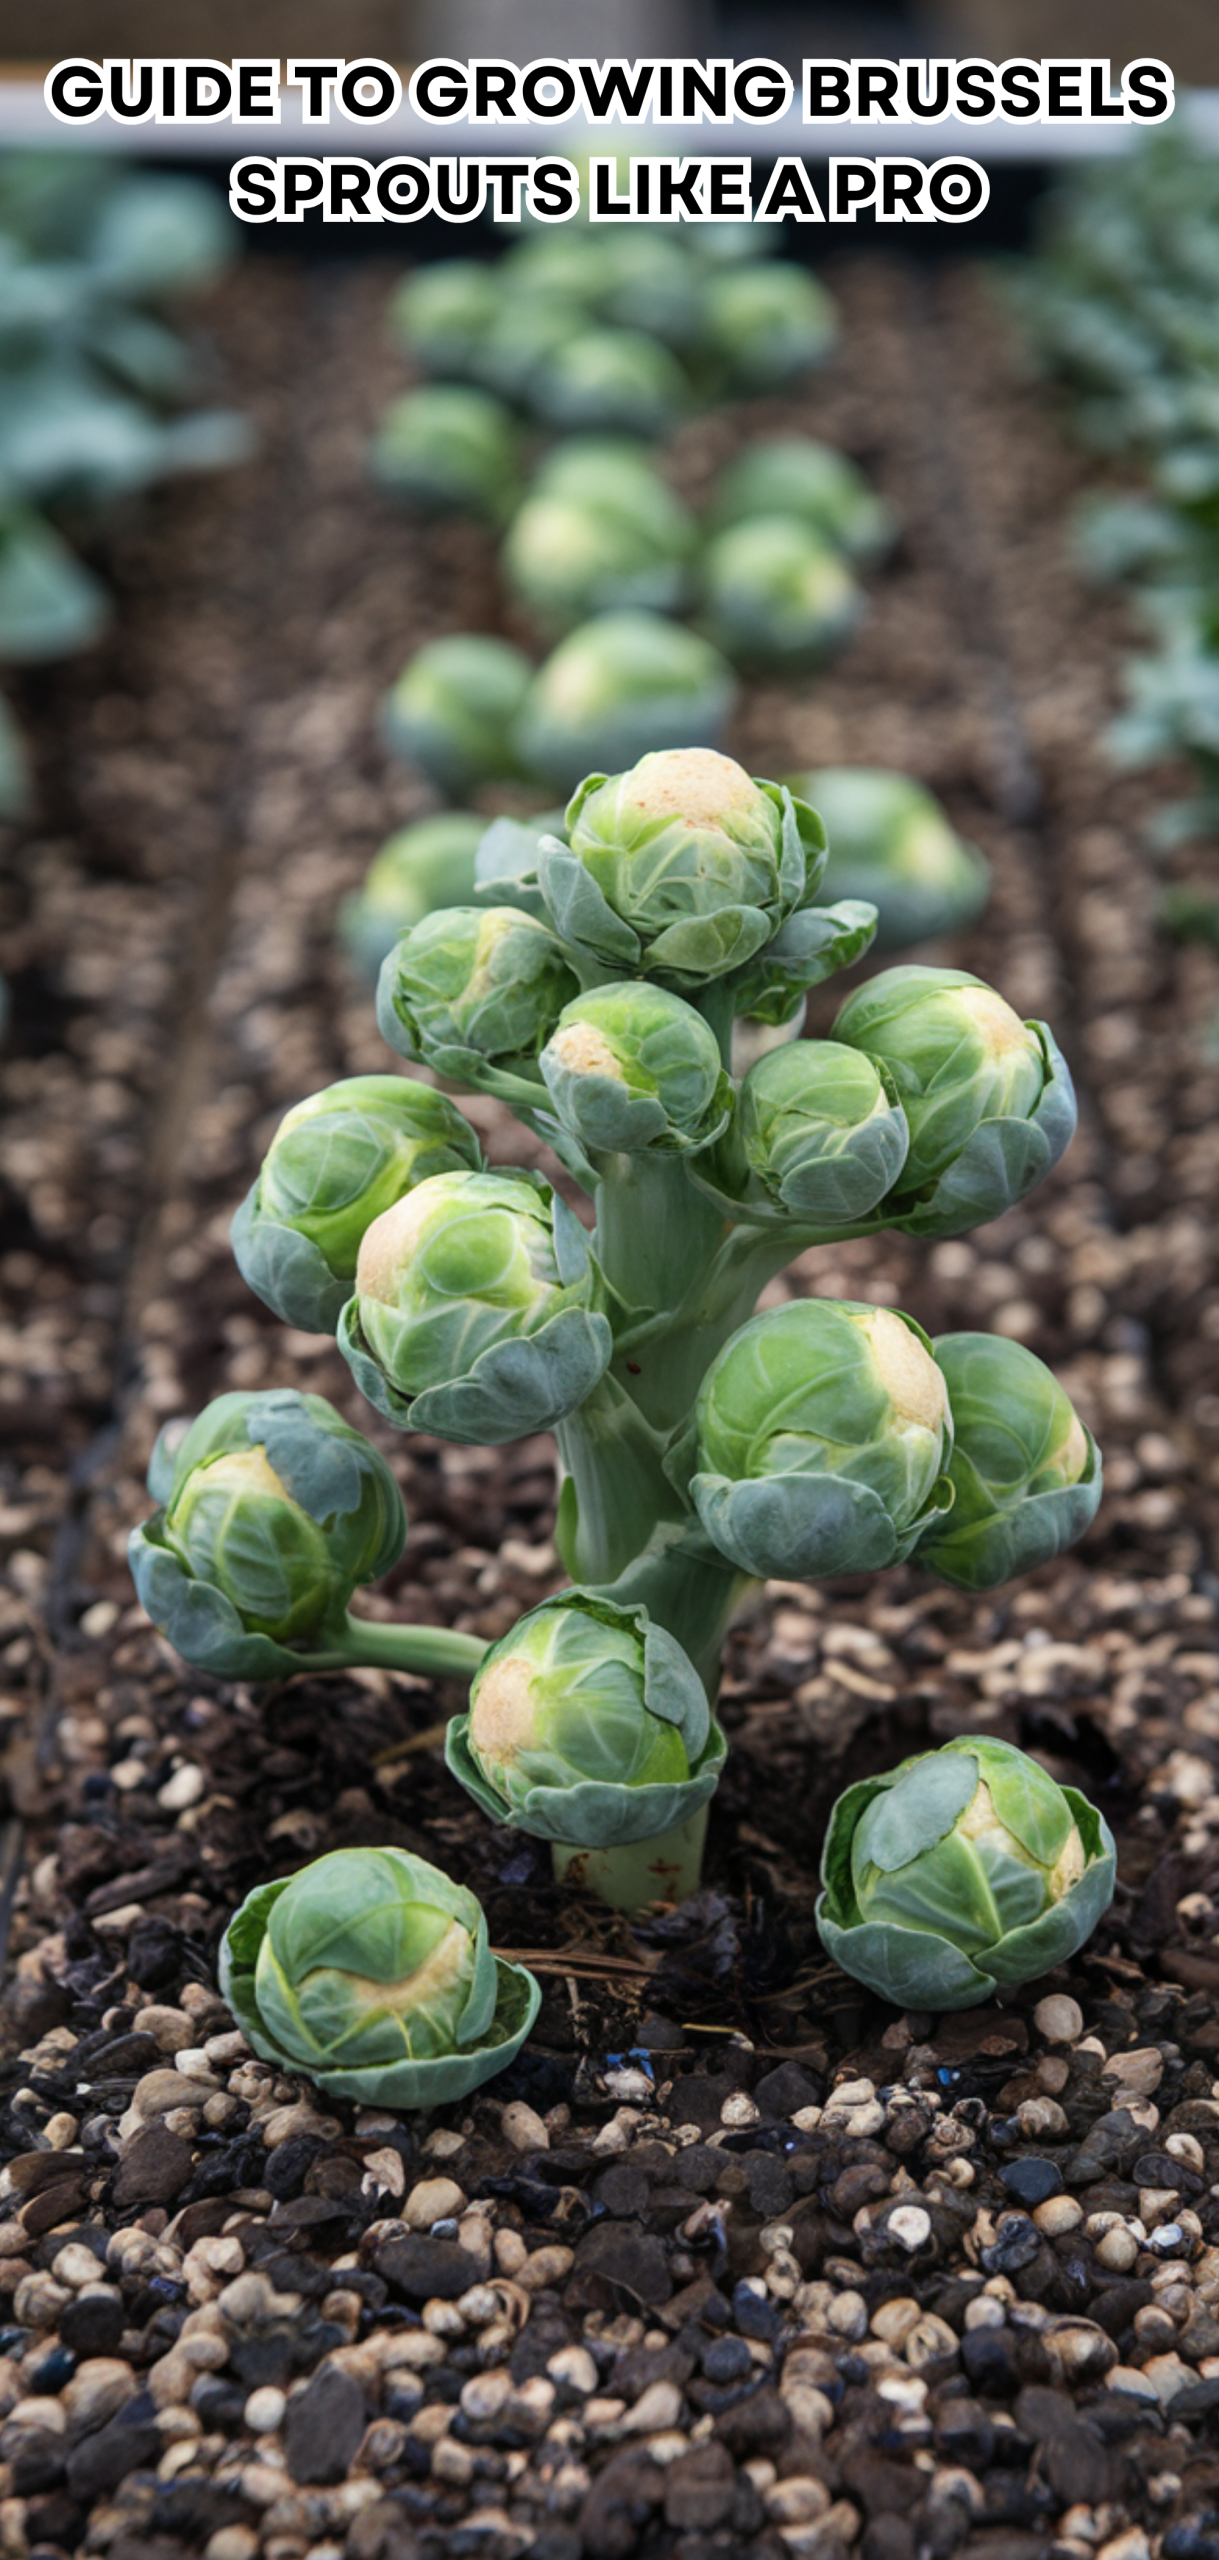
Brussels sprouts form from the bottom up, maturing along the stalk over several weeks. Keep track of their growth to harvest at peak flavor.
Brussels Sprouts Tip: Note growth stages on a gardening calendar to time fertilizing and pruning accurately.
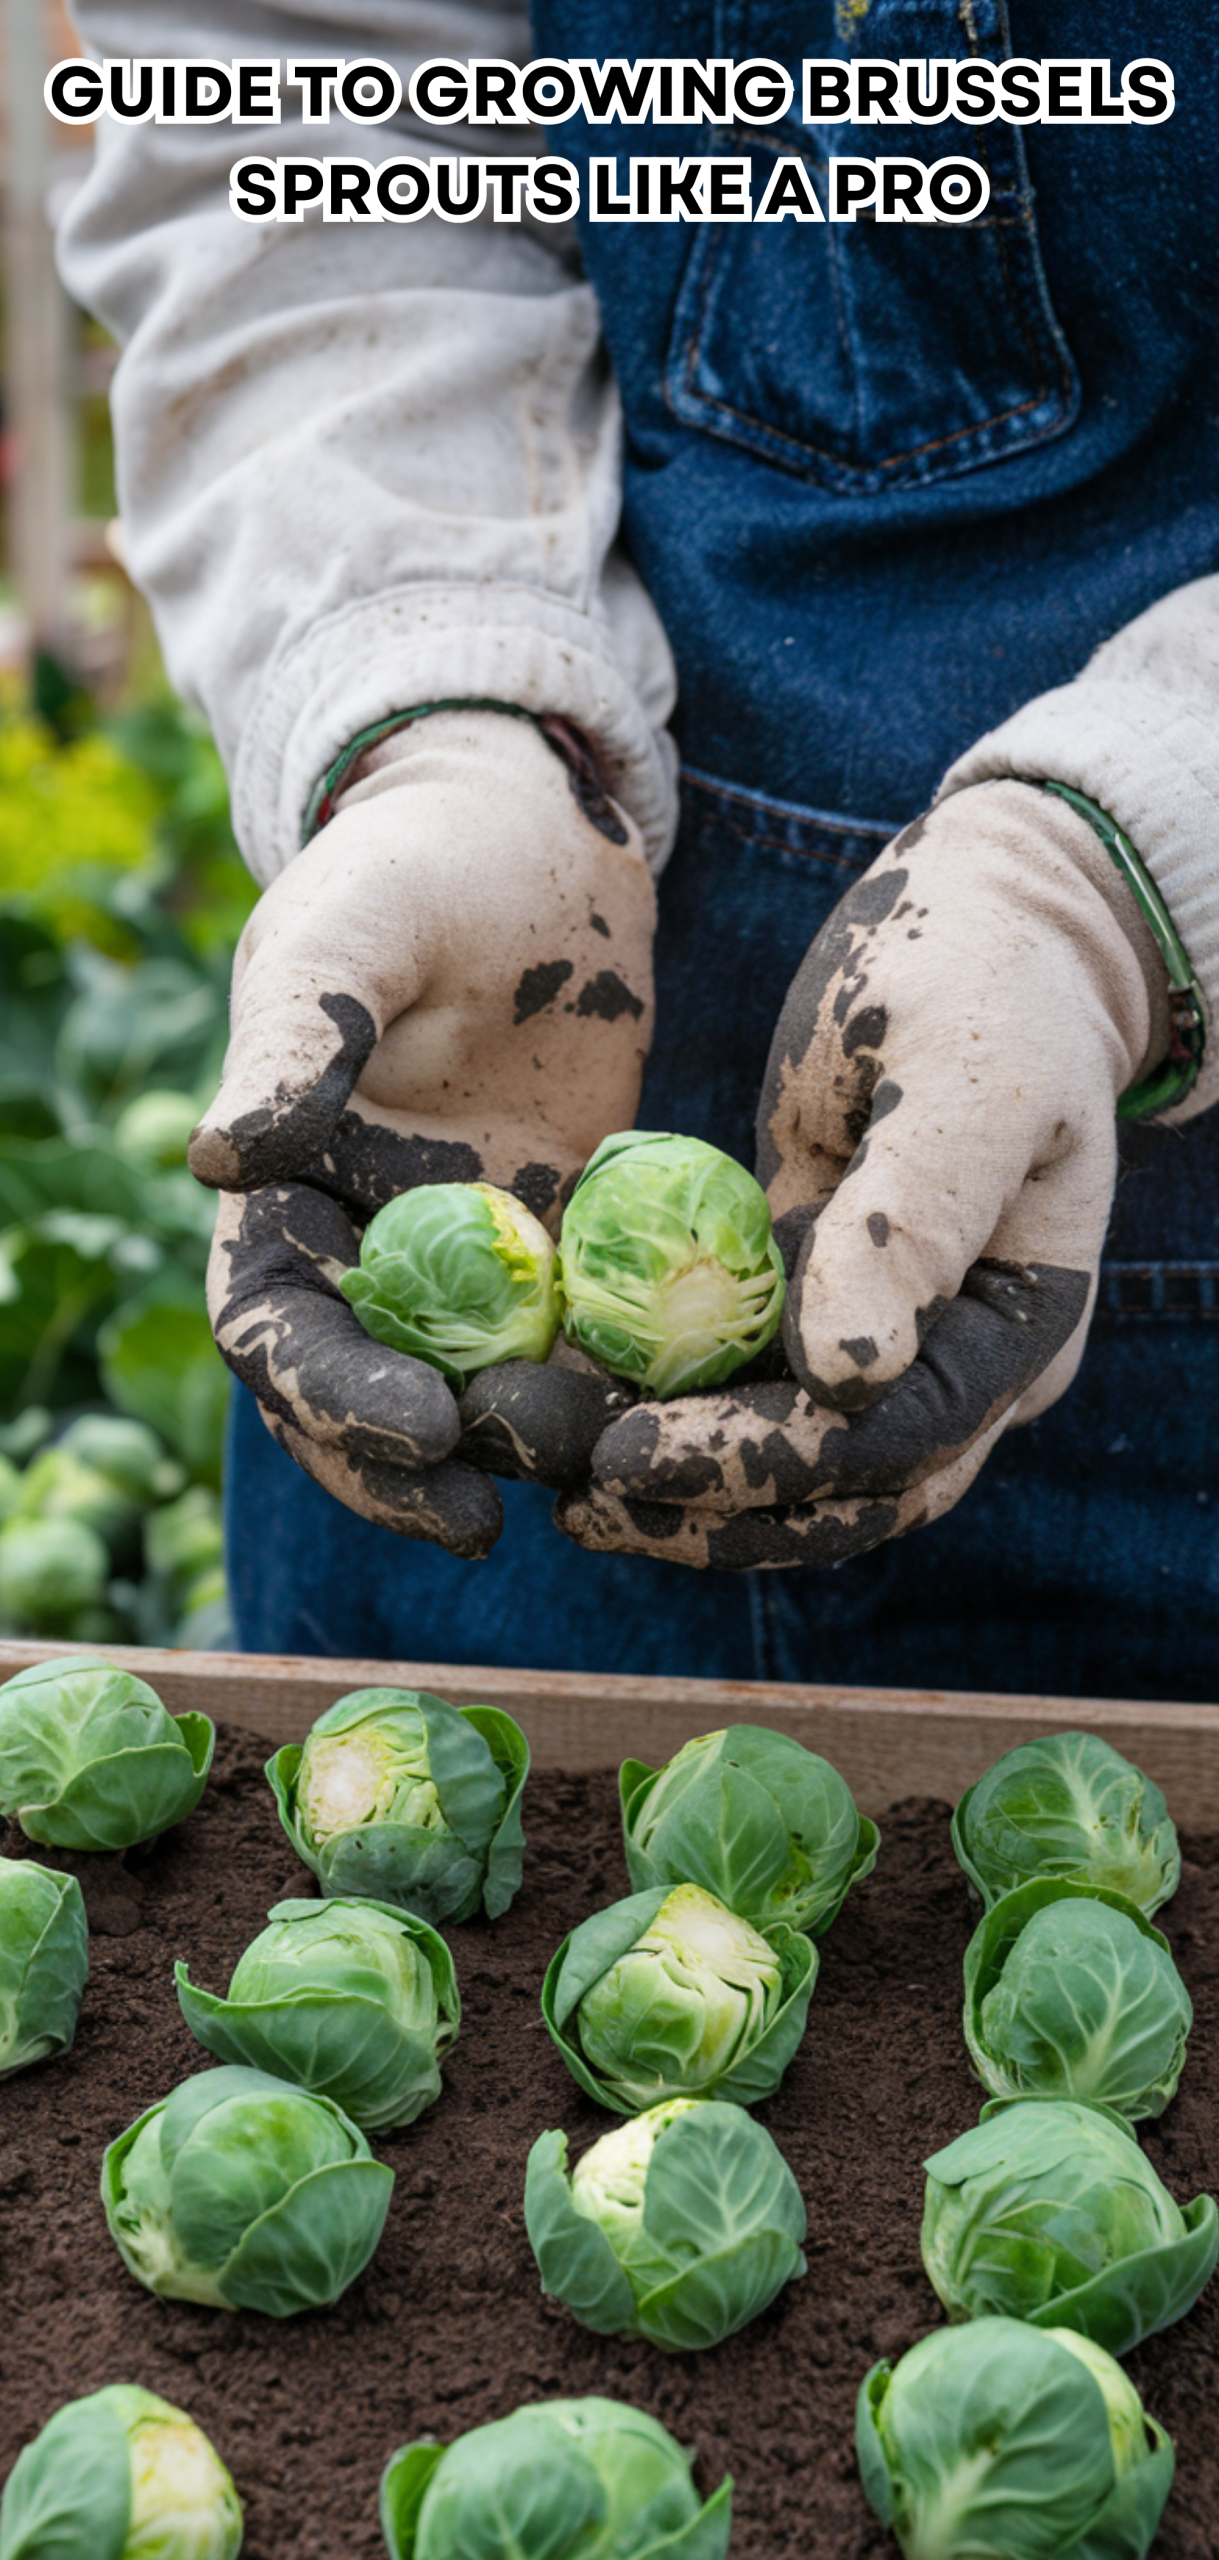
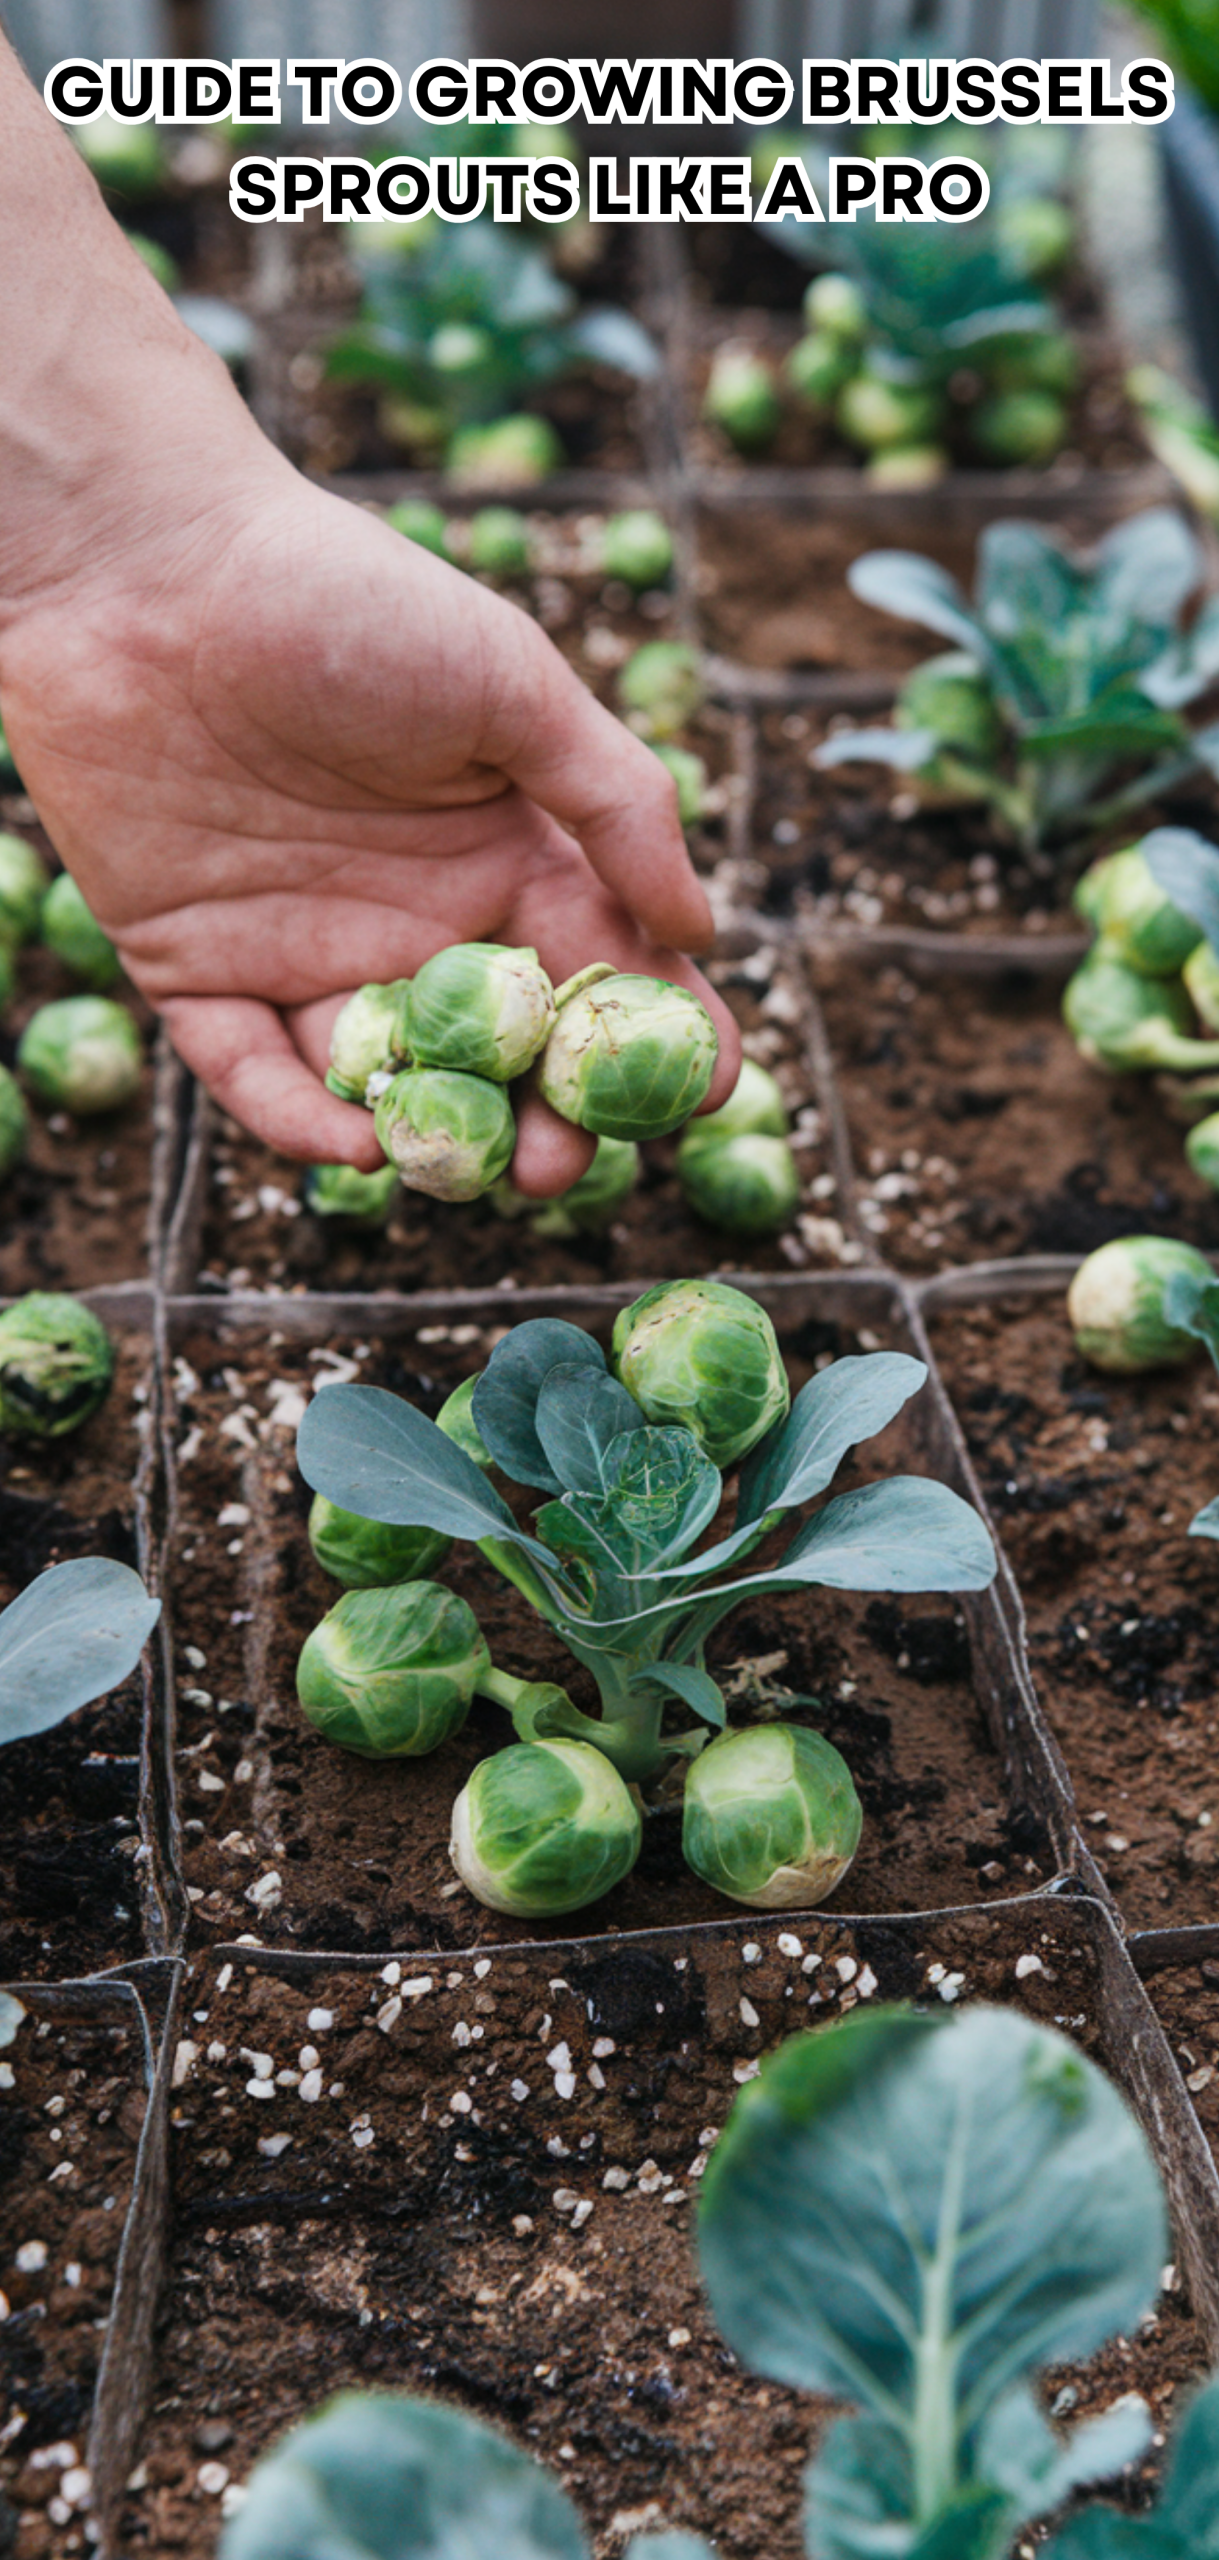
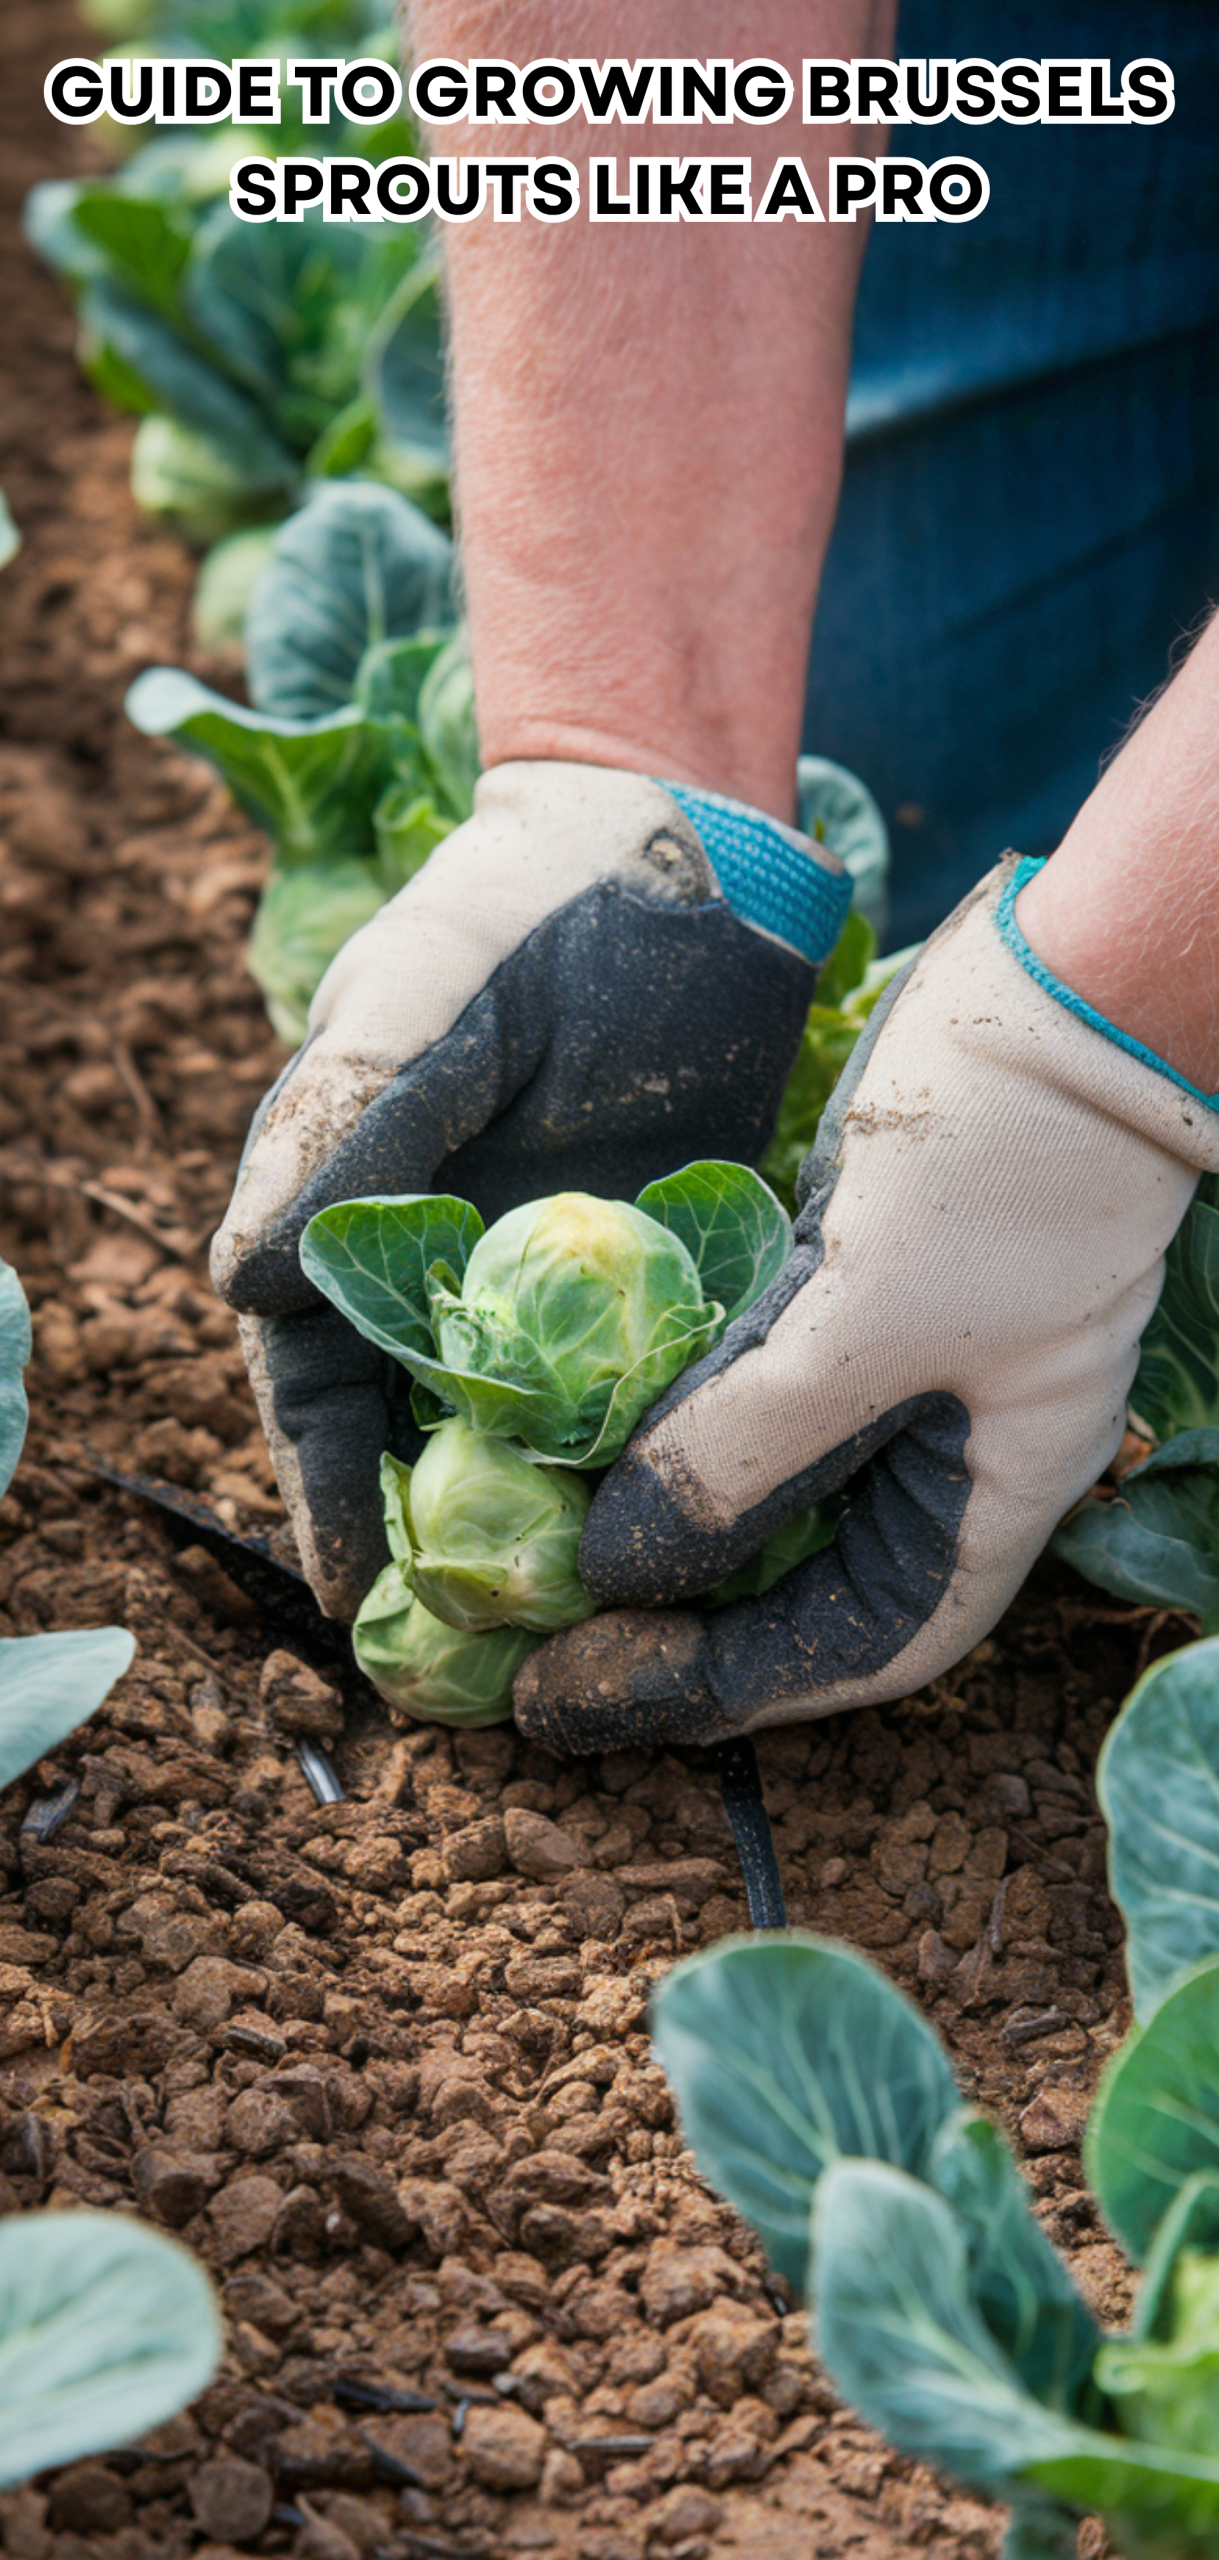
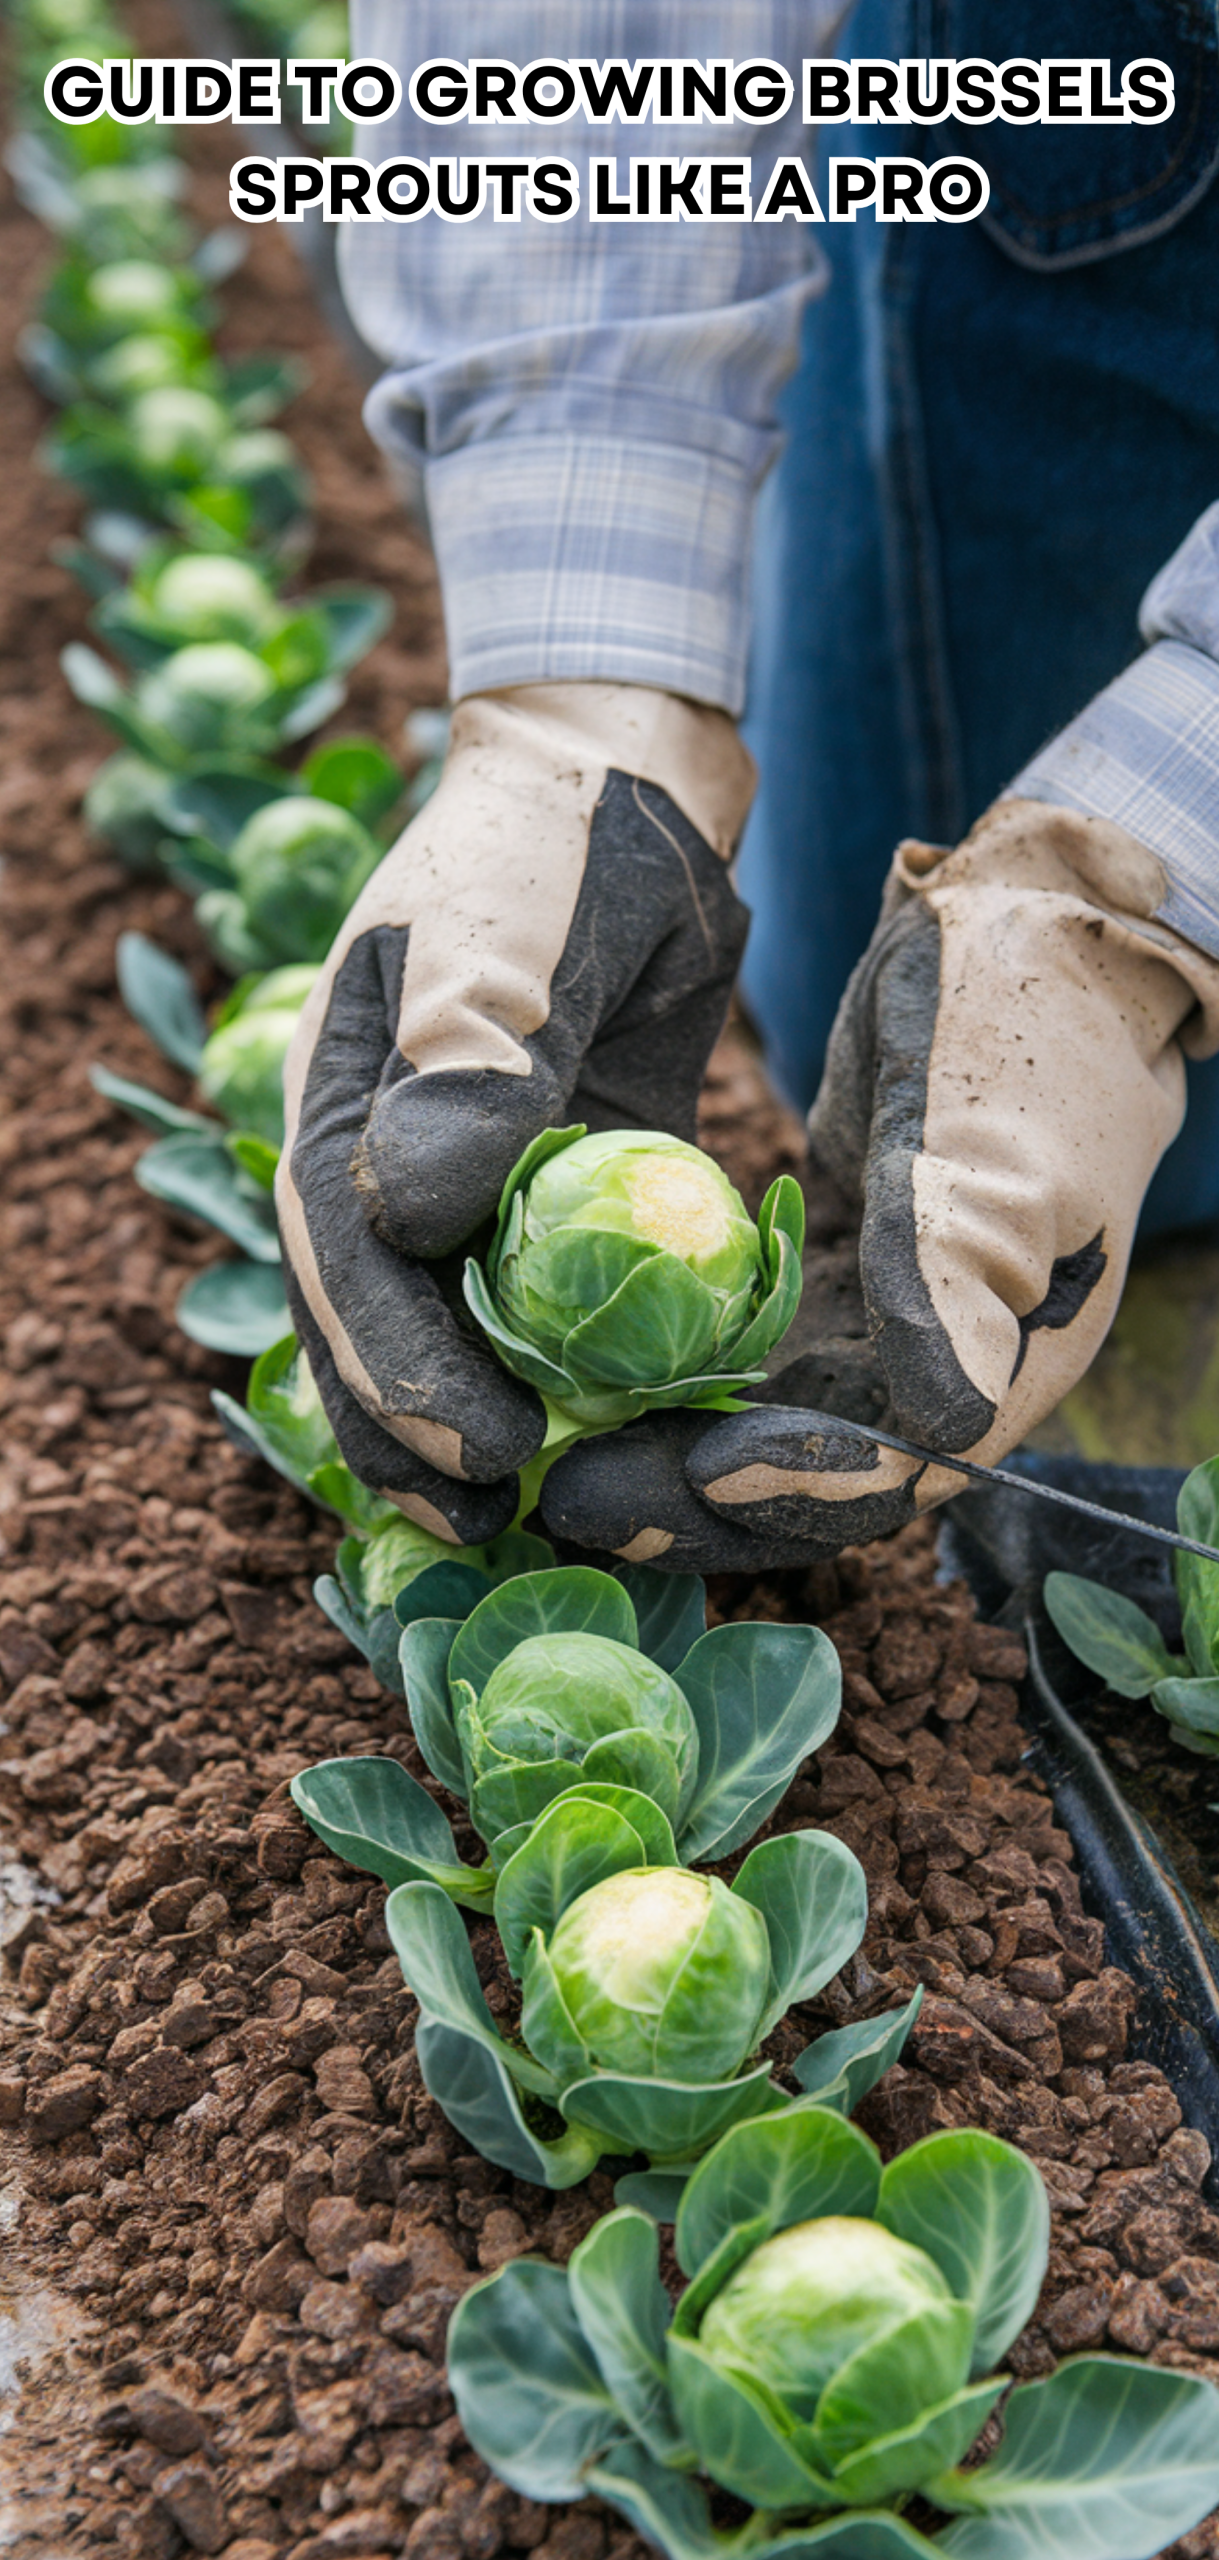
2. Harvest at the Perfect Time
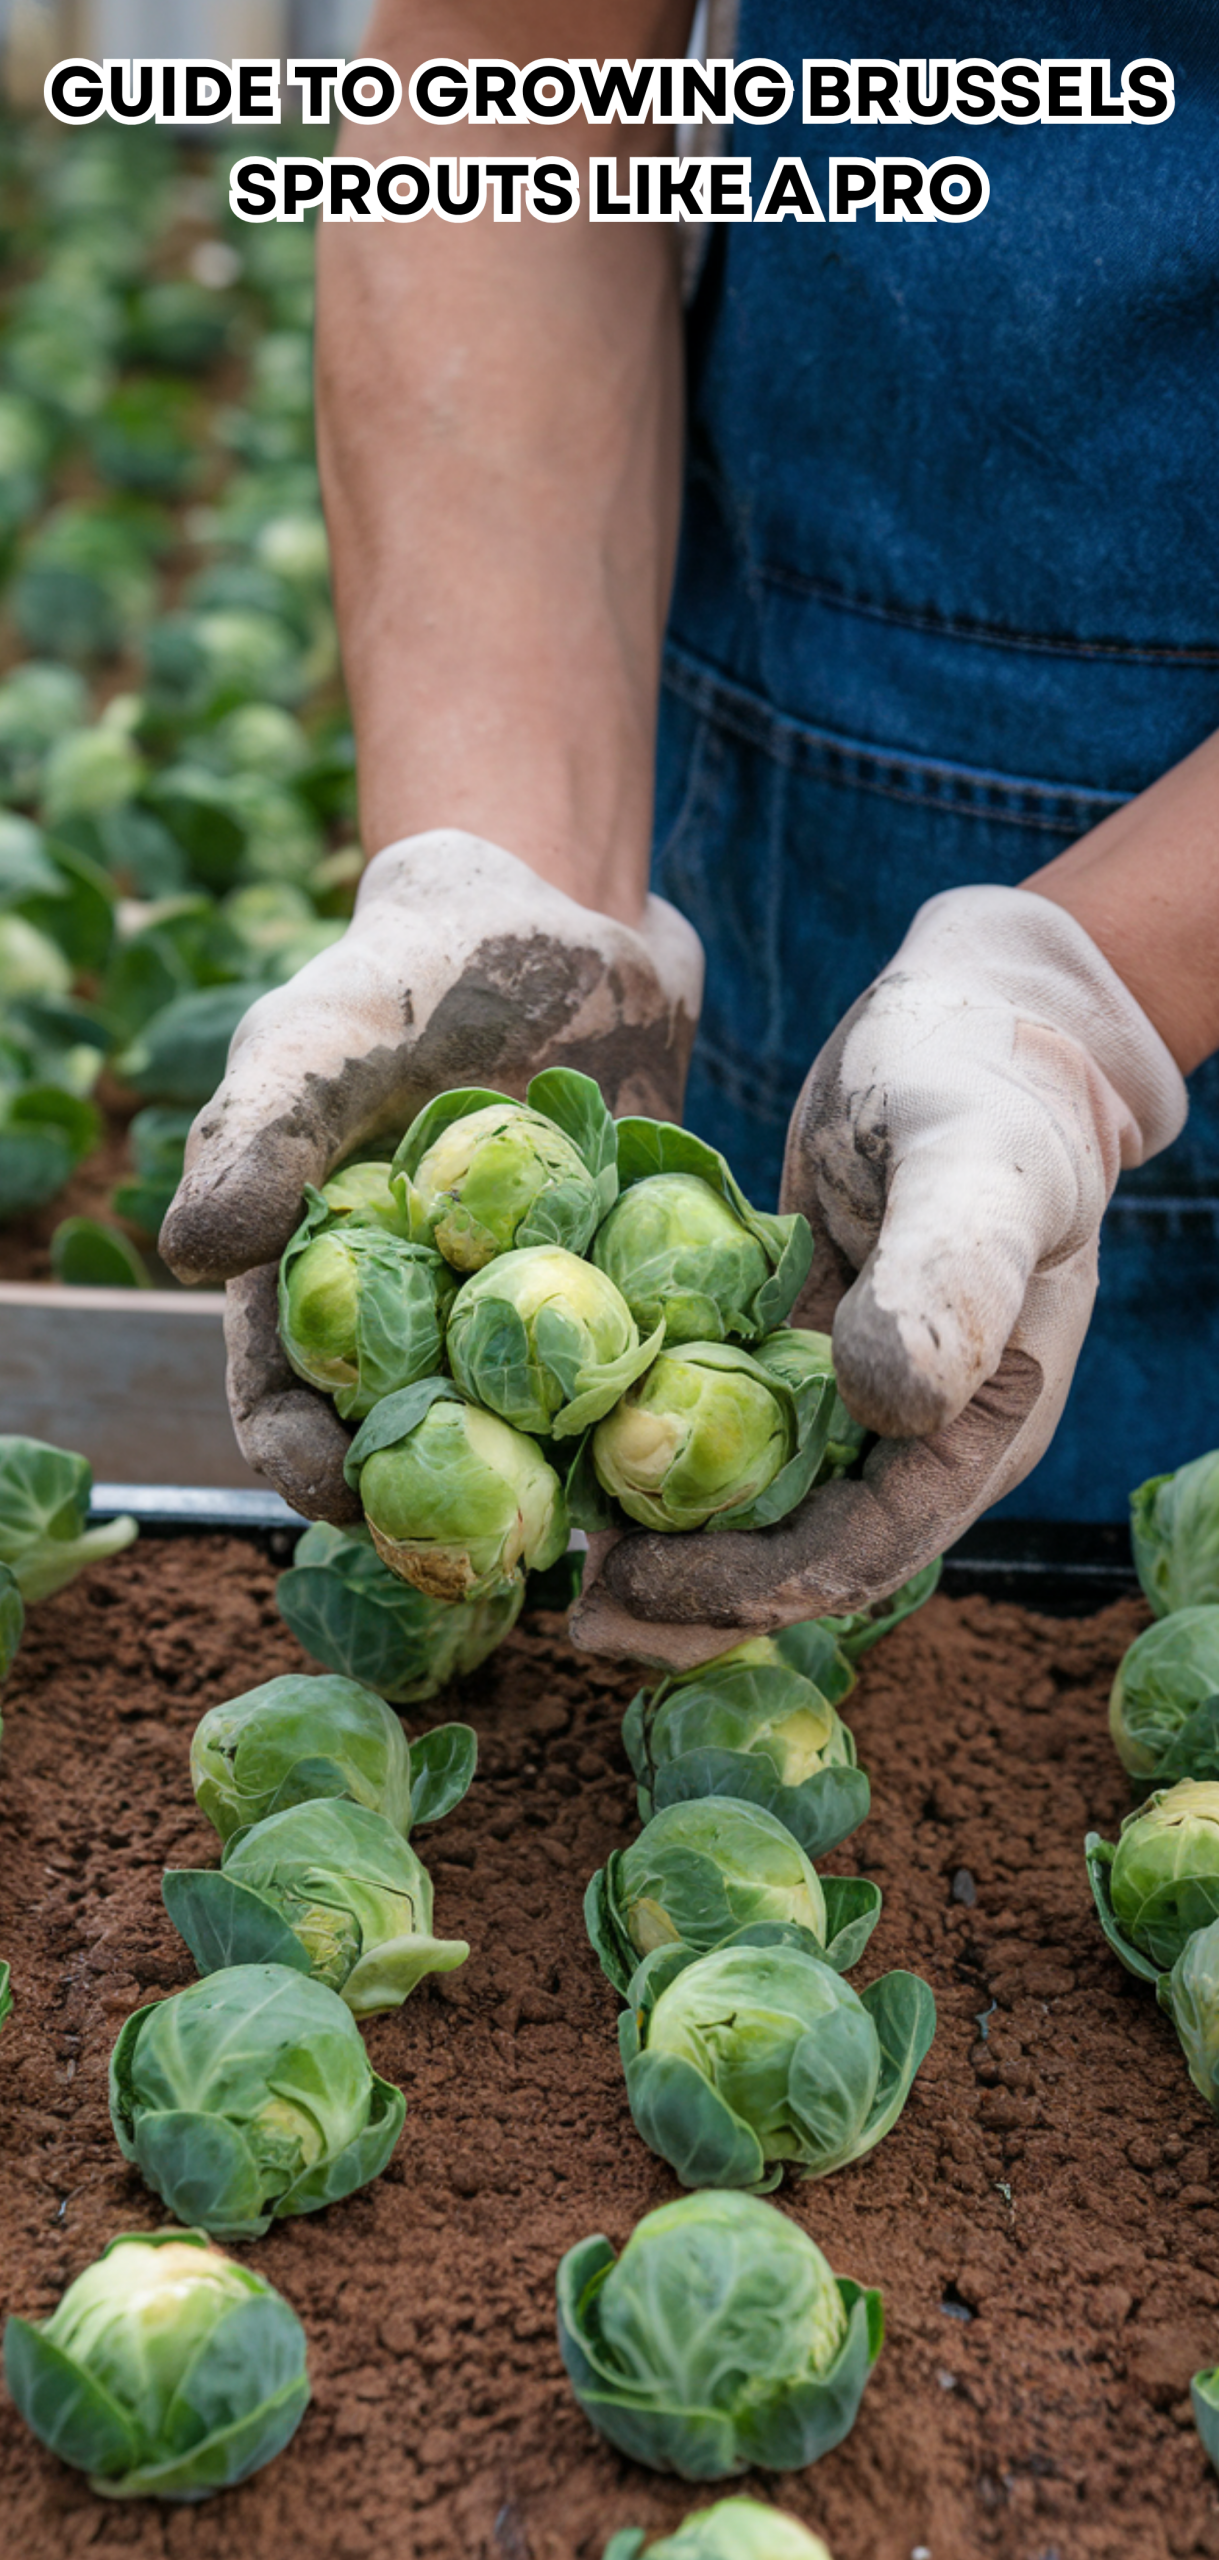
Harvest when sprouts reach 1–2 inches in diameter, firm to the touch, and bright green. Start from the bottom of the stalk and work upward as they mature.
Brussels Sprouts Tip: After harvesting the main sprouts, leave the plant in the ground for smaller side shoots to form.
1. Use Frost to Enhance Flavor
Light frost sweetens Brussel sprouts by converting starches into sugars. Plants can withstand temperatures as low as 20°F (-6°C).
Brussels Sprouts Tip: For late-season crops, leave them in the garden until after the first frost for the richest, sweetest taste.
Conclusion
With careful timing, nutrient-rich soil, and consistent care, Brussel sprouts can become one of the most rewarding crops in your garden. By following these 17 professional steps from seed selection to frost-enhanced harvesting, you’ll enjoy crisp, sweet, and delicious sprouts that rival any store-bought variety.
