Join Our Newsletter for Cozy Home Inspiration, Family Fun, and Delicious Recipes Every Week
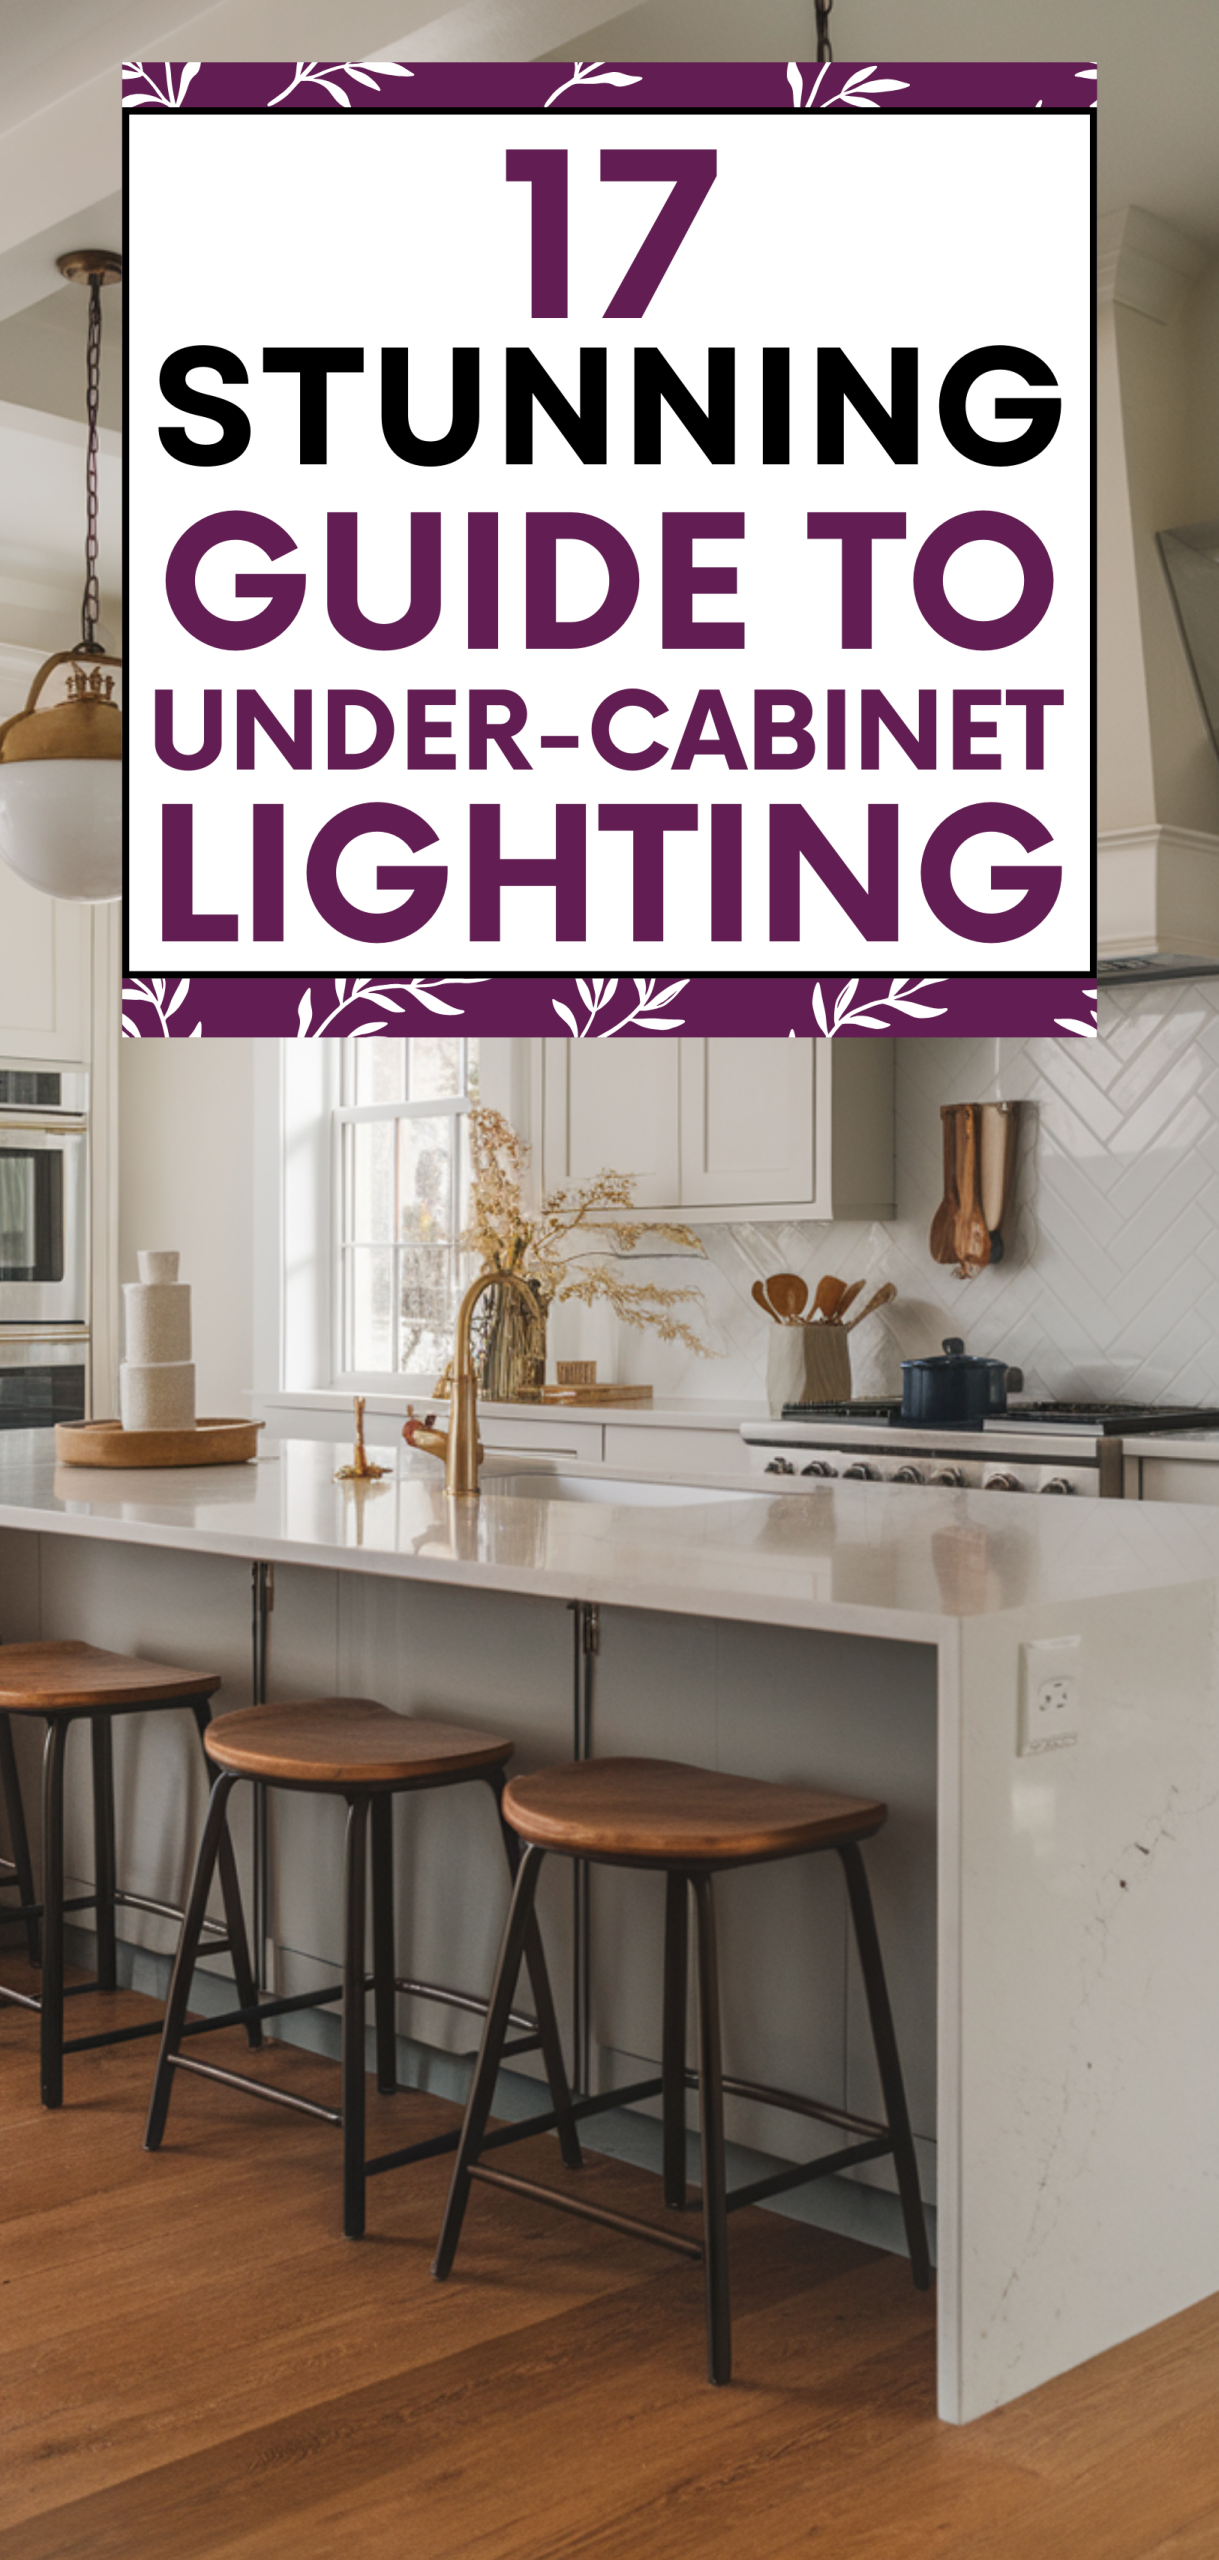
17 Stunning Guide to Under-Cabinet Lighting
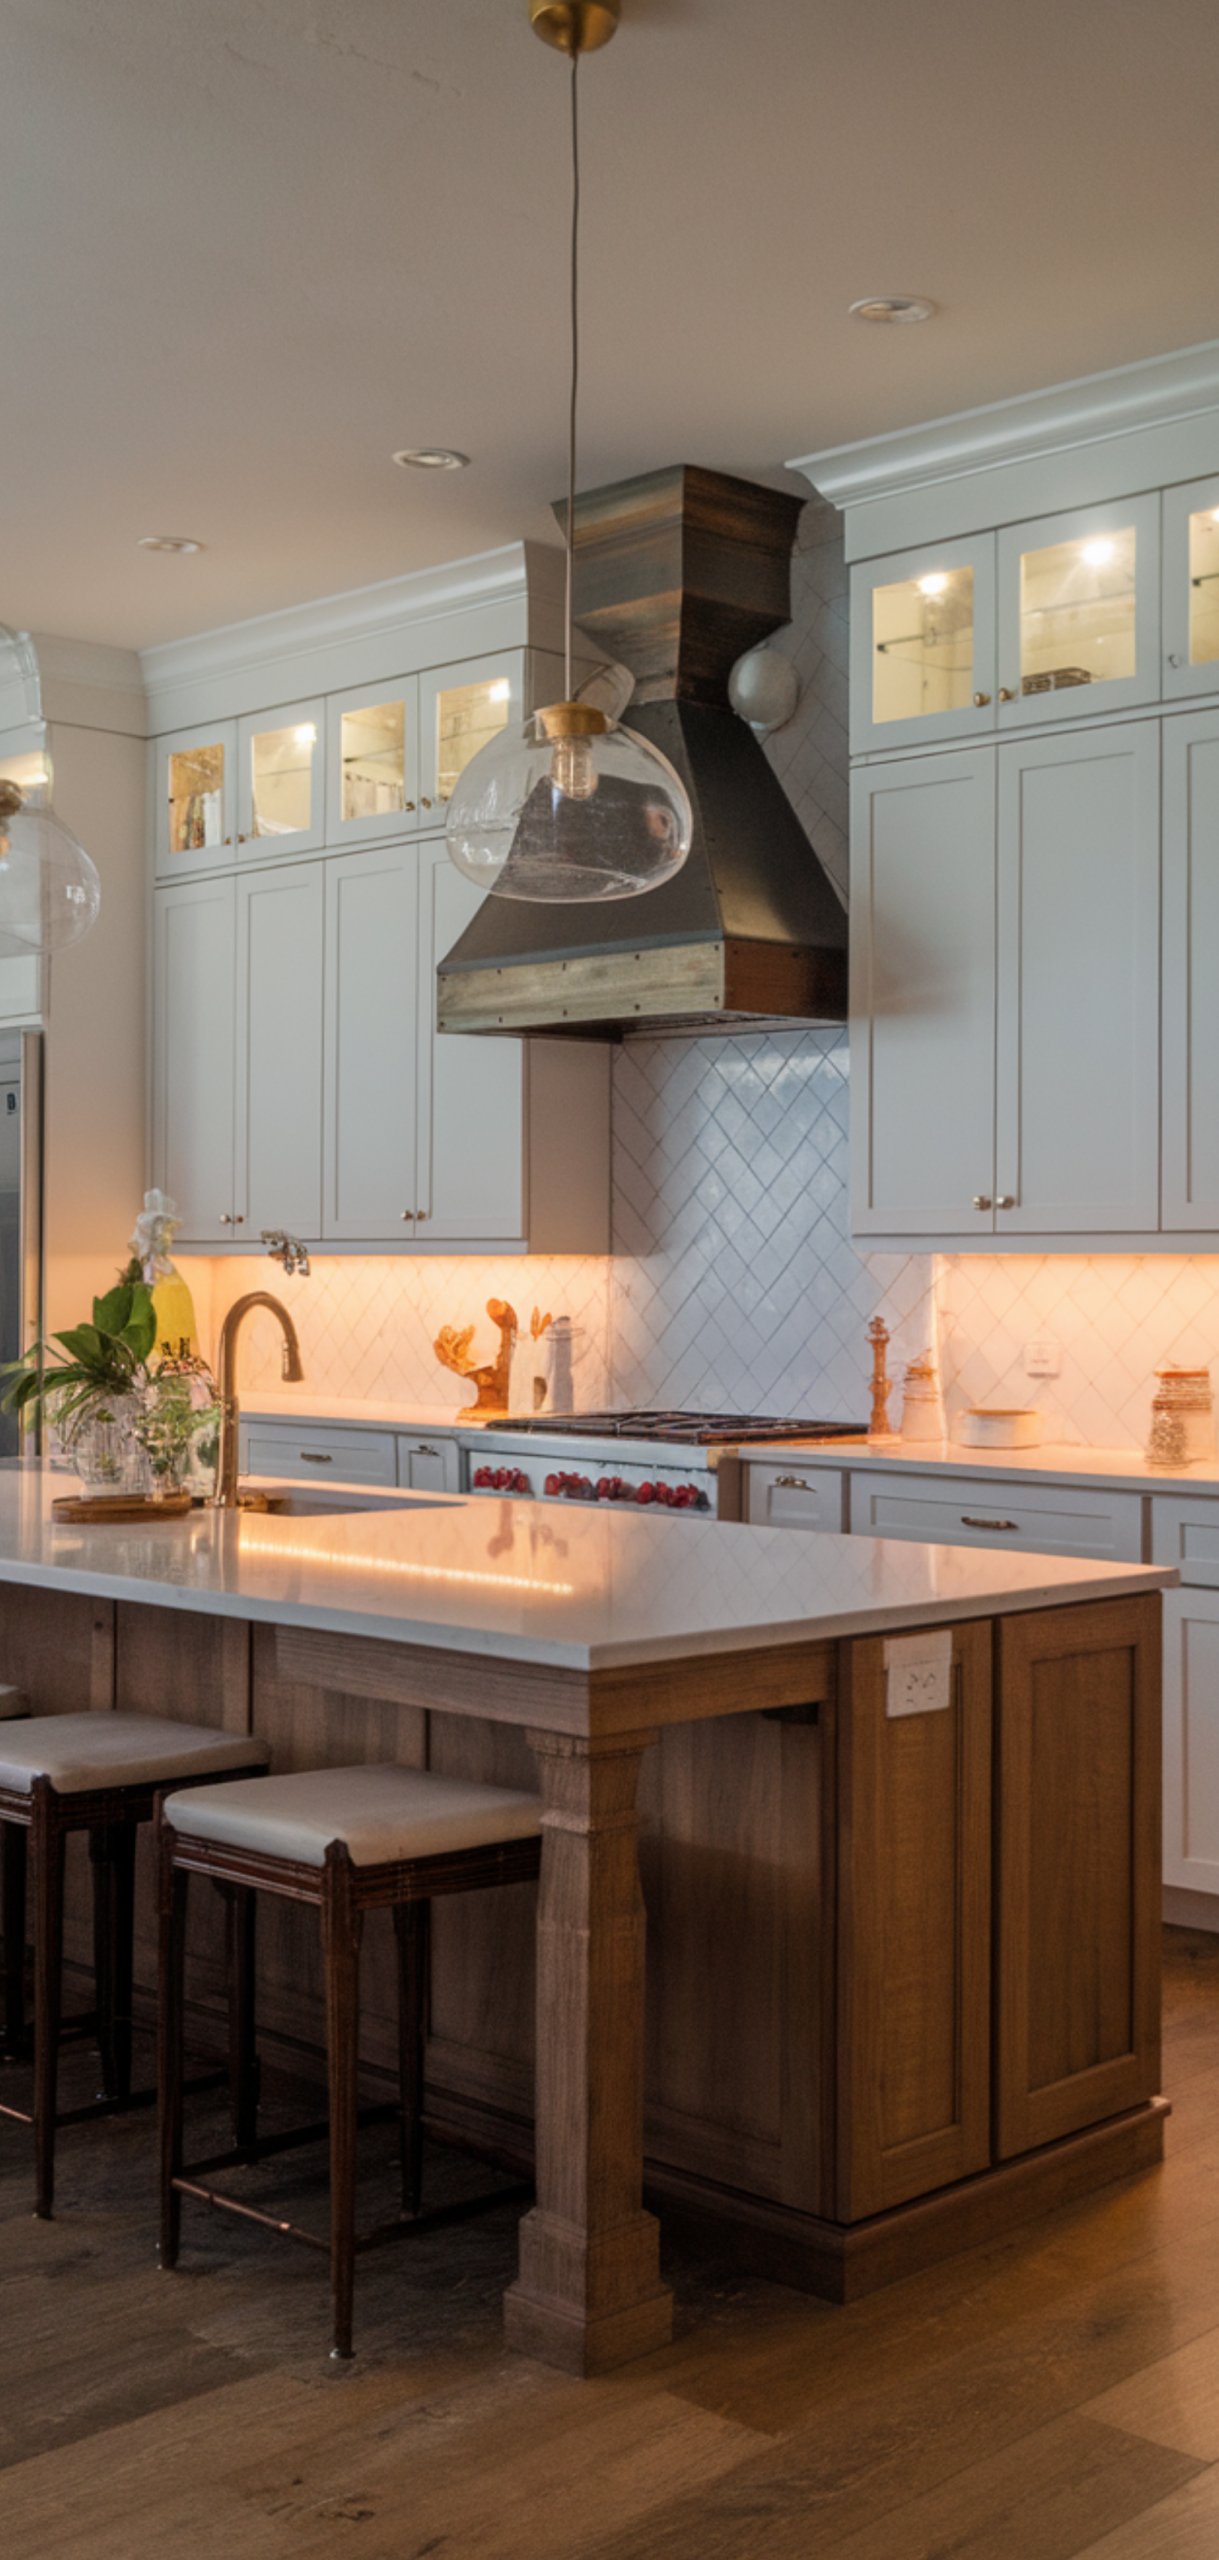
There’s nothing more frustrating than stepping into a kitchen with dim, uneven lighting. You fumble around while chopping vegetables, trying to see what’s on the countertop, and your beautiful kitchen design feels dull and lifeless.
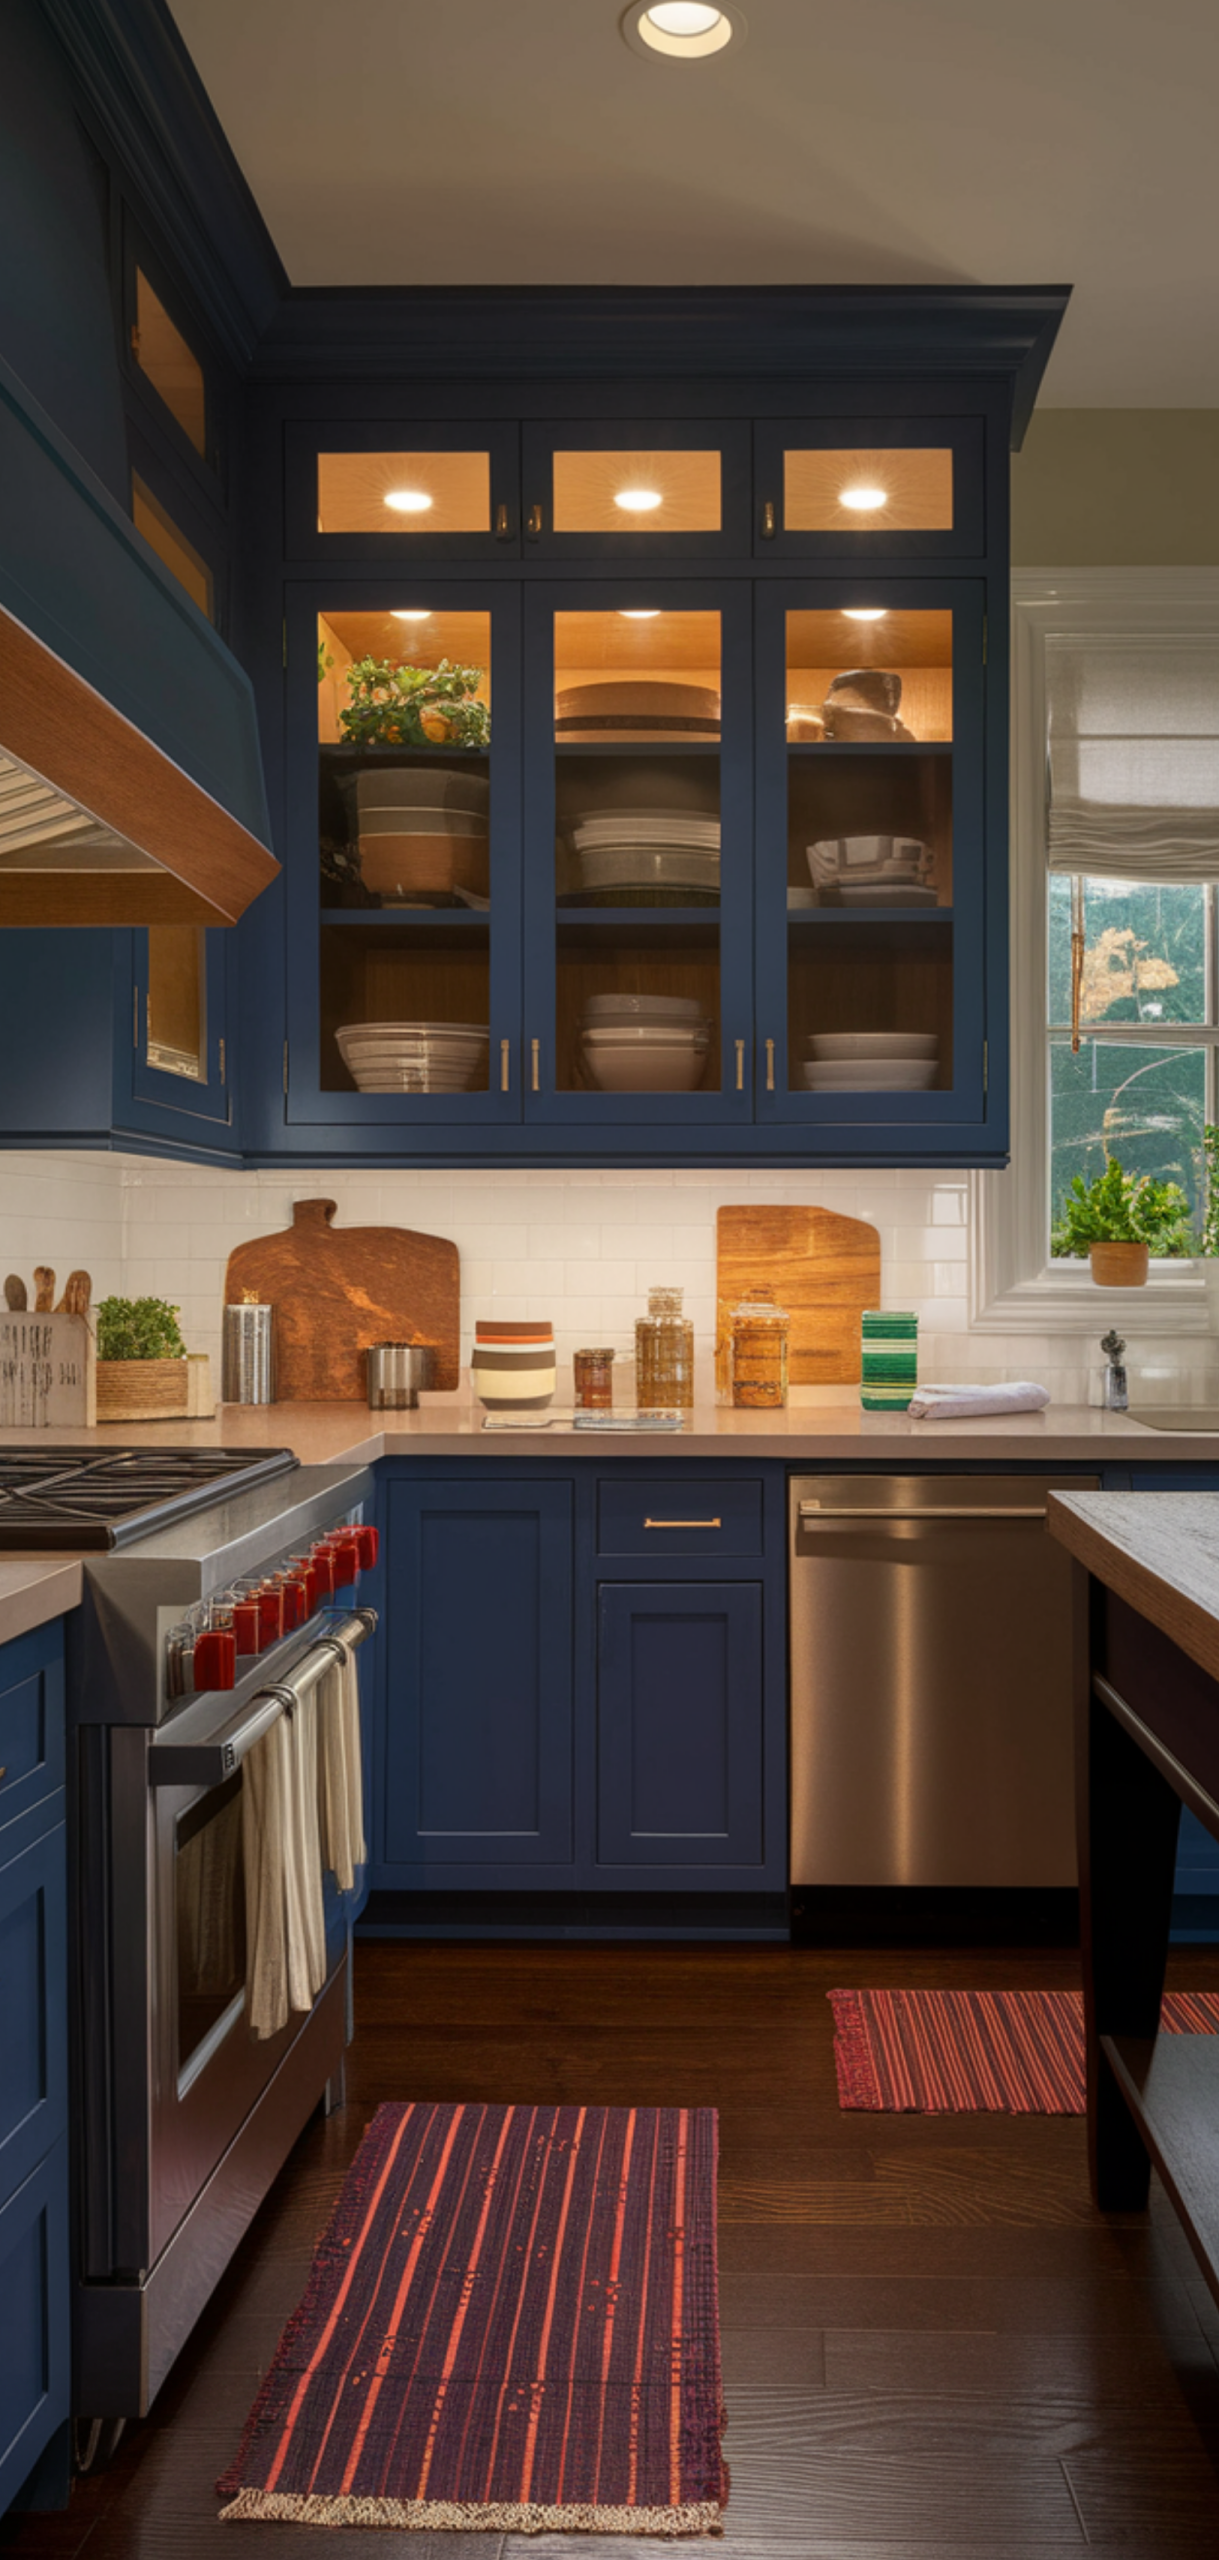
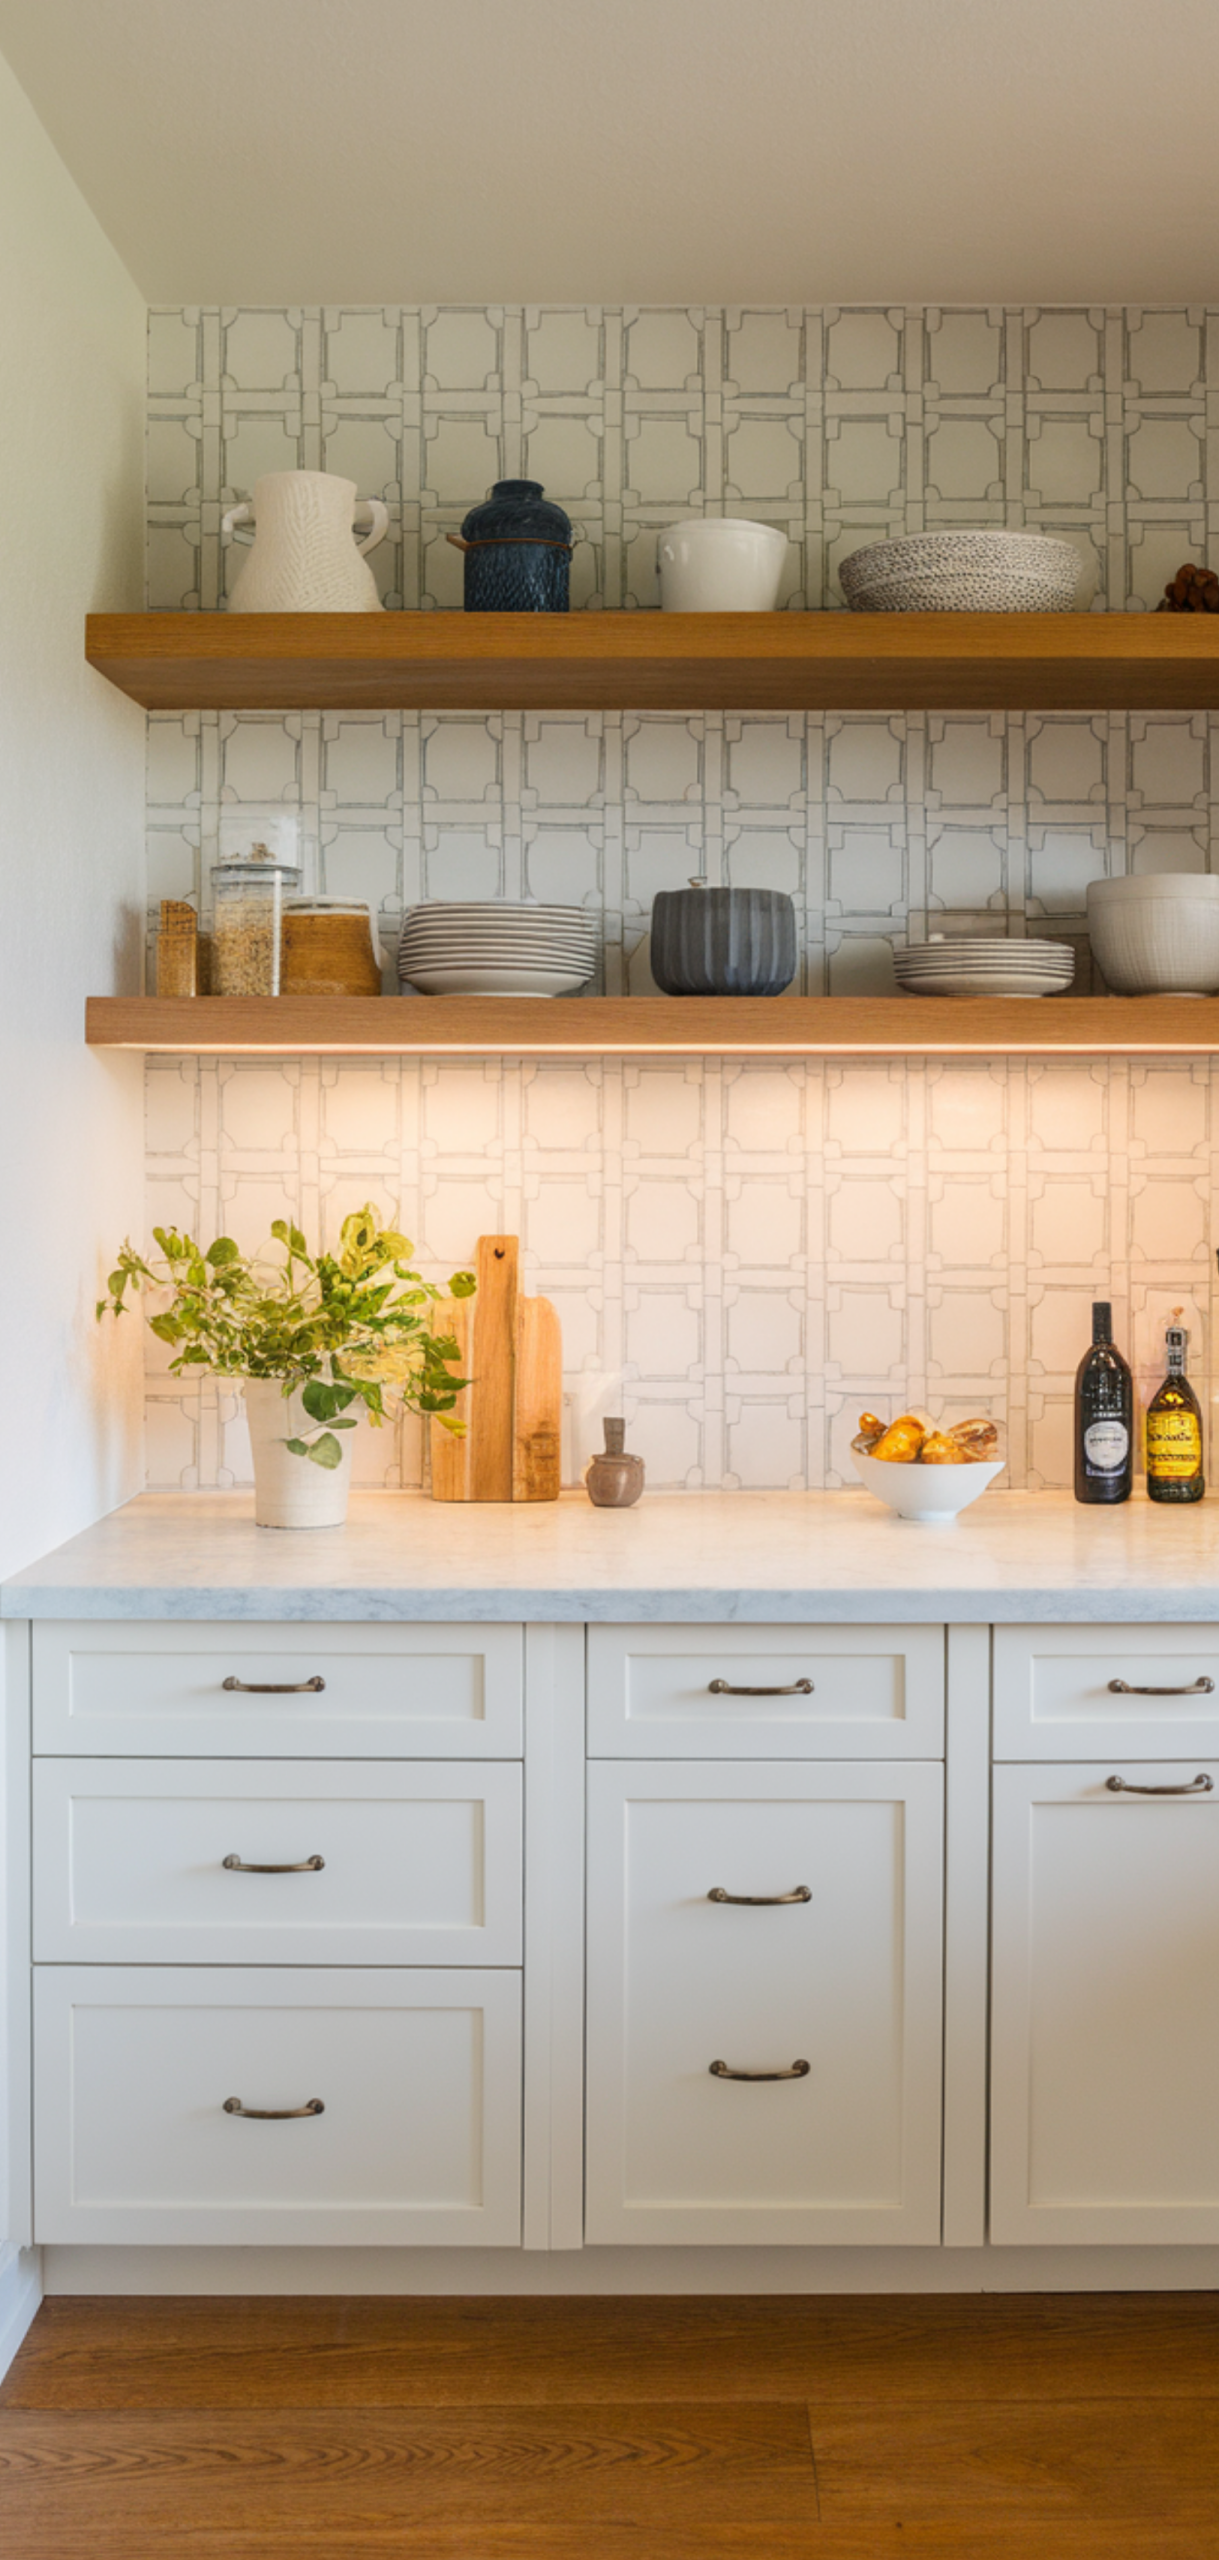
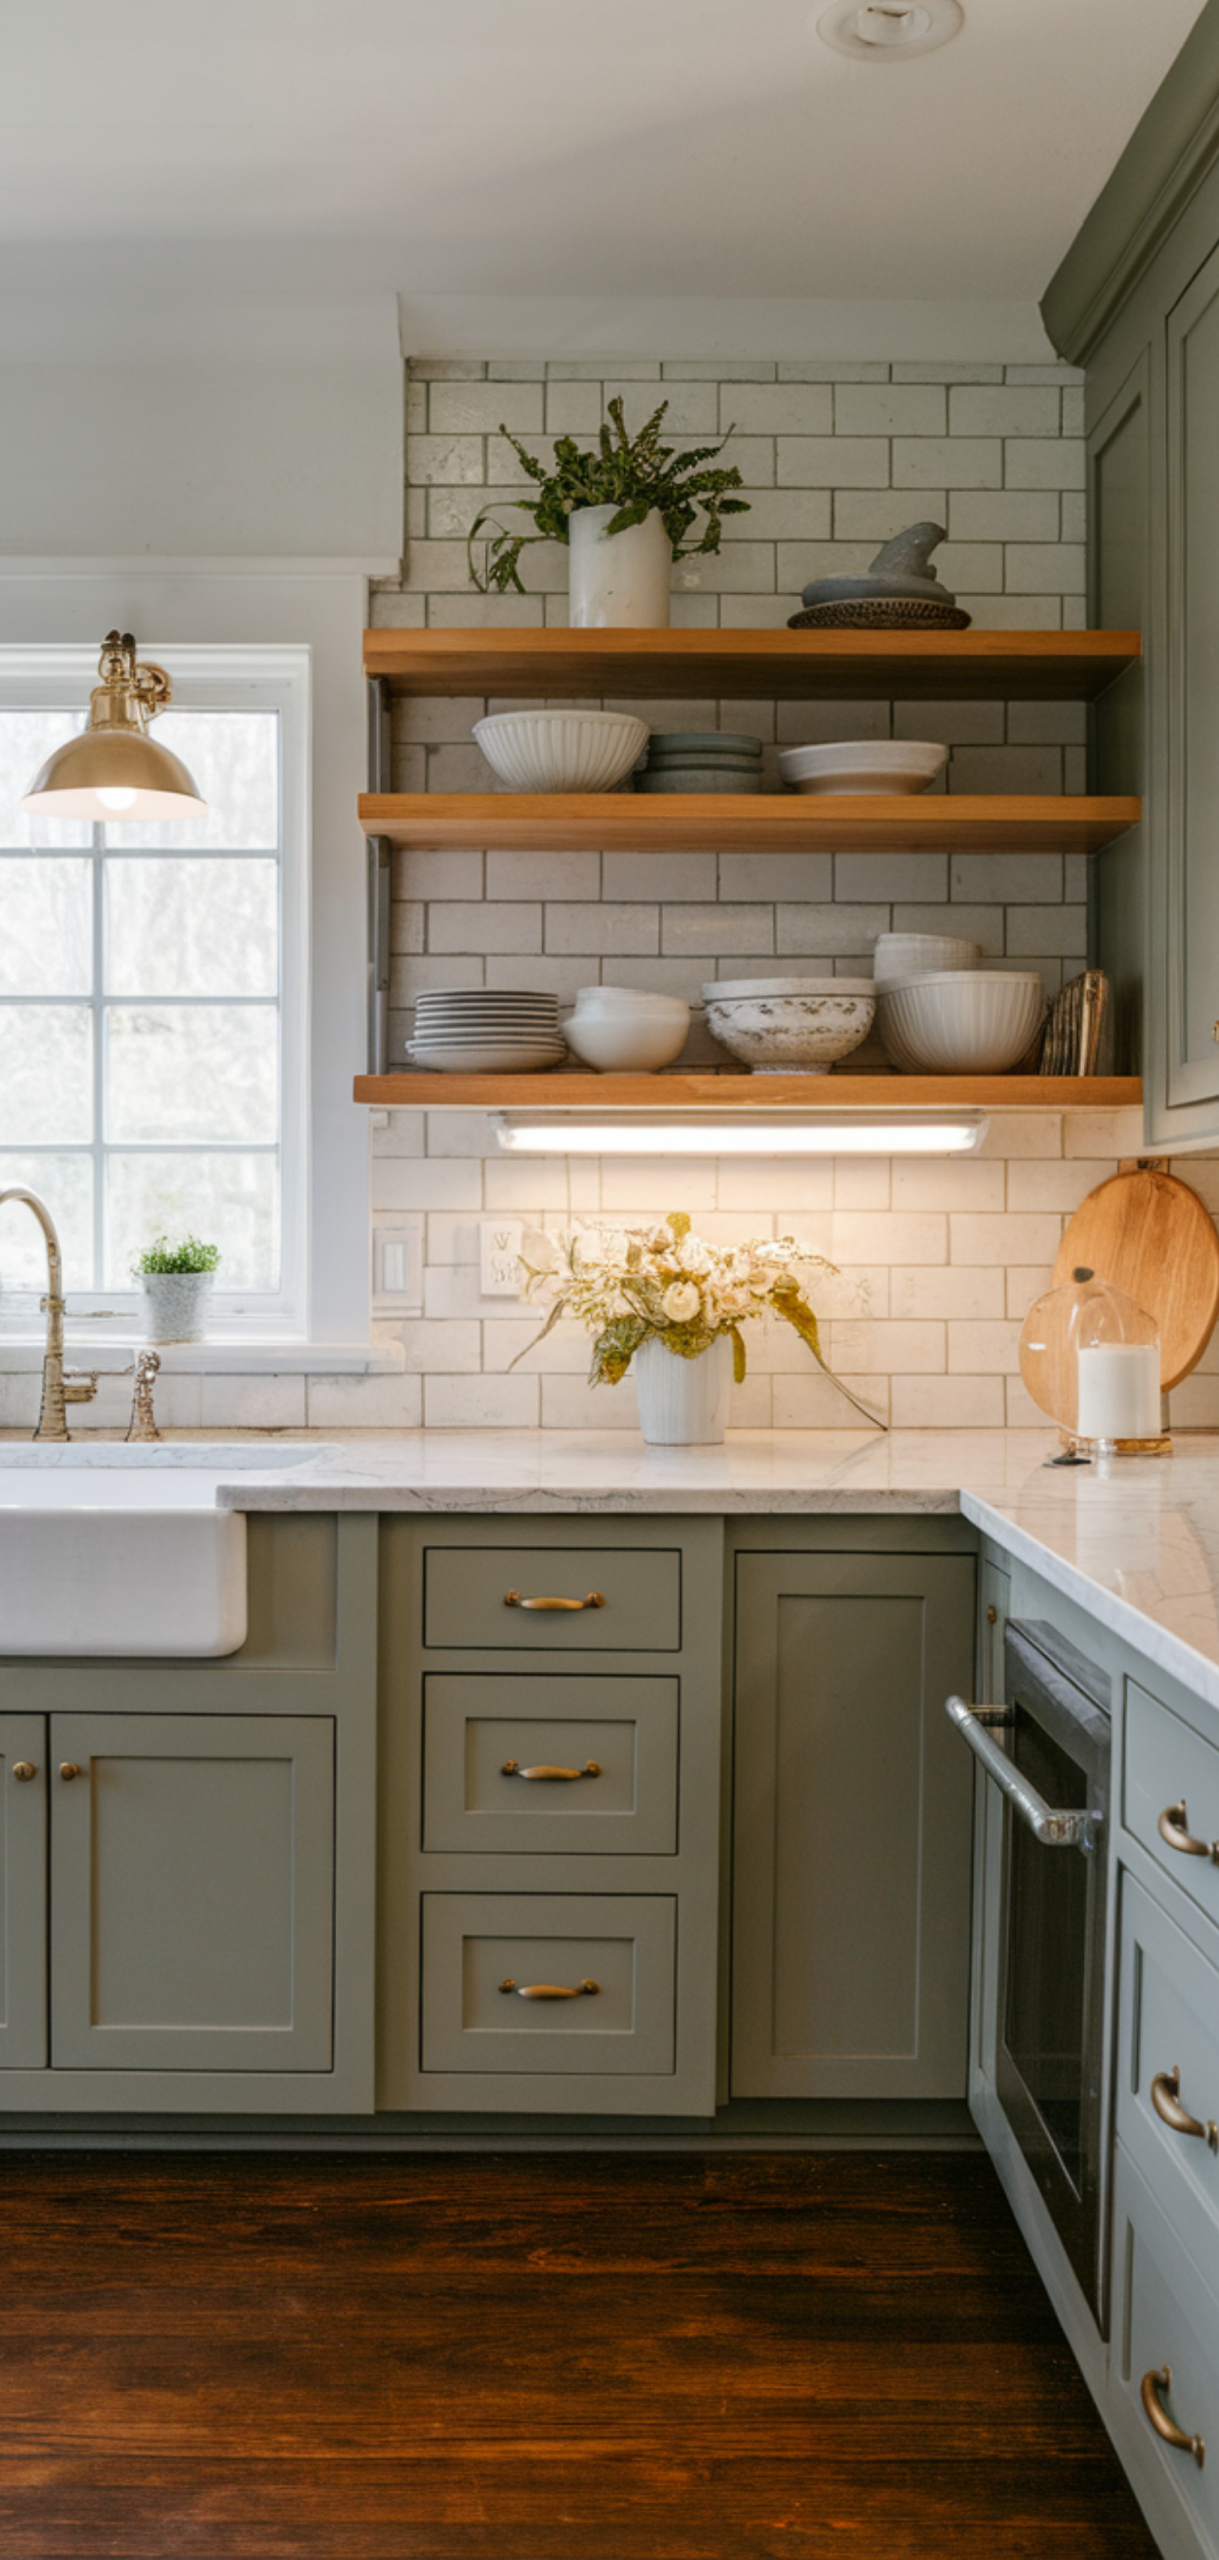
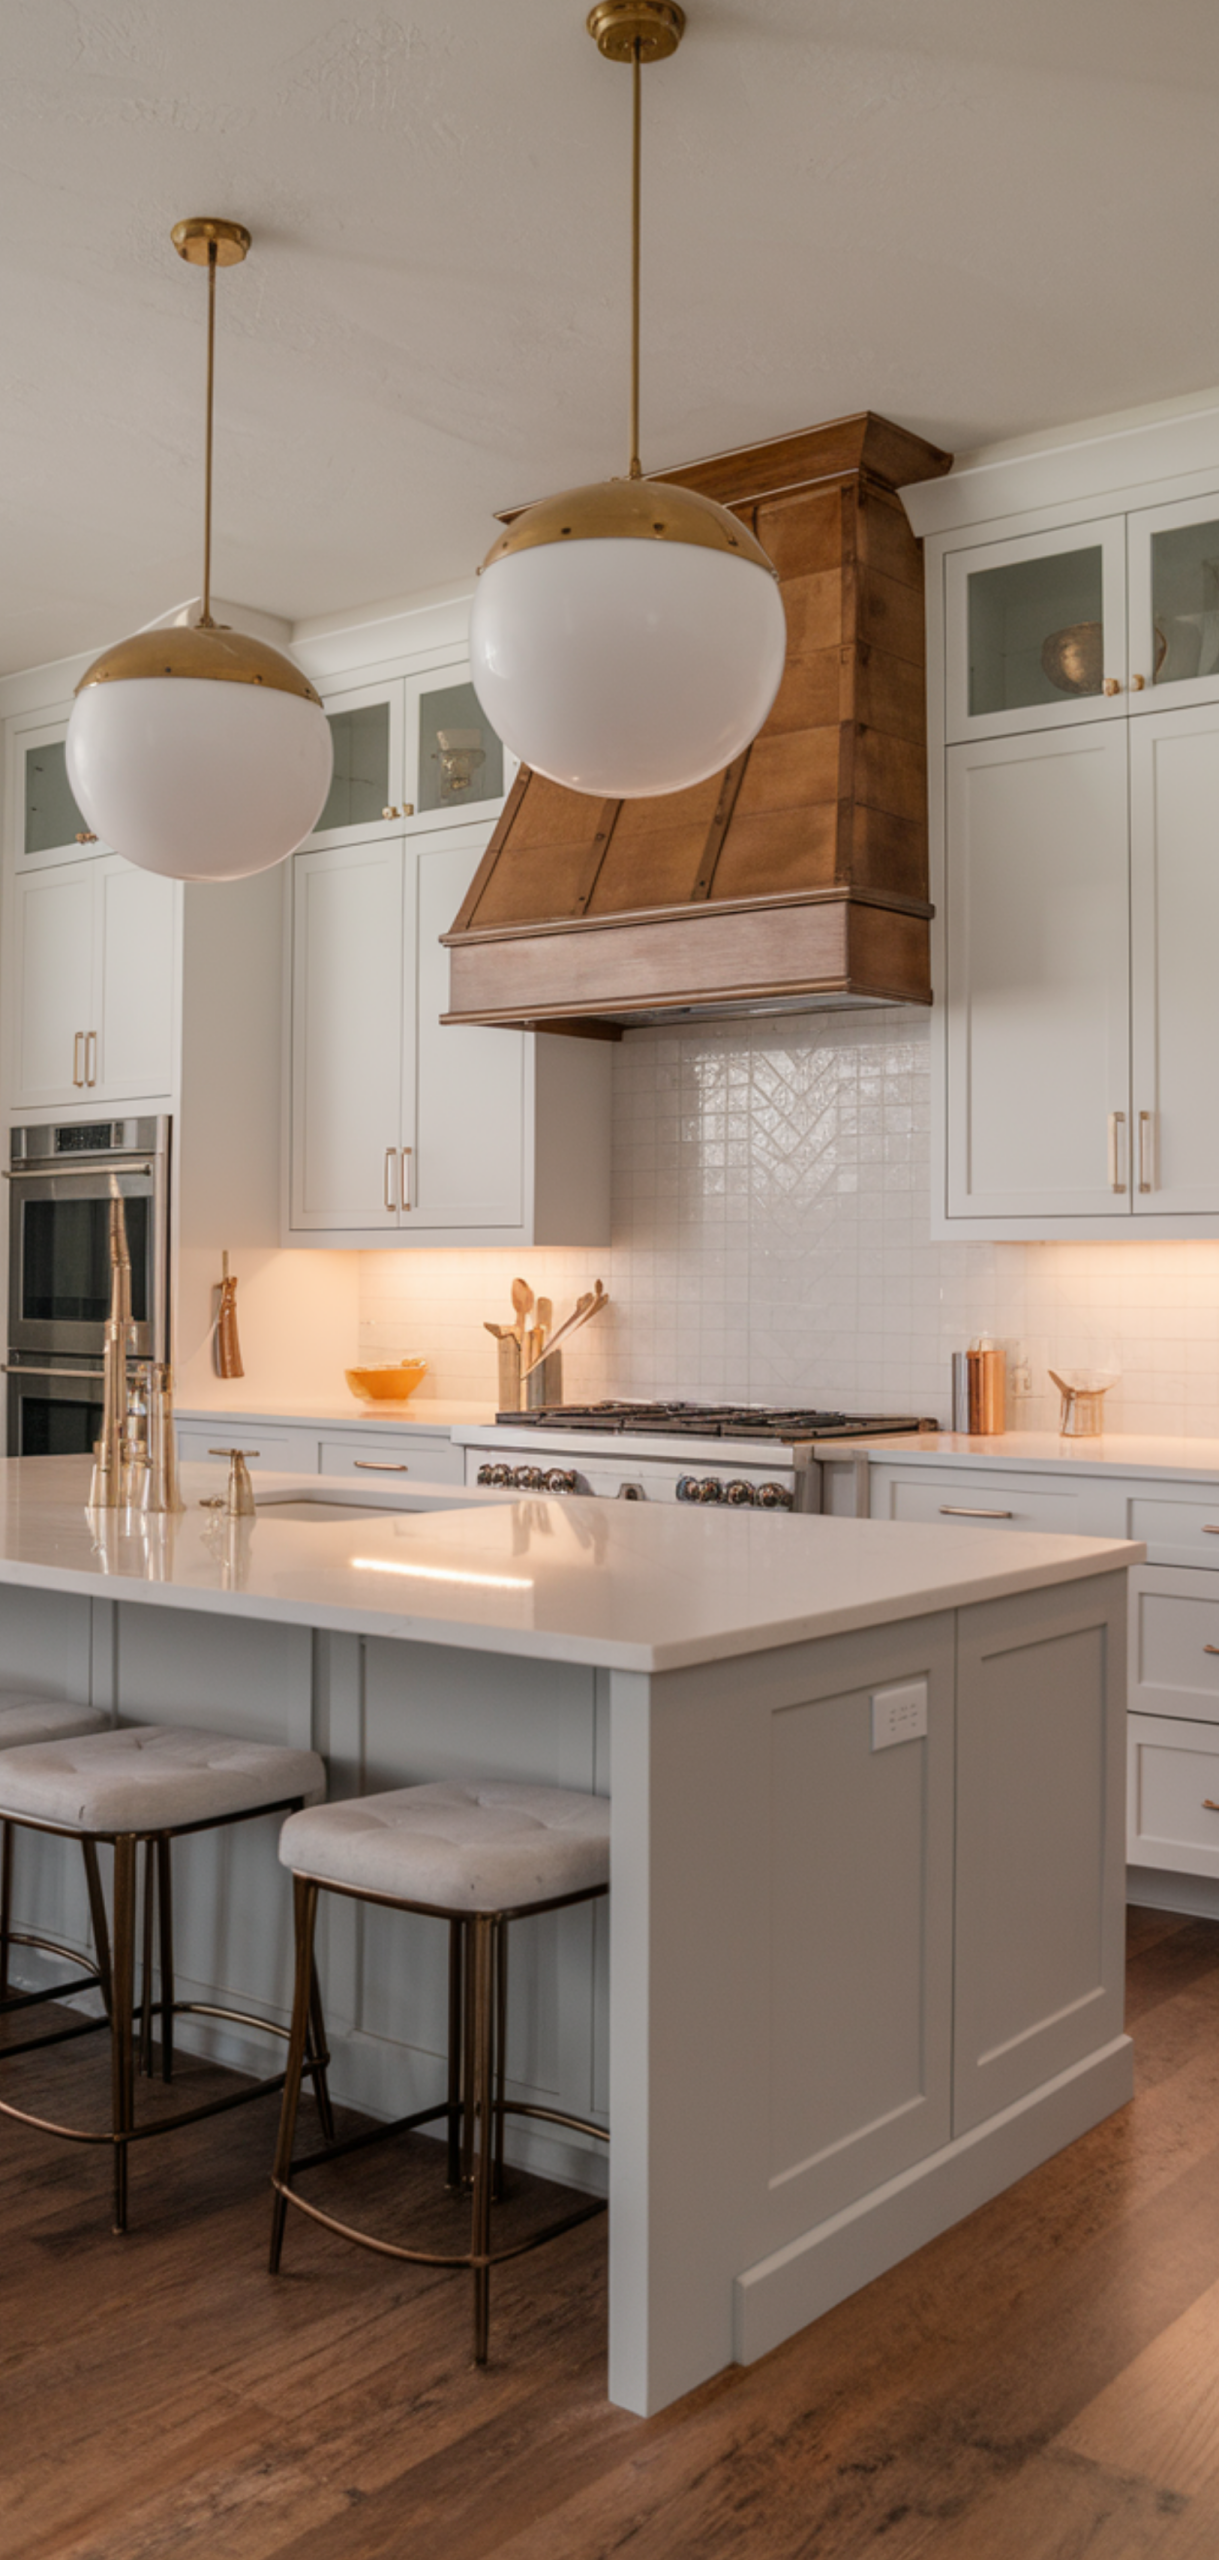
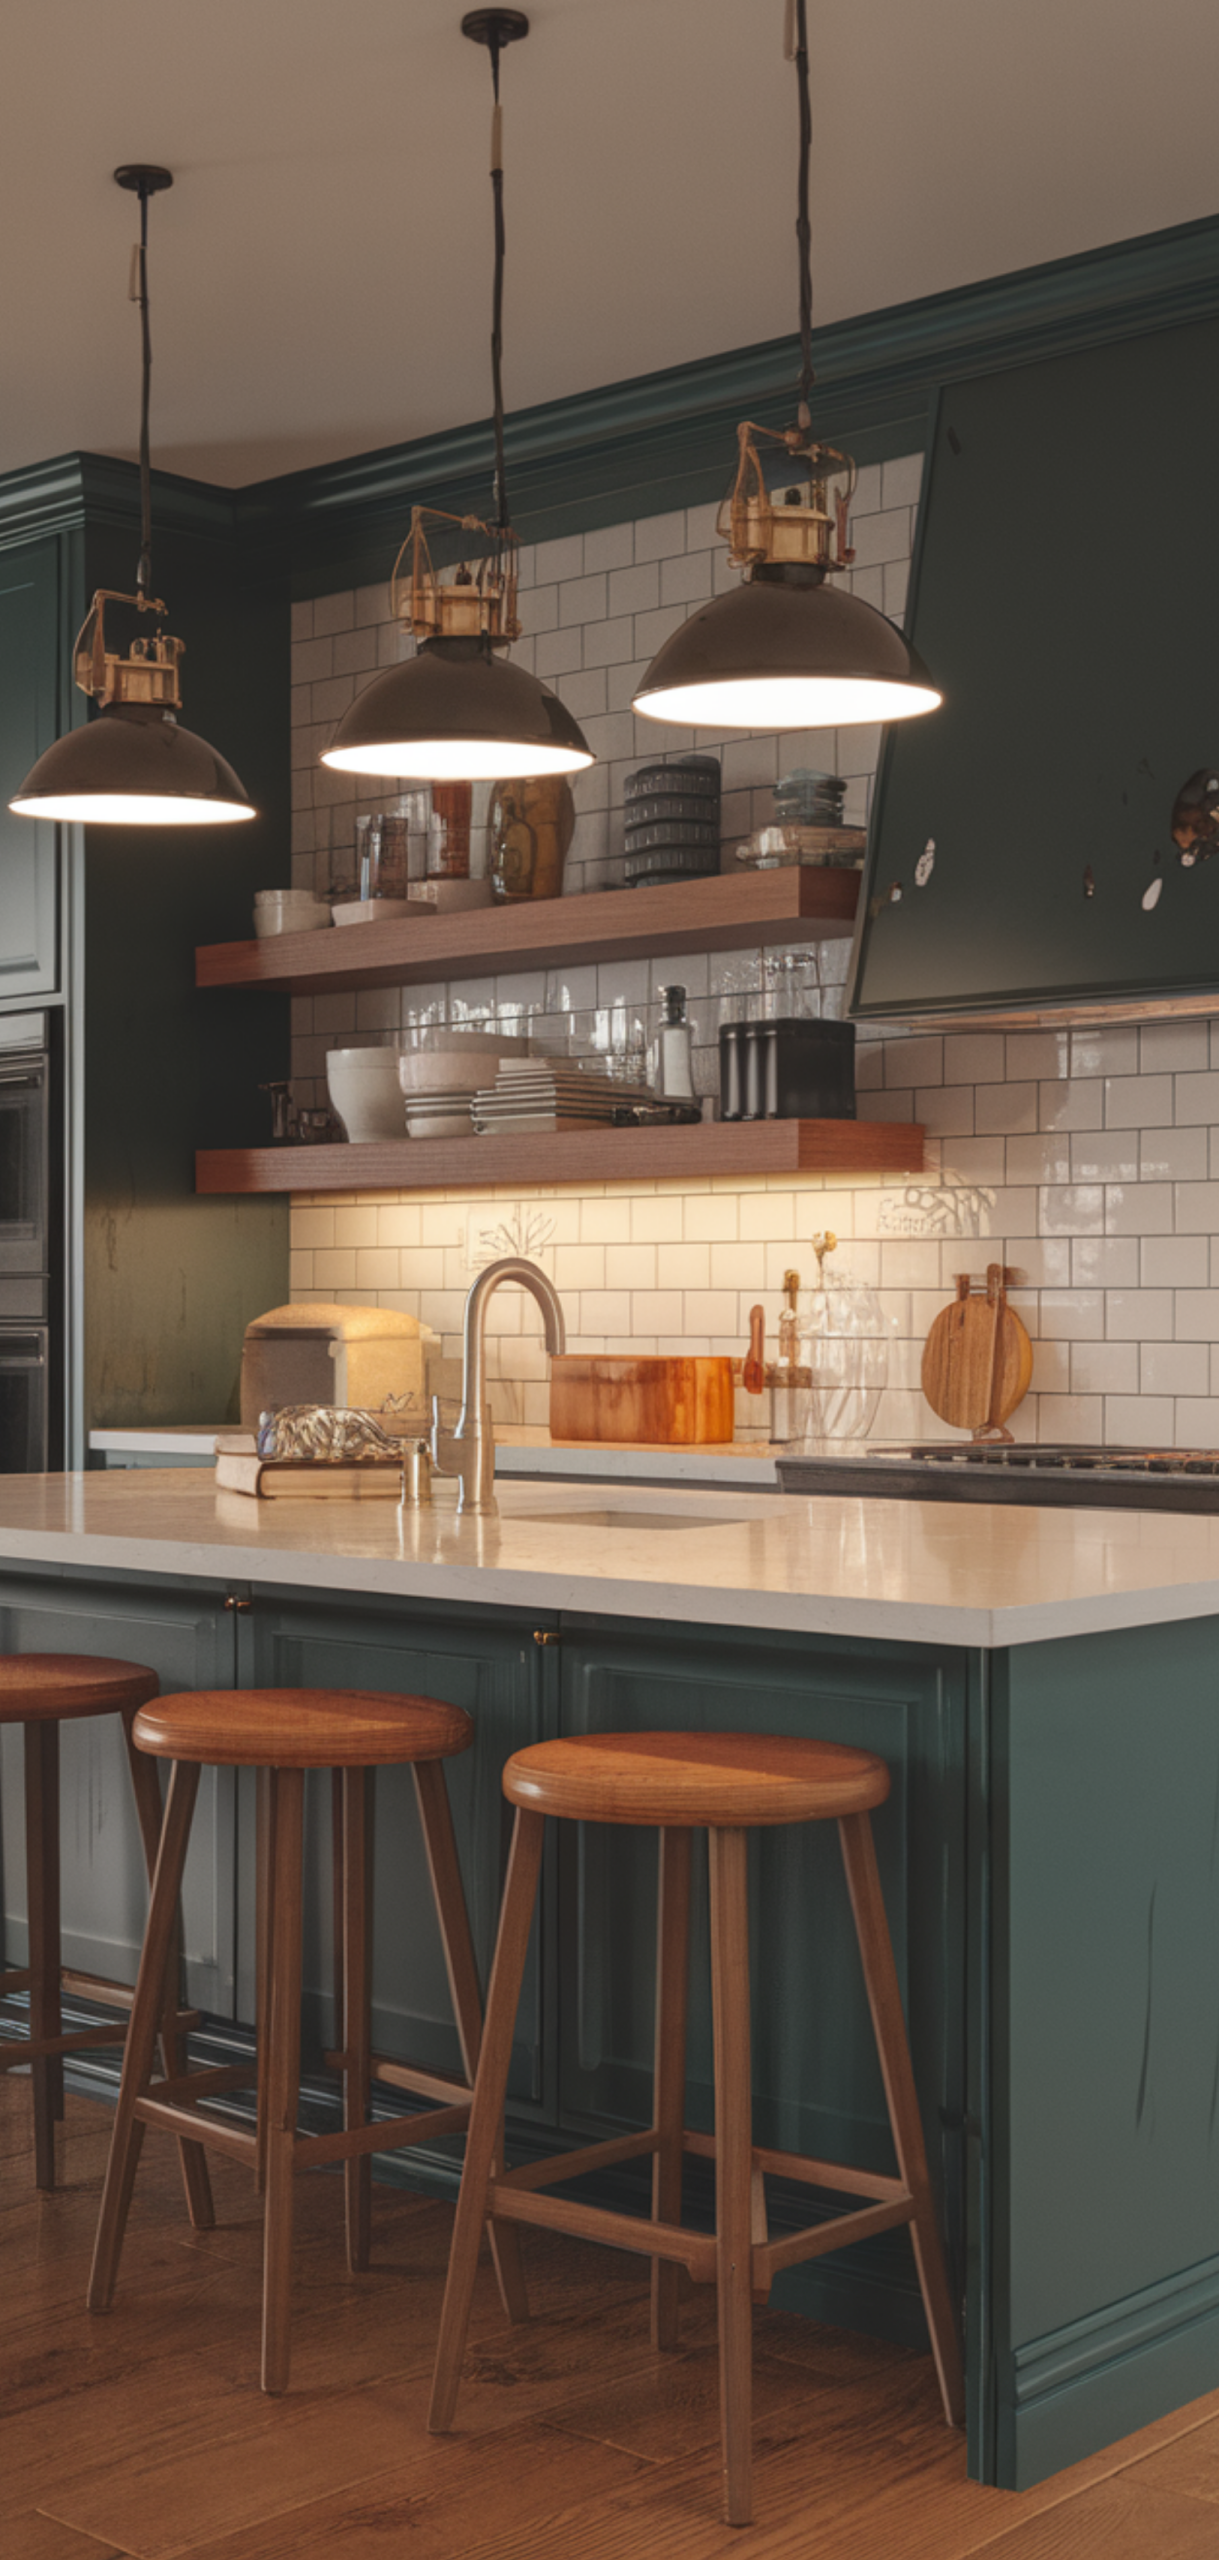
This is where under-cabinet lighting comes to the rescue. It brightens workspaces, highlights cabinet details, and transforms your kitchen into a functional and stylish environment. Just like my article on Entrance Table Decor Ideas, under-cabinet lighting can be that finishing touch that elevates a space from ordinary to extraordinary.
I’ve had experience using Philips under-cabinet LEDs on a previous install, and it was a finishing touch! The lights looked sharp and instantly became my favorite upgrade. You can choose between battery-operated stick-on LEDs, which are convenient if you can’t do a hardwired install, or fully hardwired systems for a cleaner, more permanent setup.
The battery-operated options even come with motion sensors and adjustable brightness, making them perfect for hands-free use when your kitchen is busy.
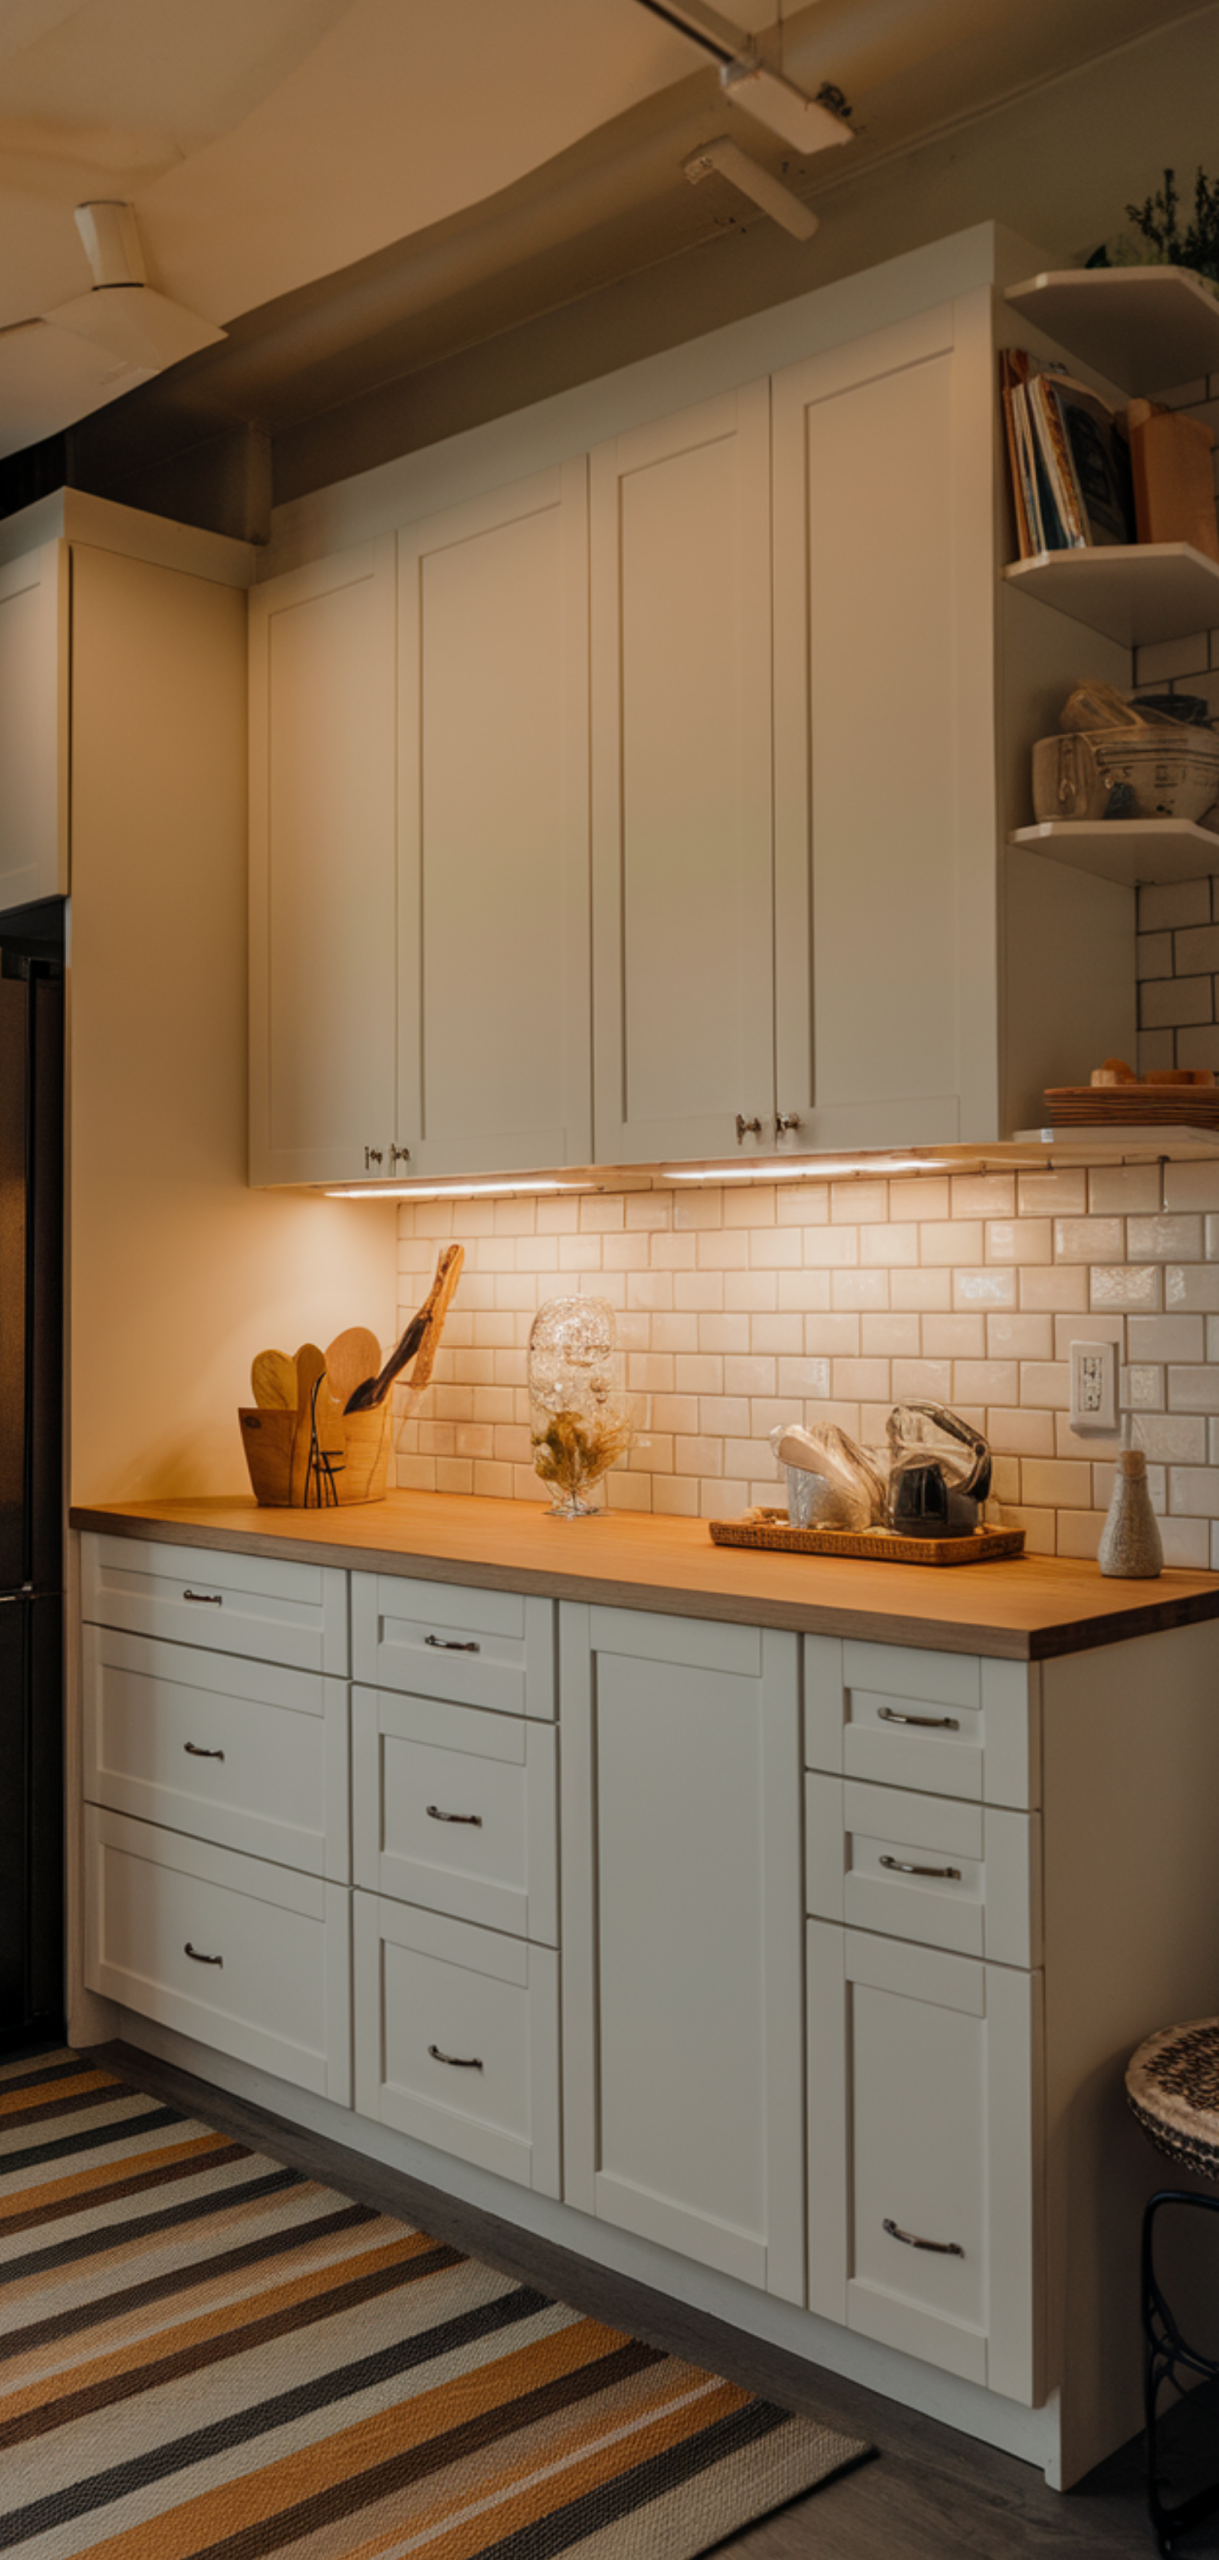
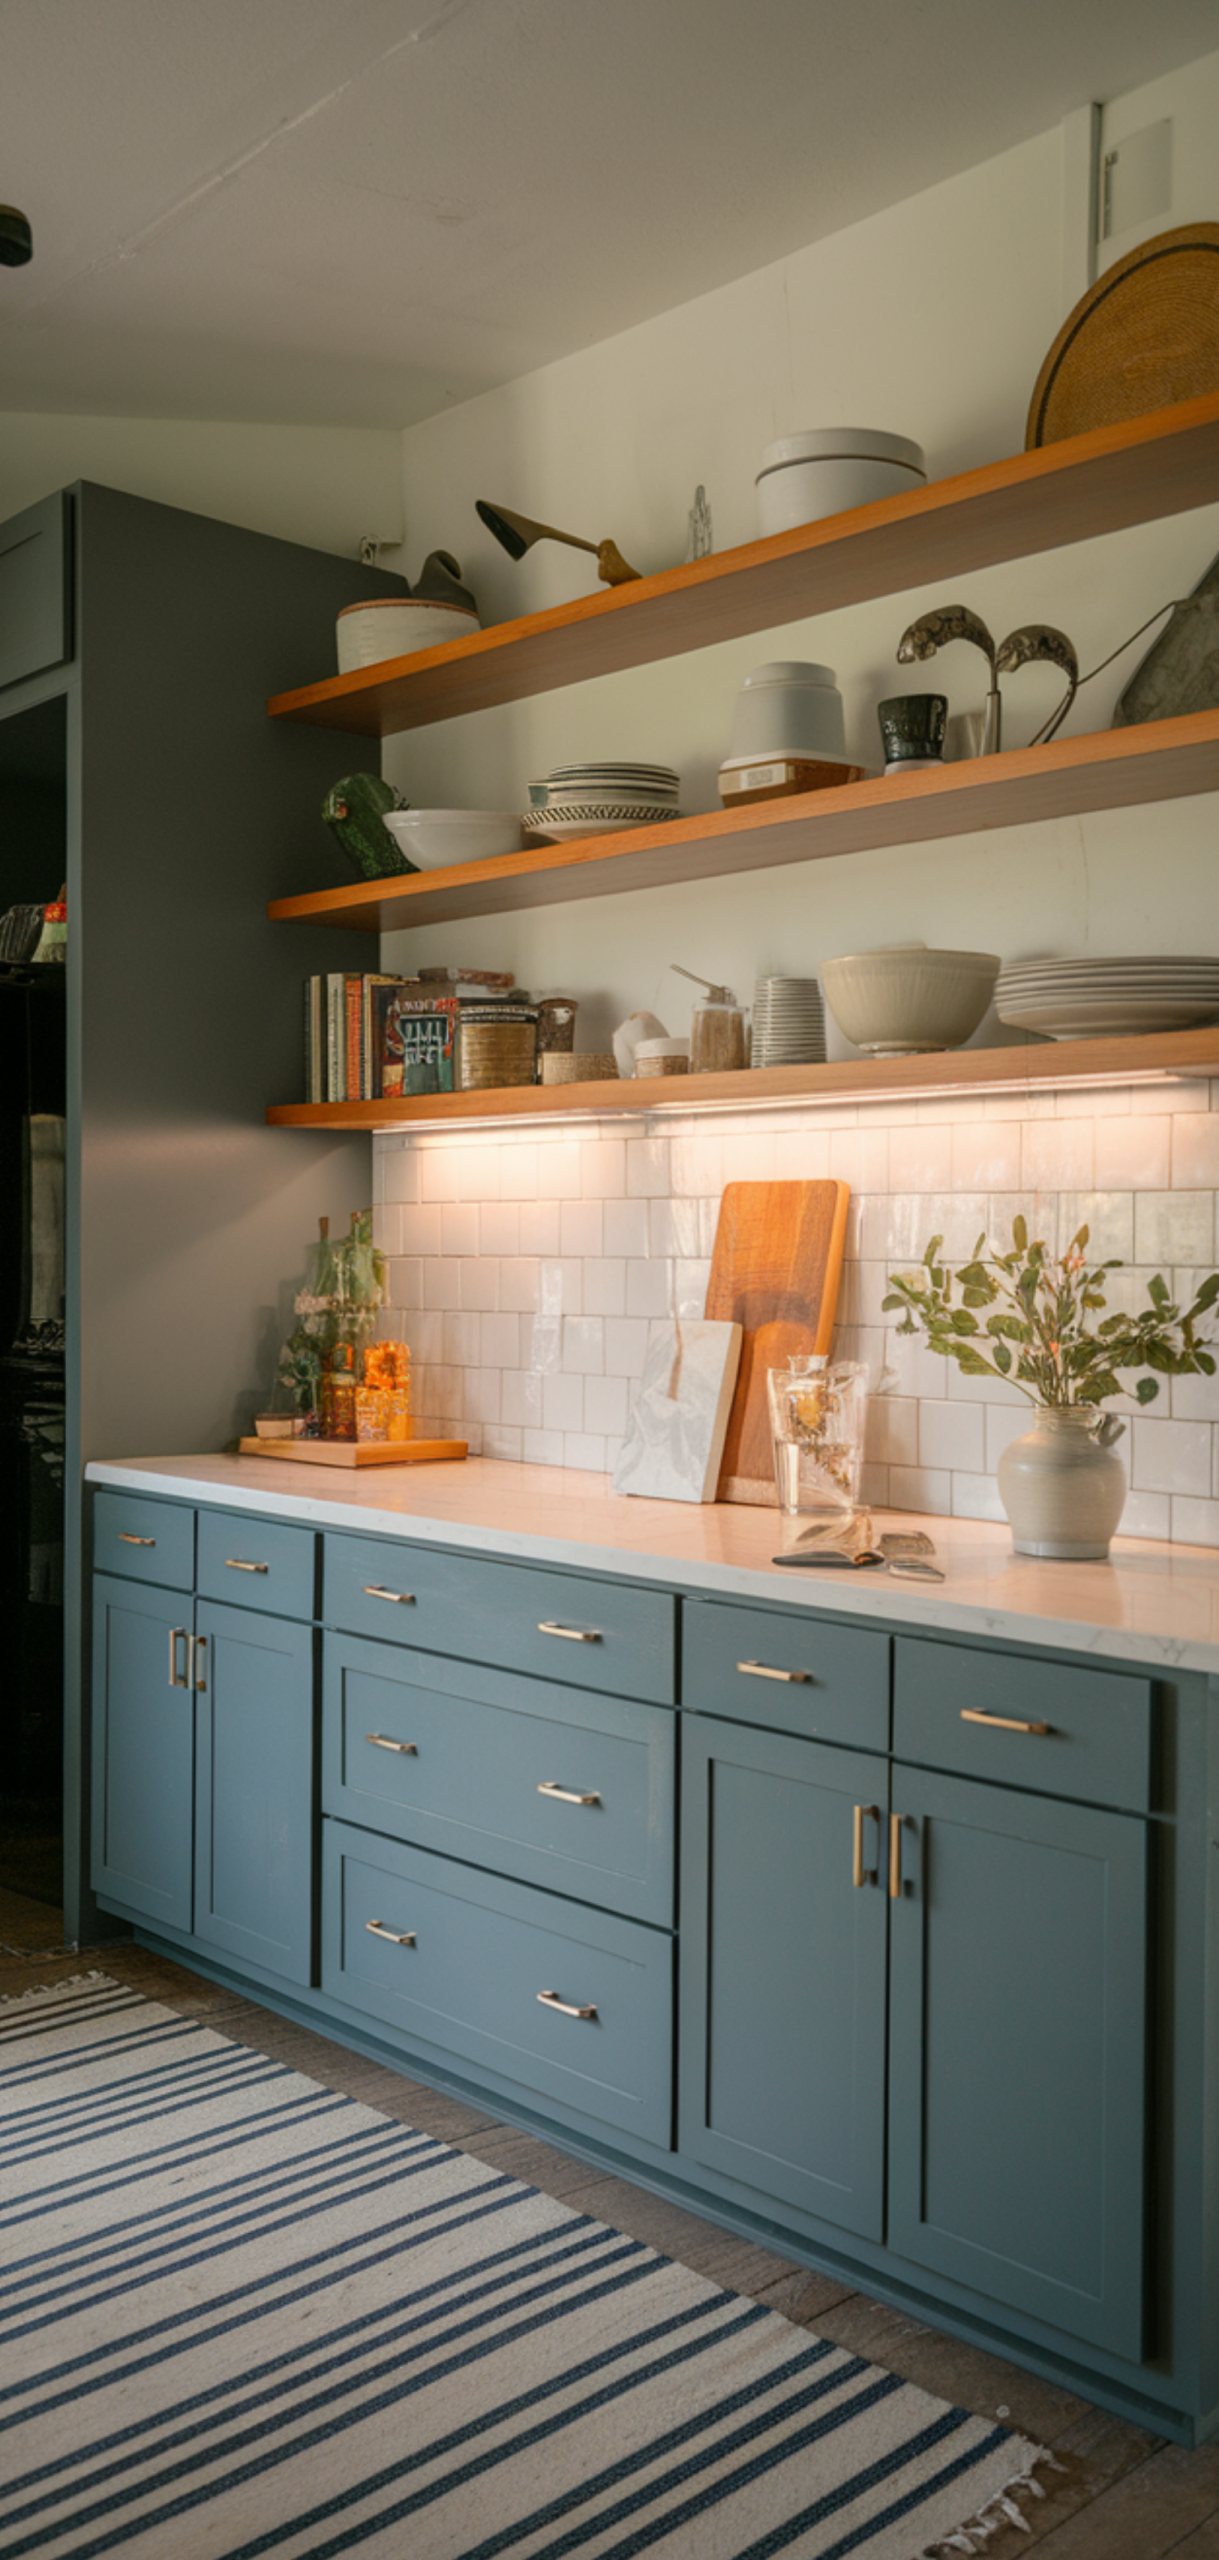
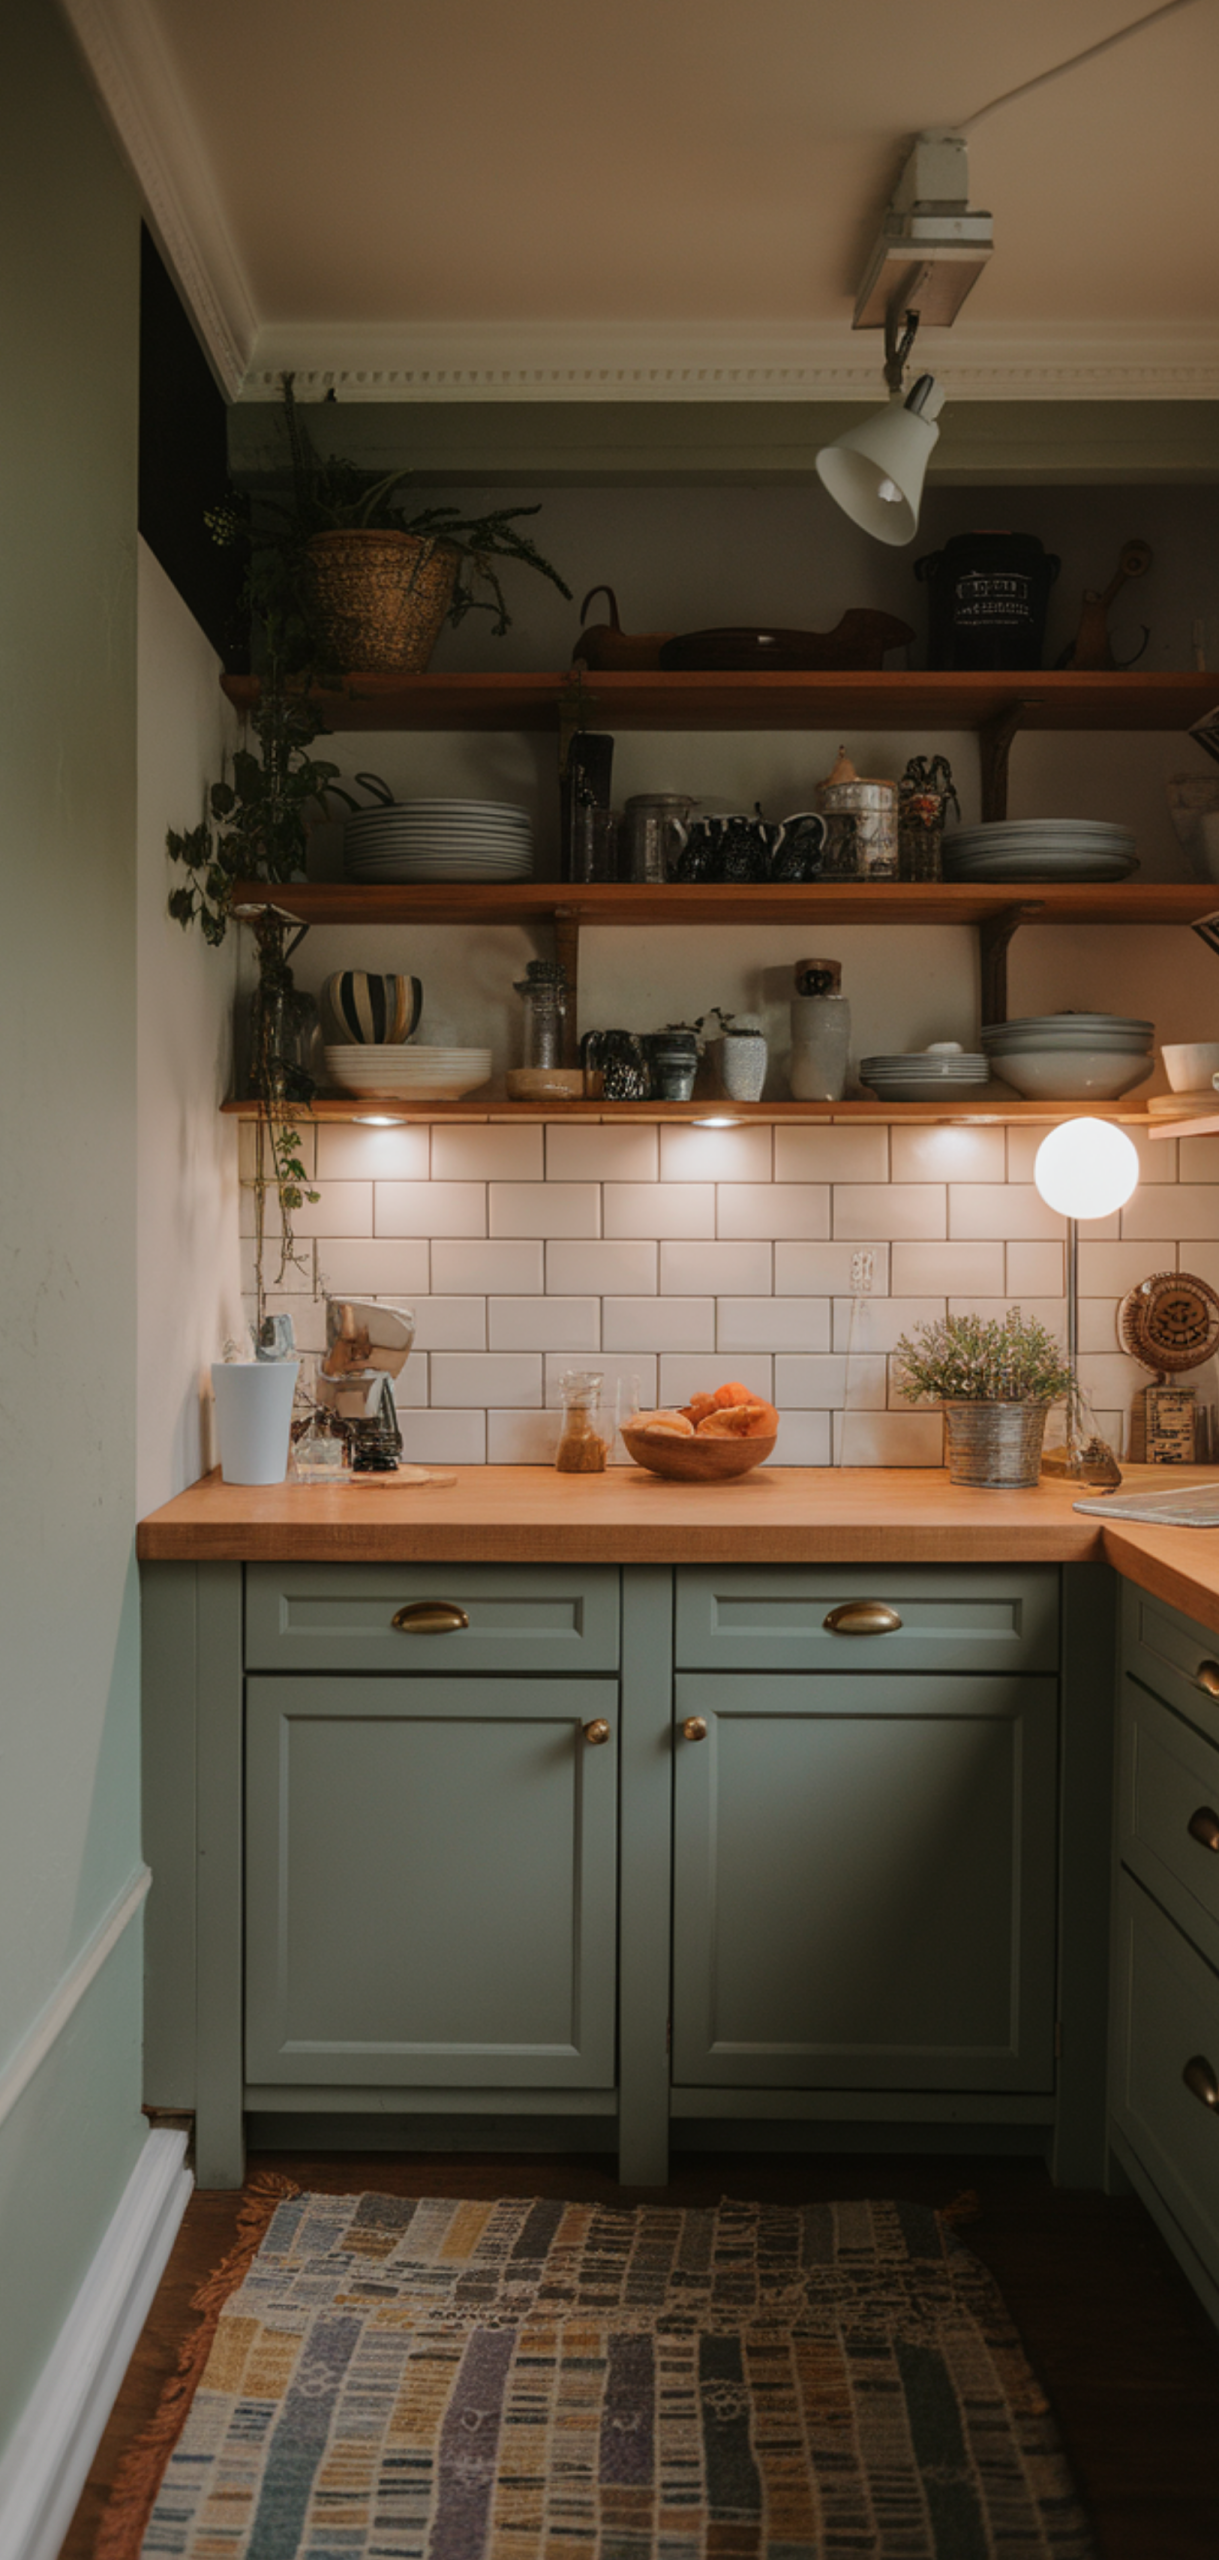
Installing under-cabinet lighting doesn’t have to be complicated. Many modern LED strips, like the ones from InspiredLED or Diode LED, allow you to daisy-chain lights along multiple cabinets, maintain a consistent warm glow, and avoid the harsh bluish tint some LEDs produce when dimmed.
With the right combination of warm-to-dim or static 2700K–3000K strips, your kitchen can have functional task lighting during meal prep and soft ambient lighting in the evenings. Whether it’s an L-shaped kitchen with breaks in cabinetry or a straight run of cabinets, there’s a solution that fits every layout.
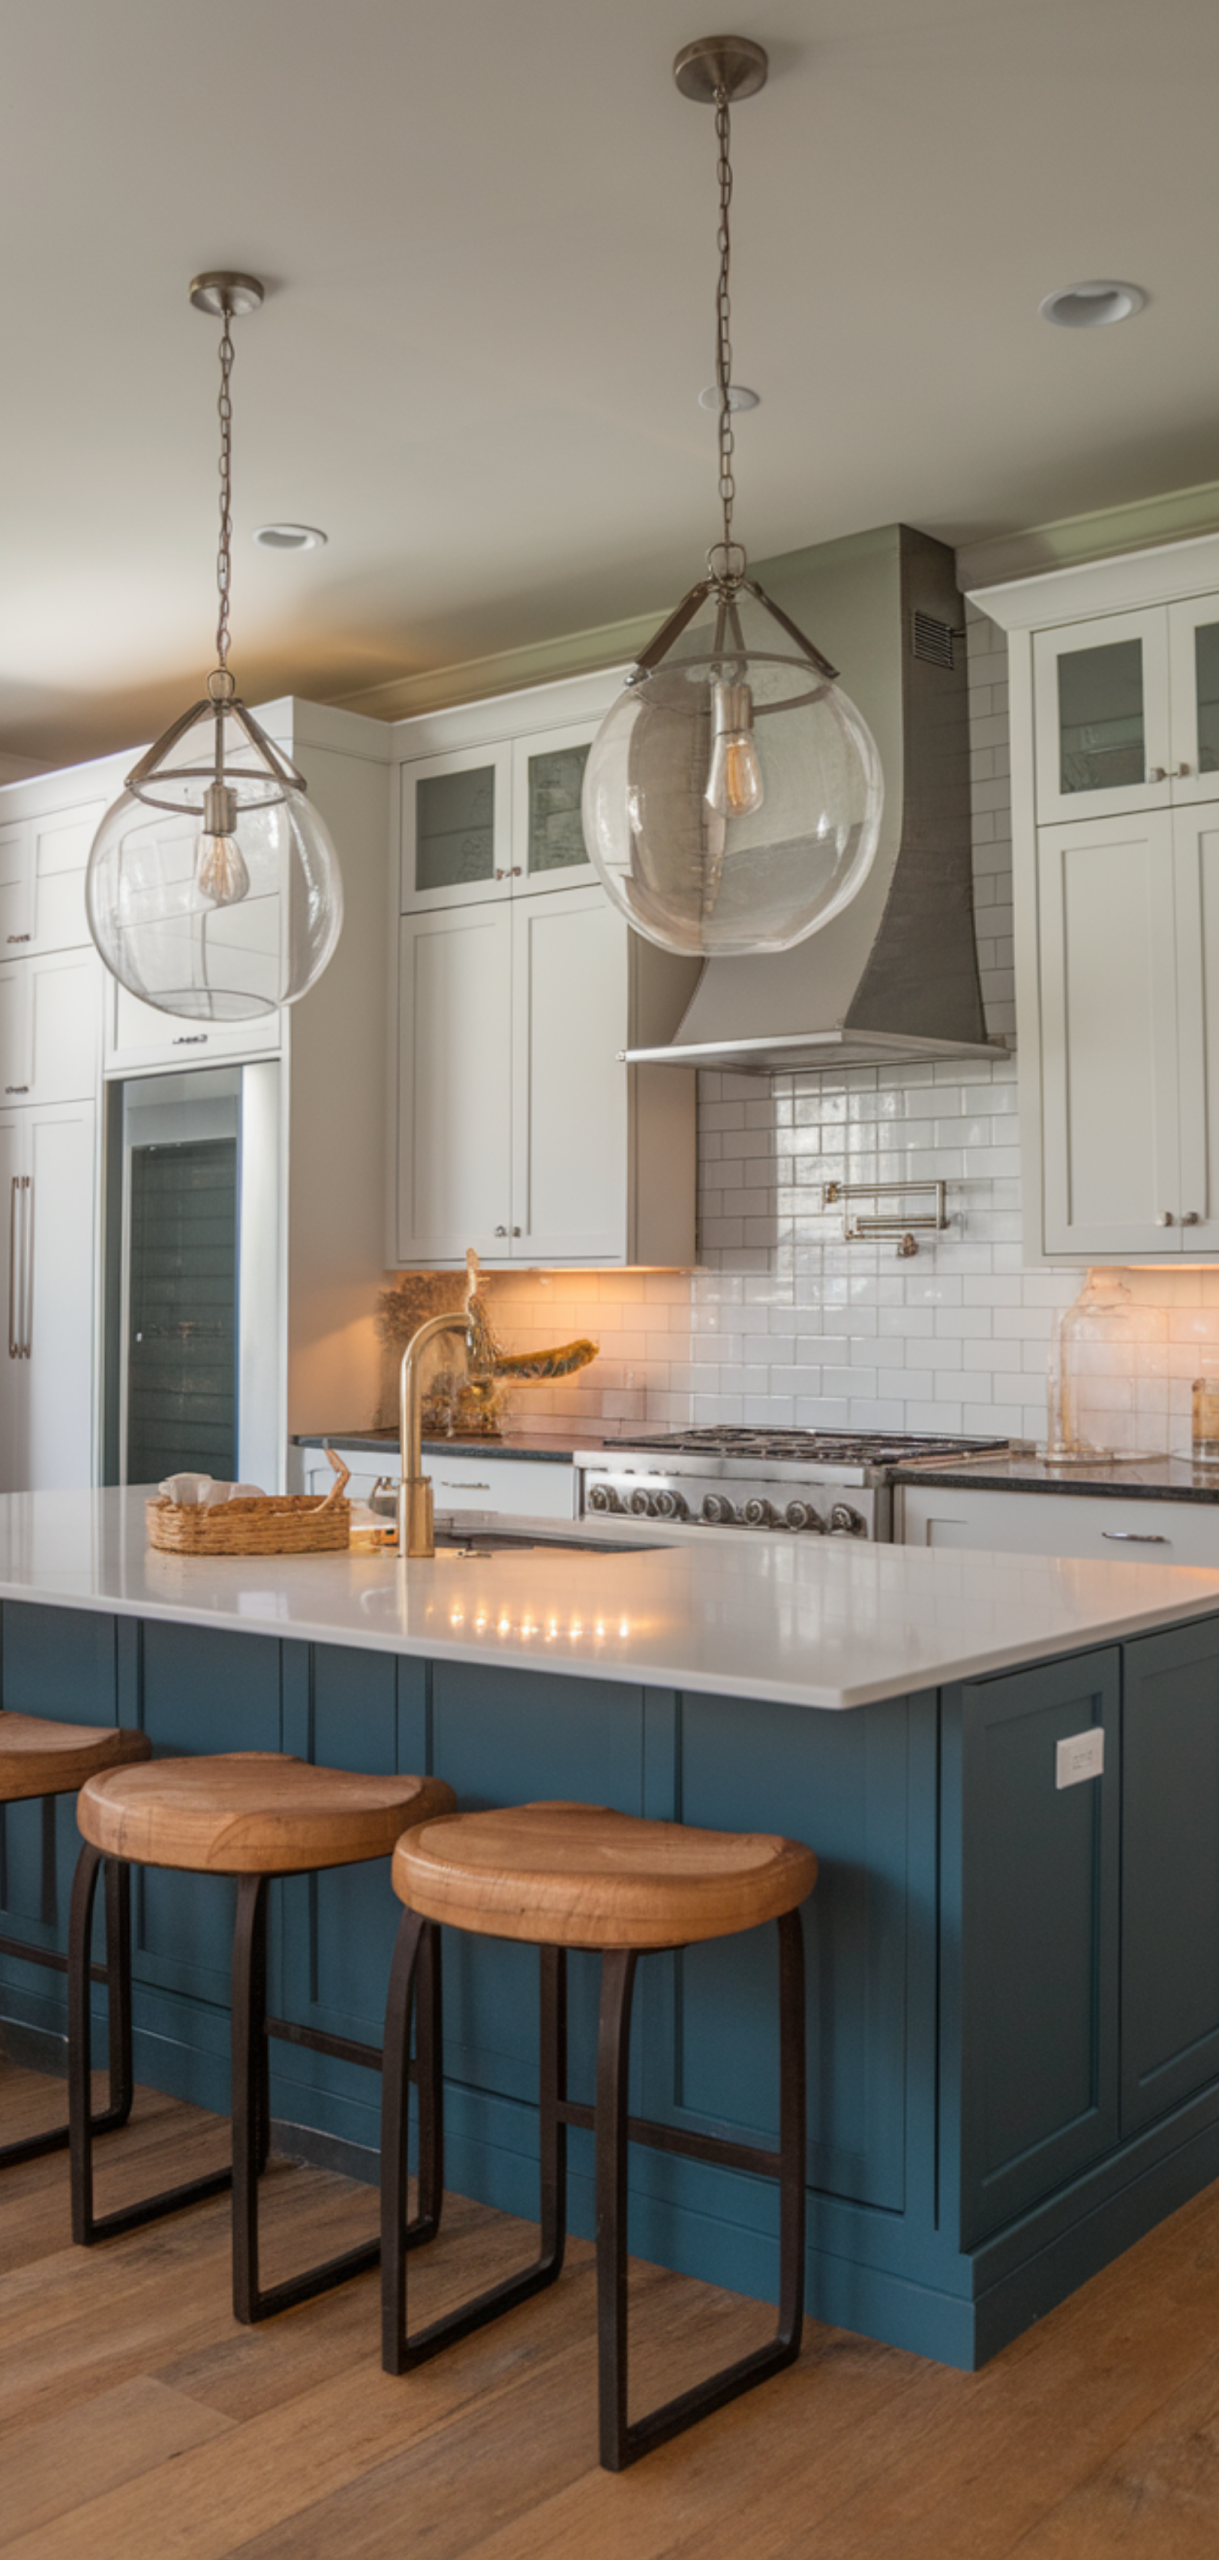
The beauty of under-cabinet lighting is that it’s both functional and beautiful. Motion sensors, IR controls, and adjustable dimming allow you to focus on cooking without fumbling for switches while highlighting backsplash tiles.
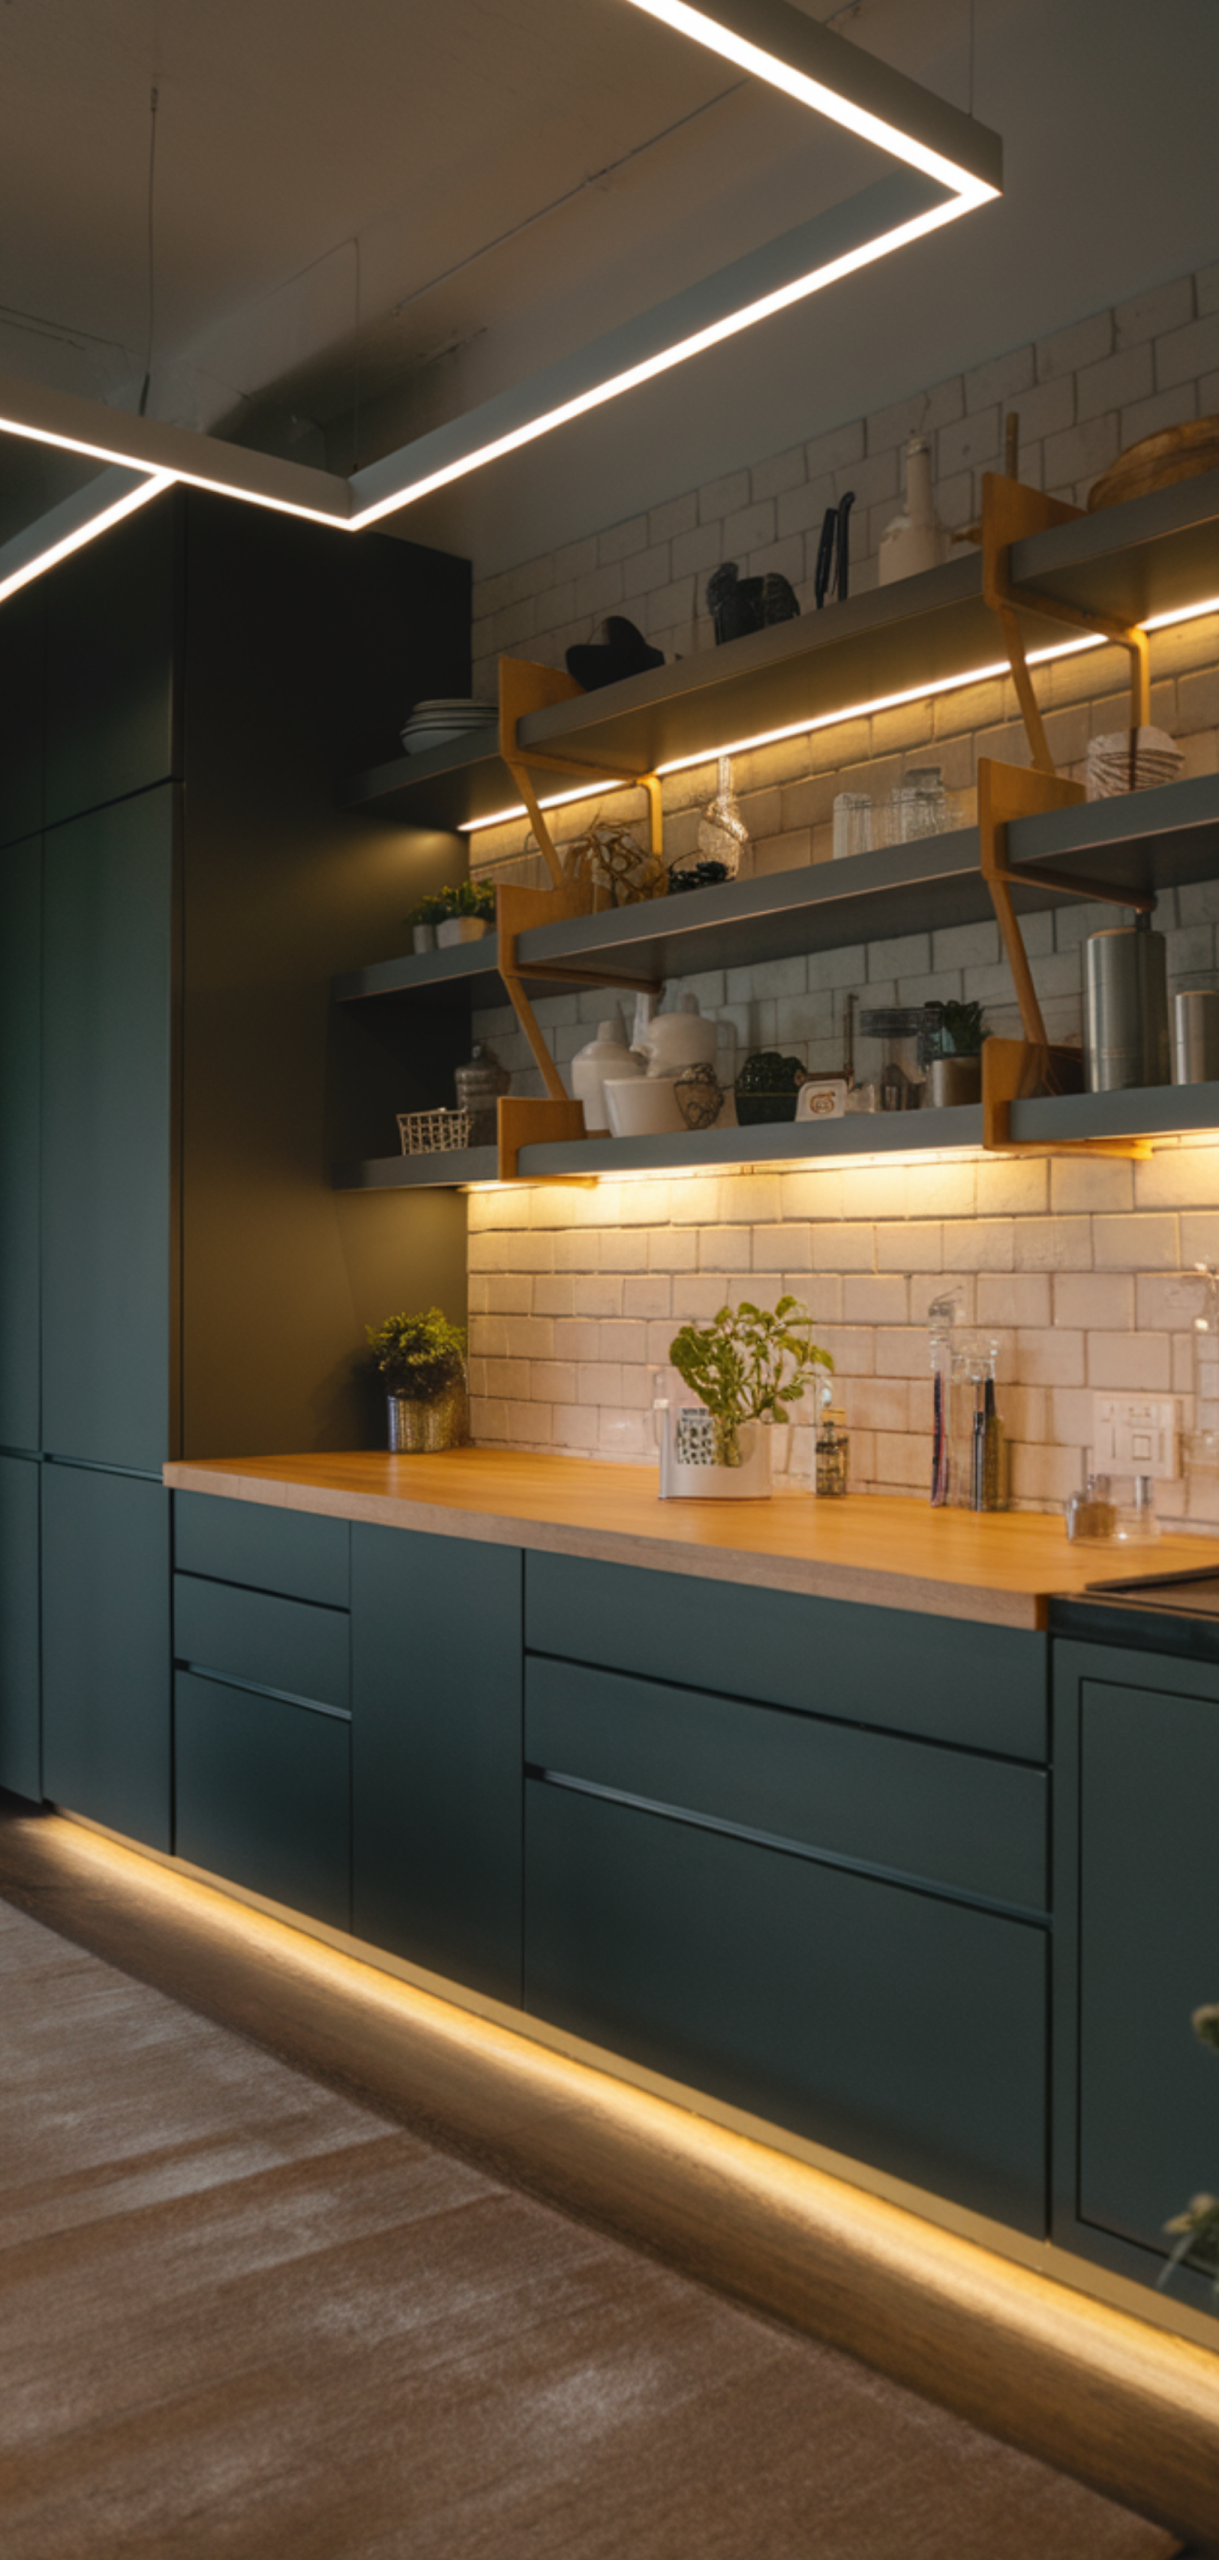
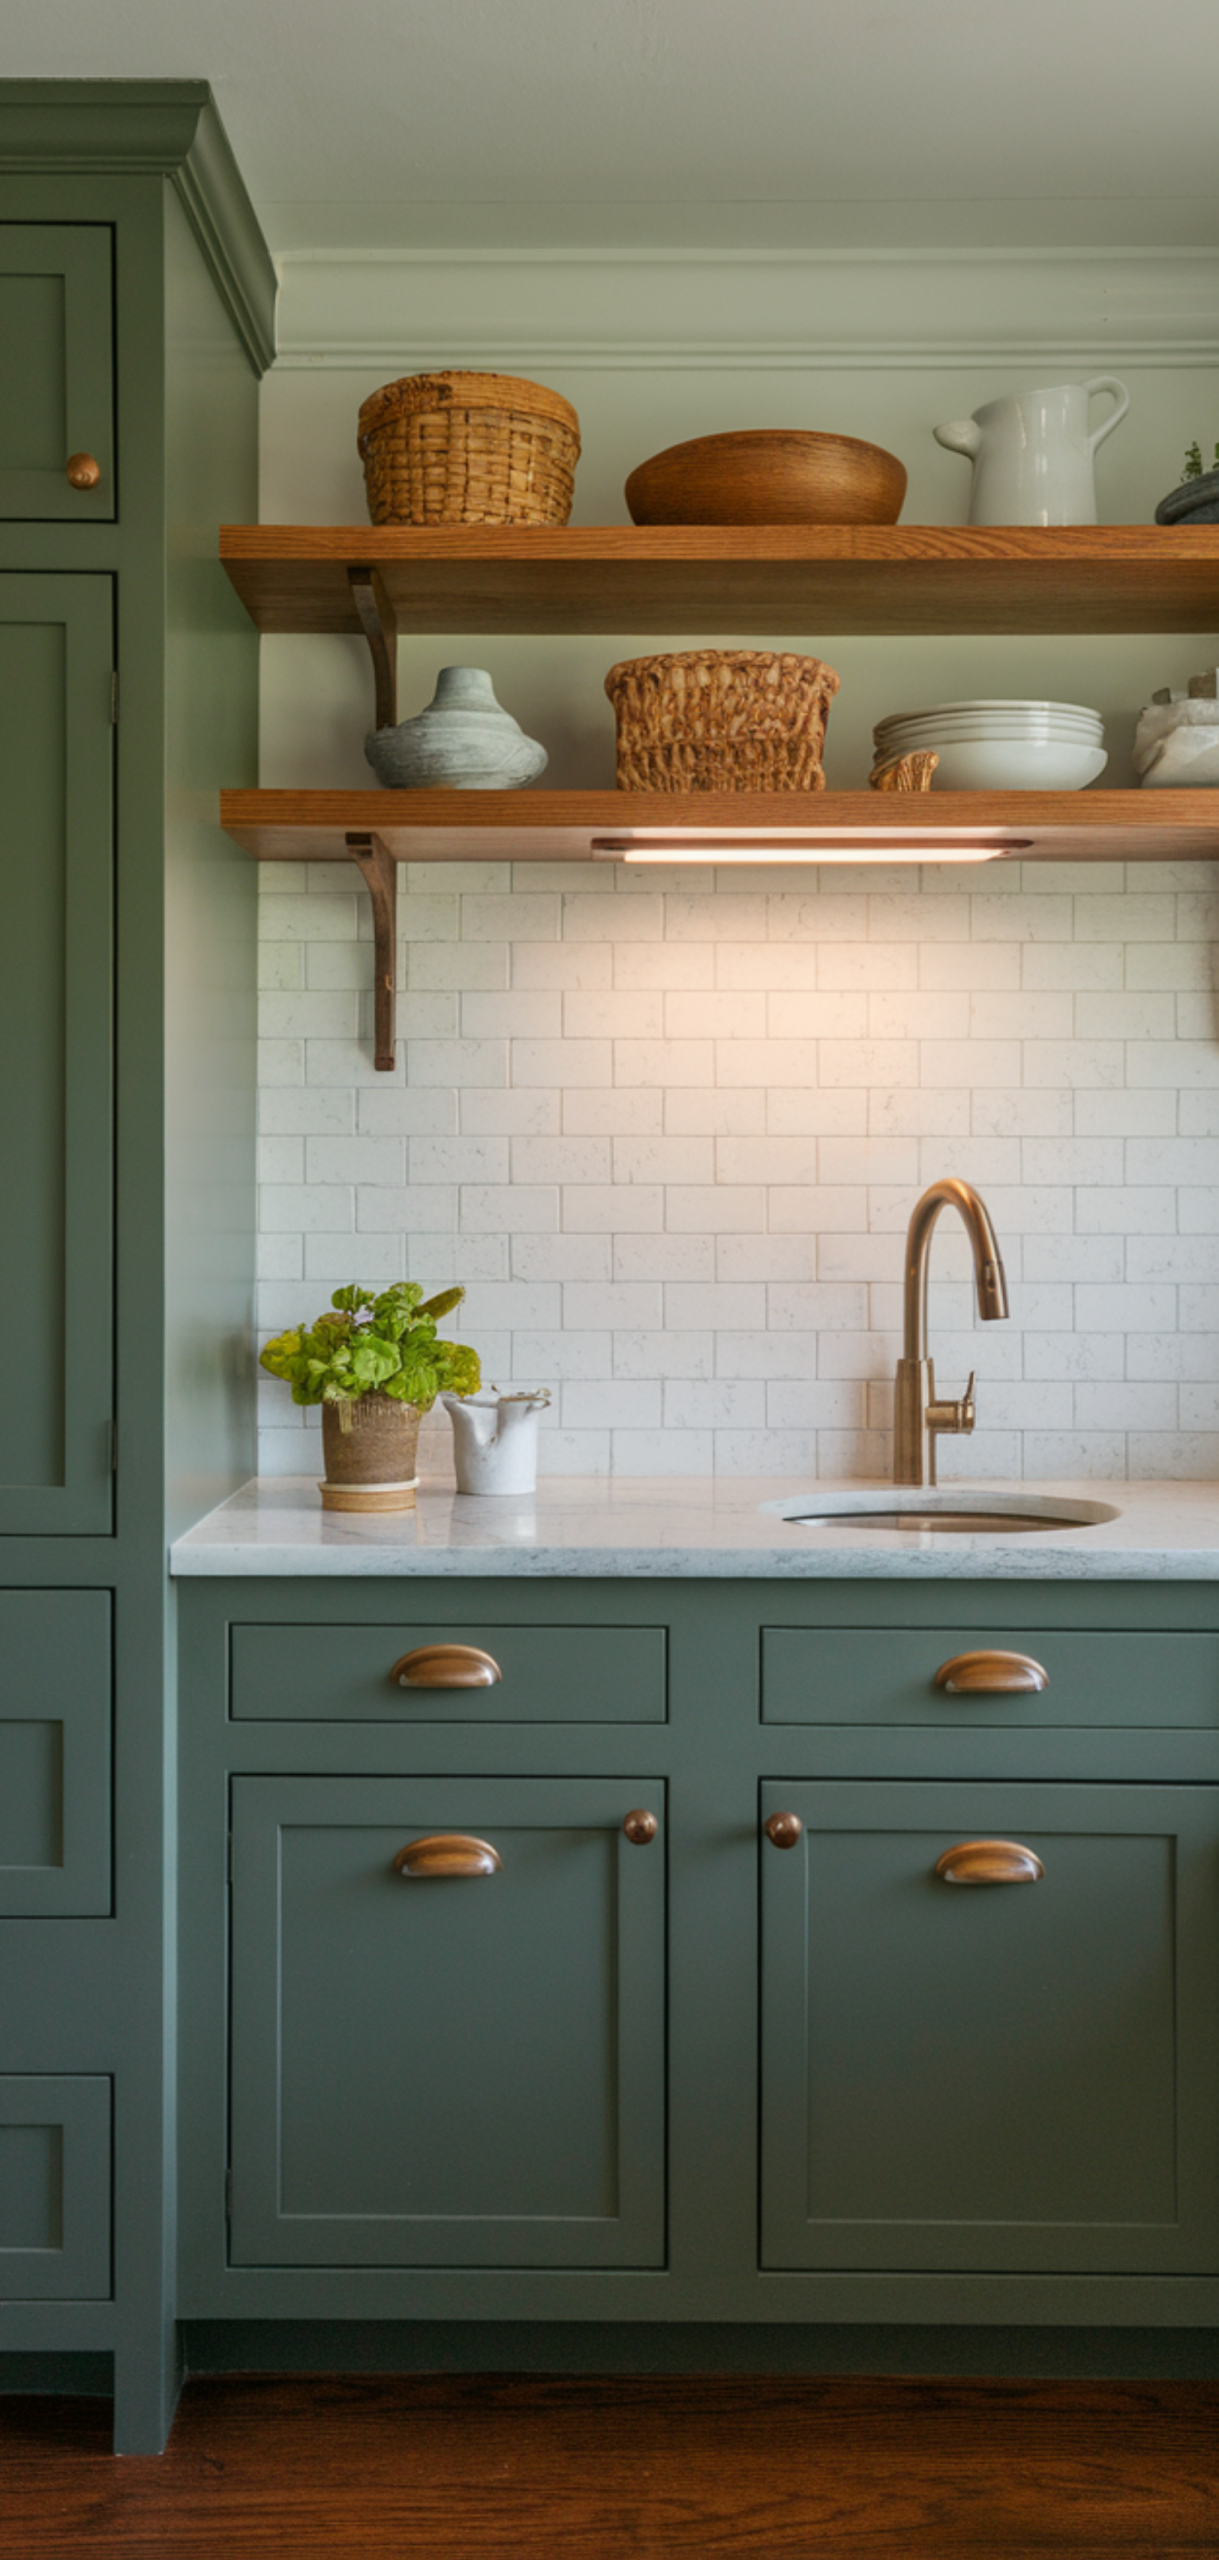
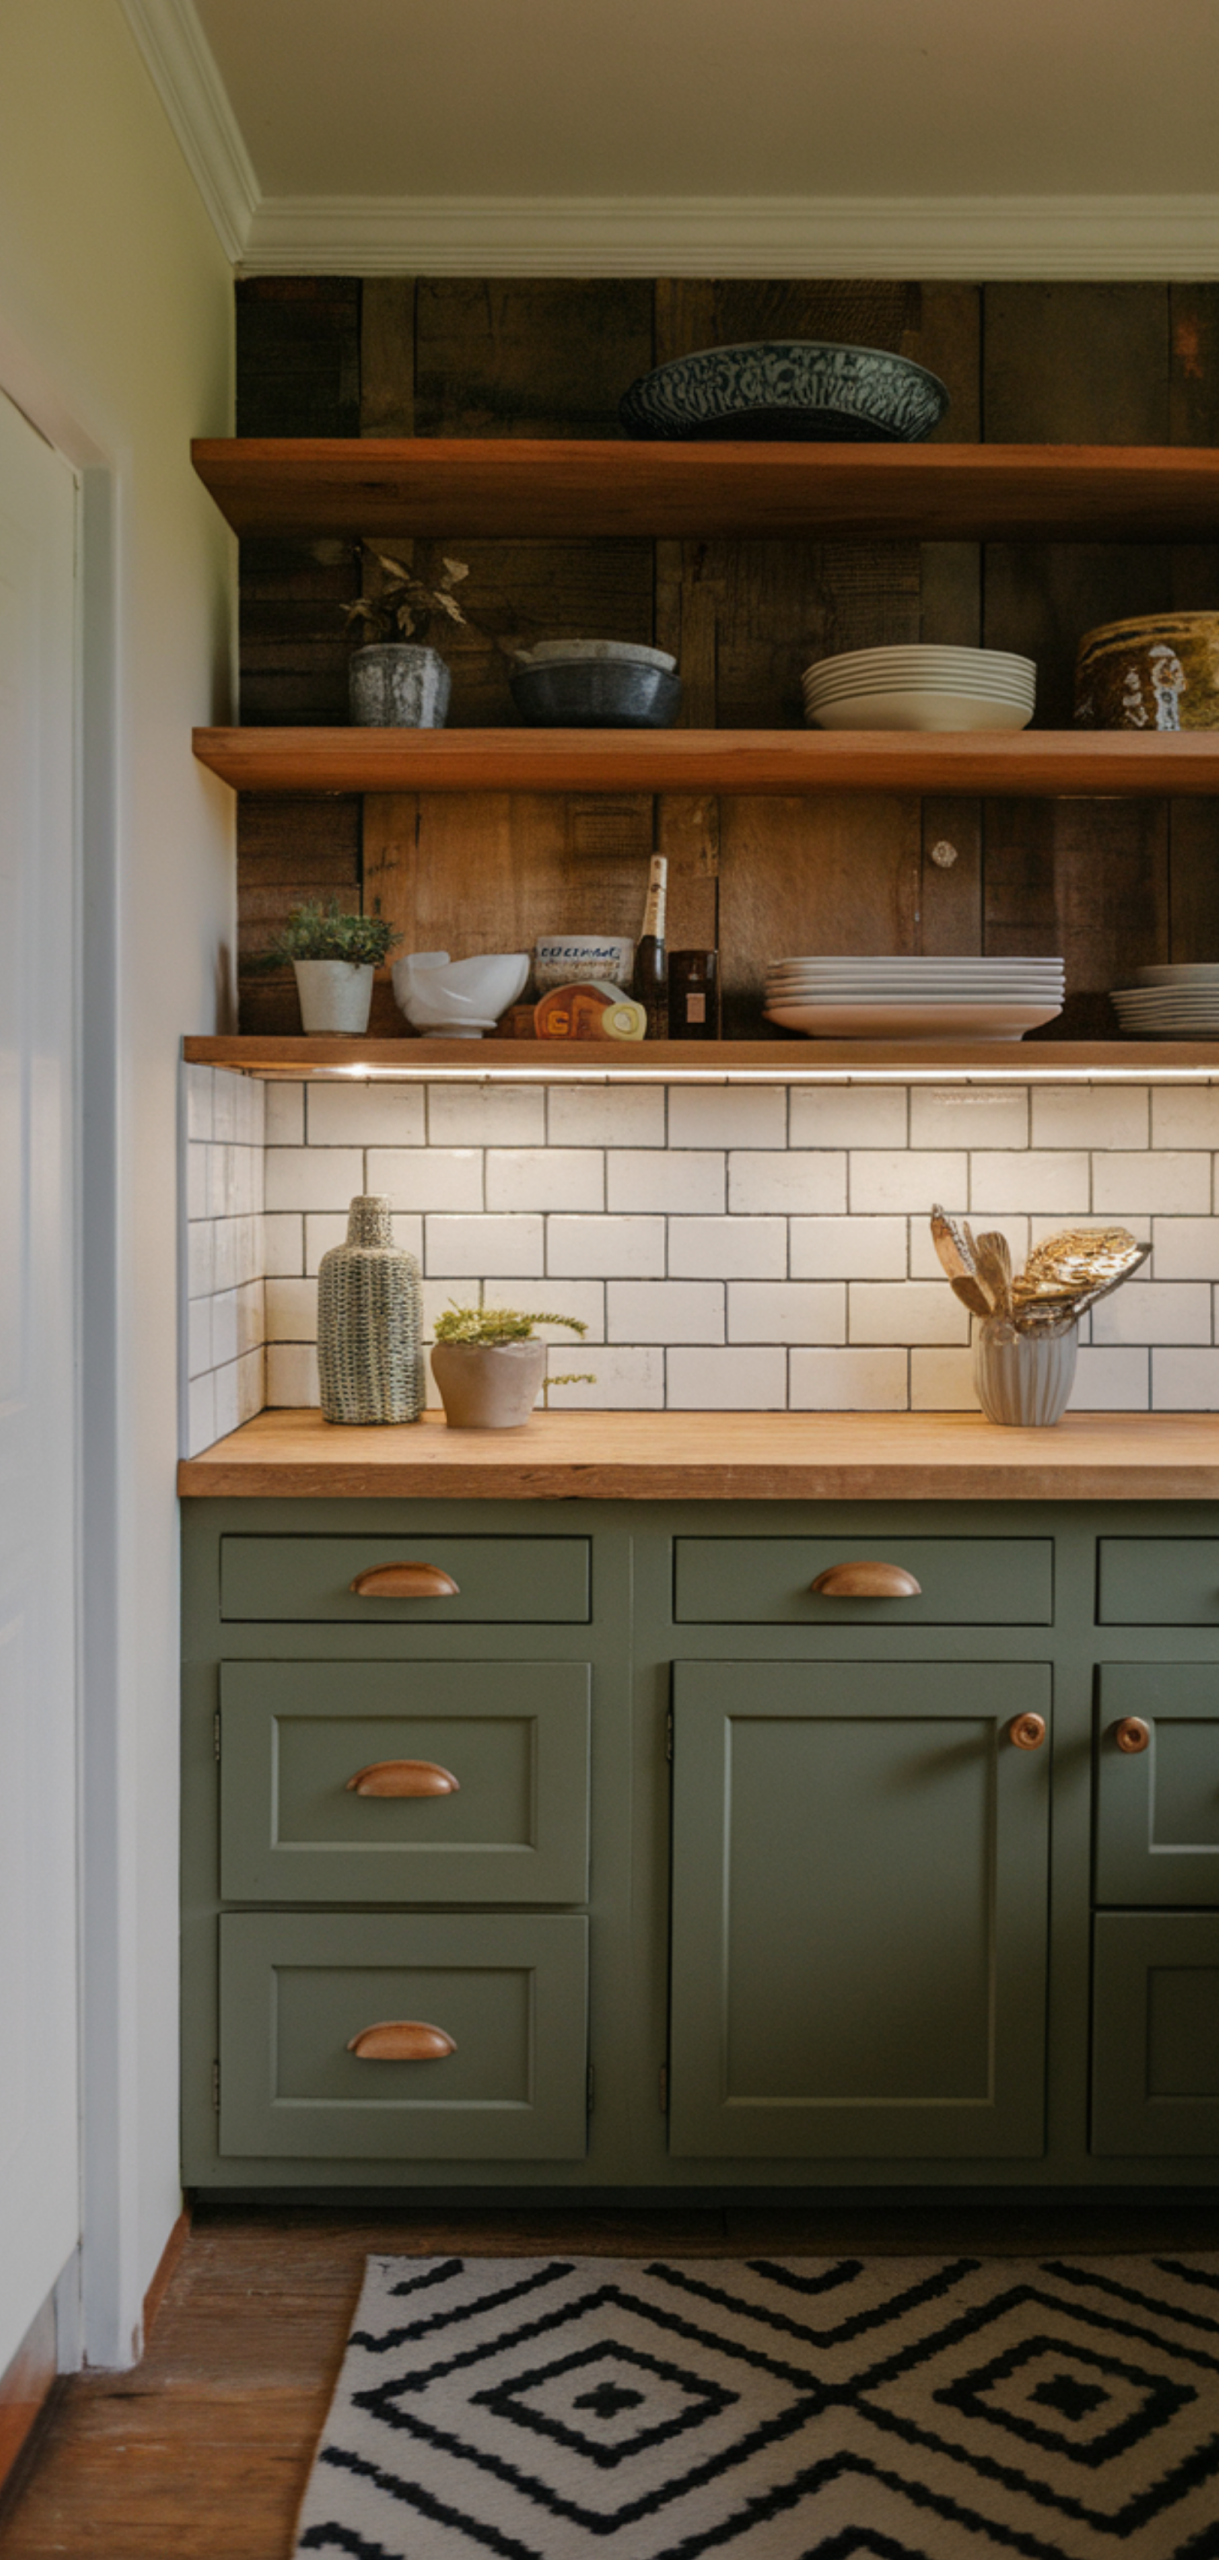
Even if you’re limited to battery-operated strips, modern designs make them look seamless. Adding under-cabinet lighting, along with complementary toe-kick or top-of-cabinet strips, creates an elegant layered lighting effect.
Solution: The right under-cabinet lighting system depends on your kitchen layout. For easy installation, consider battery-operated stick-on LEDs with motion sensors. For a sleek use, hardwired LED strips with adjustable dimming.
Plan your zones and consider your color temperature carefully. With these steps, under-cabinet lighting will turn your kitchen into a bright, inviting, and stylish space, and an entertaining moment more enjoyable.
17. Choose Energy-Efficient Options
Prioritize LED lights over halogen or incandescent. LEDs consume less electricity, last longer, and generate less heat, making them safer and more economical.
16. Ensure Uniform Light Distribution
Use diffusers or well-spaced LED strips to avoid harsh shadows and glare. Uniform light enhances both functionality and aesthetic appeal.
15. Use Dimmable Fixtures
Dimmable lights allow you to adjust brightness based on tasks or mood, providing flexibility between cooking tasks and ambient lighting.
14. Position Lights Strategically
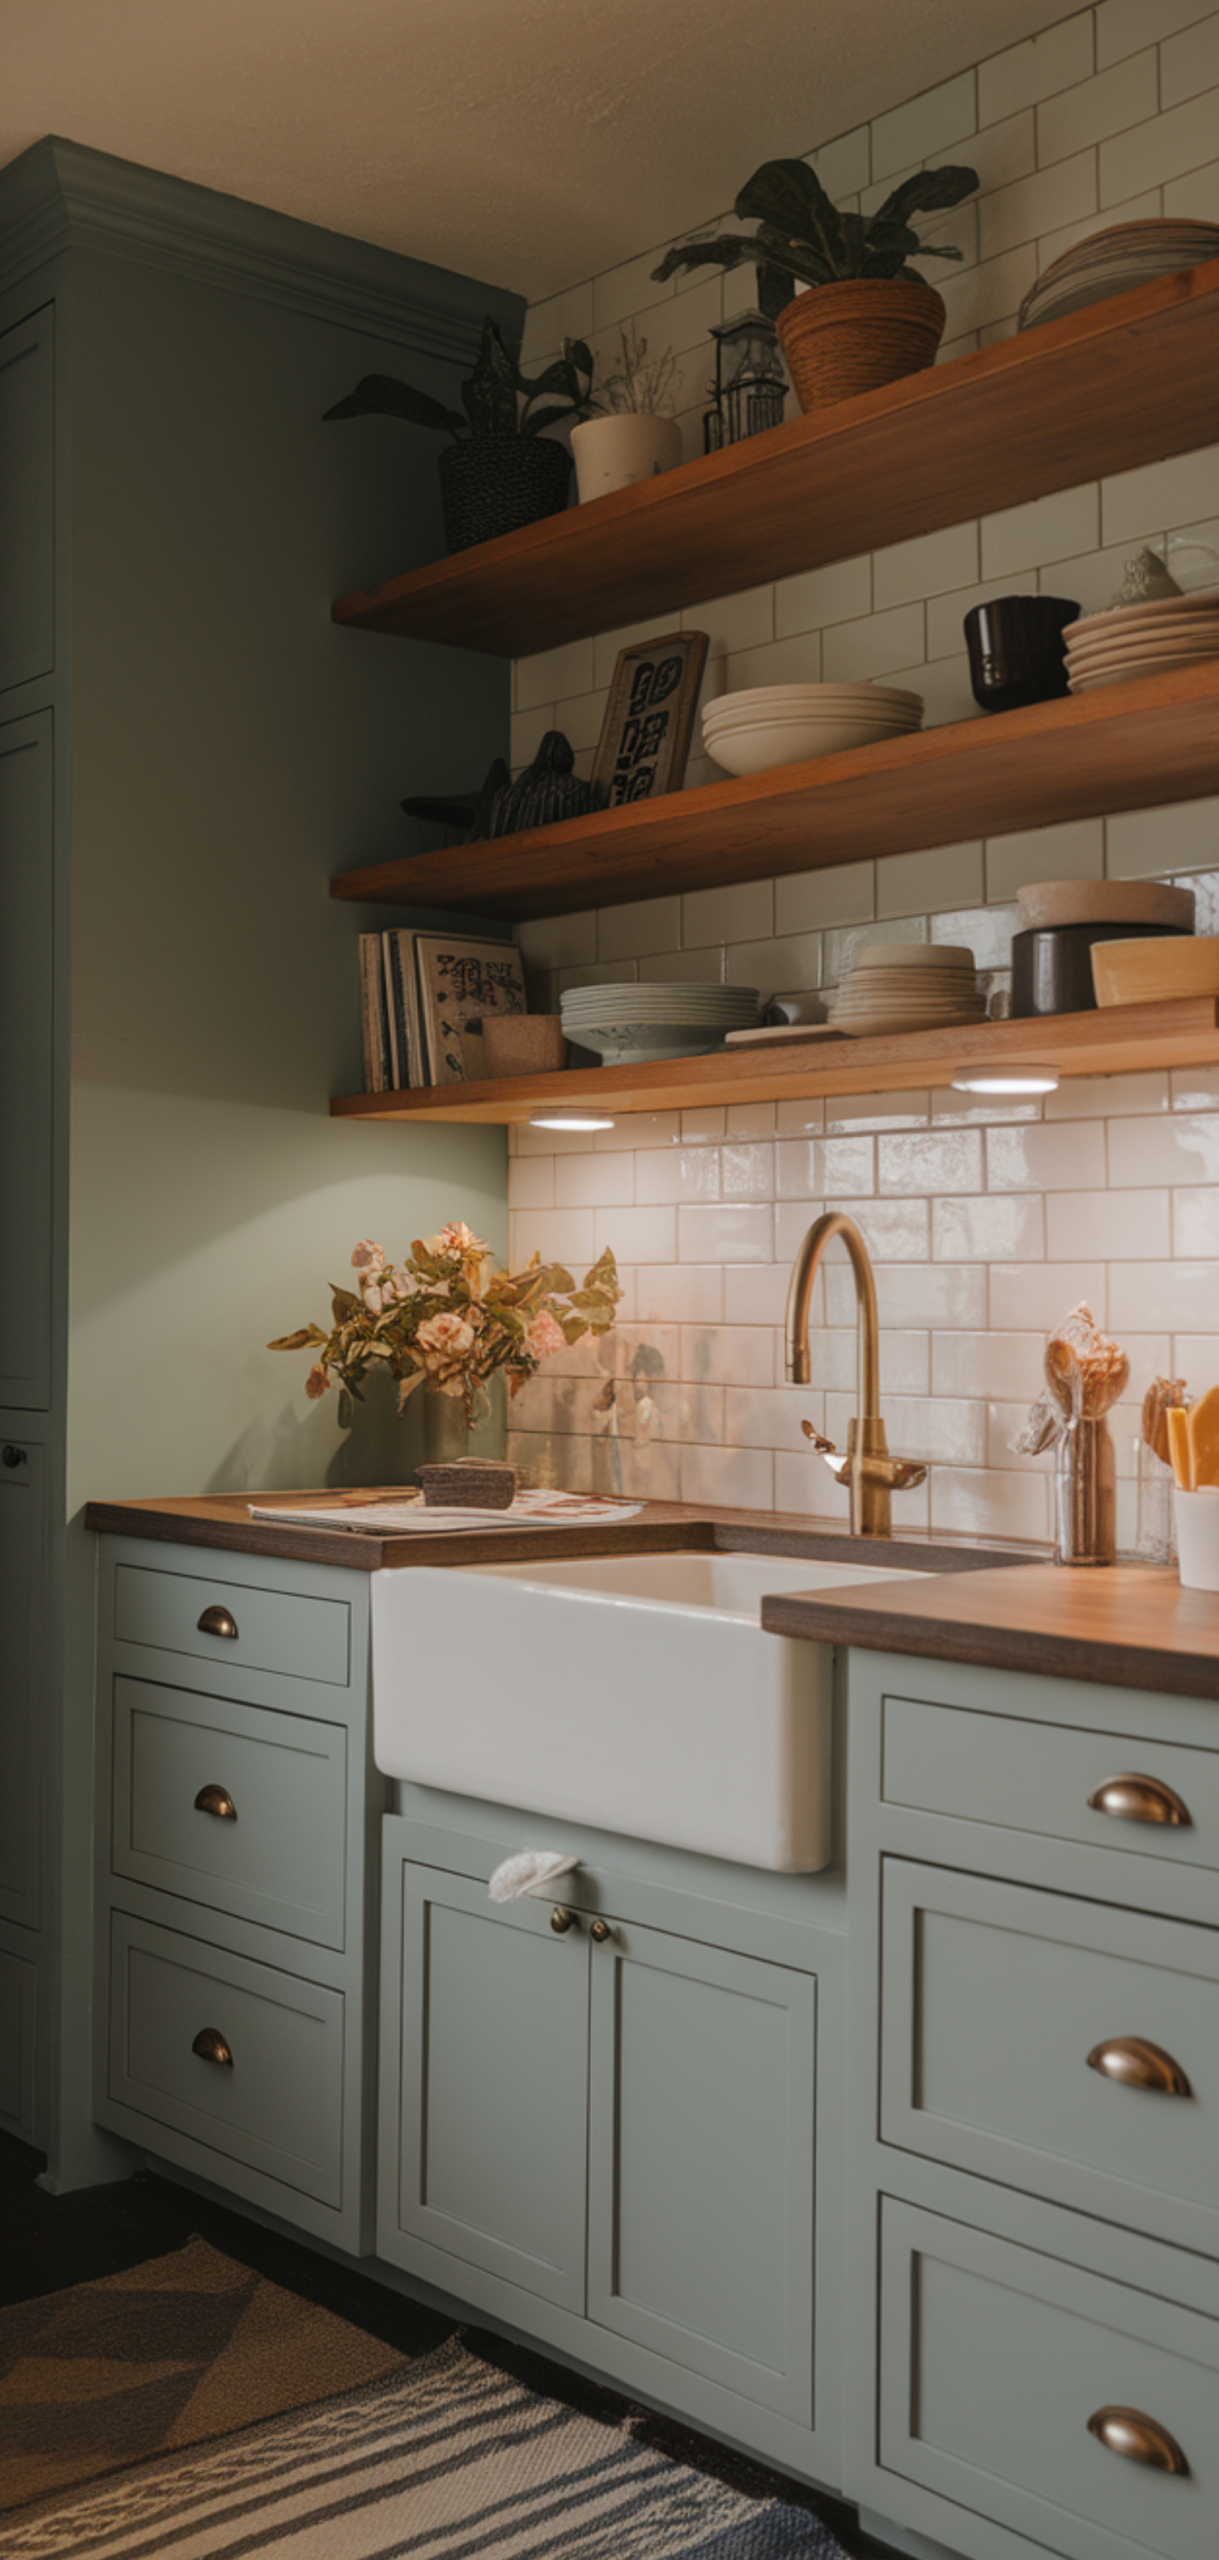
Install lights at the front edge or center of the cabinet undersides to minimize shadows on your countertops for efficient task lighting.
13. Opt for Warm or Neutral White LEDs
Select 2700K–3500K color temperature to maintain a cozy atmosphere while offering clear illumination for meal prep.
12. Choose the Right Type of Under-Cabinet Light
LED strips, puck lights, and fluorescent bars are common choices. LED strips provide consistent light, puck lights highlight specific areas, and fluorescent bars offer broad coverage.
11. Consider Motion Sensors

Motion-activated lights add convenience and energy savings, automatically illuminating the workspace when movement is detected.
10. Focus on Task Lighting
Ensure your under-cabinet lighting is bright enough to illuminate food prep areas, cutting boards, and stovetops without causing eye strain.
9. Integrate Color Temperature Consistency
Avoid mixing warm and cool light sources to maintain visual harmony in the kitchen environment.
8. Hide Wiring Elegantly
Use concealed wiring or cable channels to preserve a clean, professional look. Avoid visible cords that can distract from design.
7. Consider Cabinet Material
Reflective surfaces like glass or light-colored cabinets enhance the brightness of under-cabinet lighting, while dark wood may require more powerful lights.
6. Choose Adjustable Fixtures
Adjustable lights allow you to direct light where it’s most needed, making them ideal for multi-functional kitchen spaces.
5. Highlight Backsplash Features
Under-cabinet lights can showcase tile patterns or textures, creating an attractive visual focal point.
4. Install Multiple Zones
Divide your lighting into zones to control illumination in different areas independently, offering flexibility for cooking, dining, or entertaining.
3. Incorporate Smart Controls
Smart home integration allows remote operation, scheduling, and automation for efficiency and convenience.
2. Protect Against Heat and Moisture
Select water-resistant and heat-tolerant fixtures near stovetops or sinks to ensure durability and safety.
1. Plan for Maintenance and Accessibility

Choose fixtures that are easy to replace or clean, ensuring long-term functionality and convenience.
Conclusion
Proper under-cabinet lighting elevates both the functionality and aesthetic of your kitchen. By following these 17 tips, you can create a workspace that is well-lit, visually appealing, and energy-efficient. Whether you’re focusing on task lighting, accentuating design features, or integrating smart controls, thoughtful planning ensures a kitchen that is practical, stylish, and inviting for years to come.