Join Our Newsletter for Cozy Home Inspiration, Family Fun, and Delicious Recipes Every Week
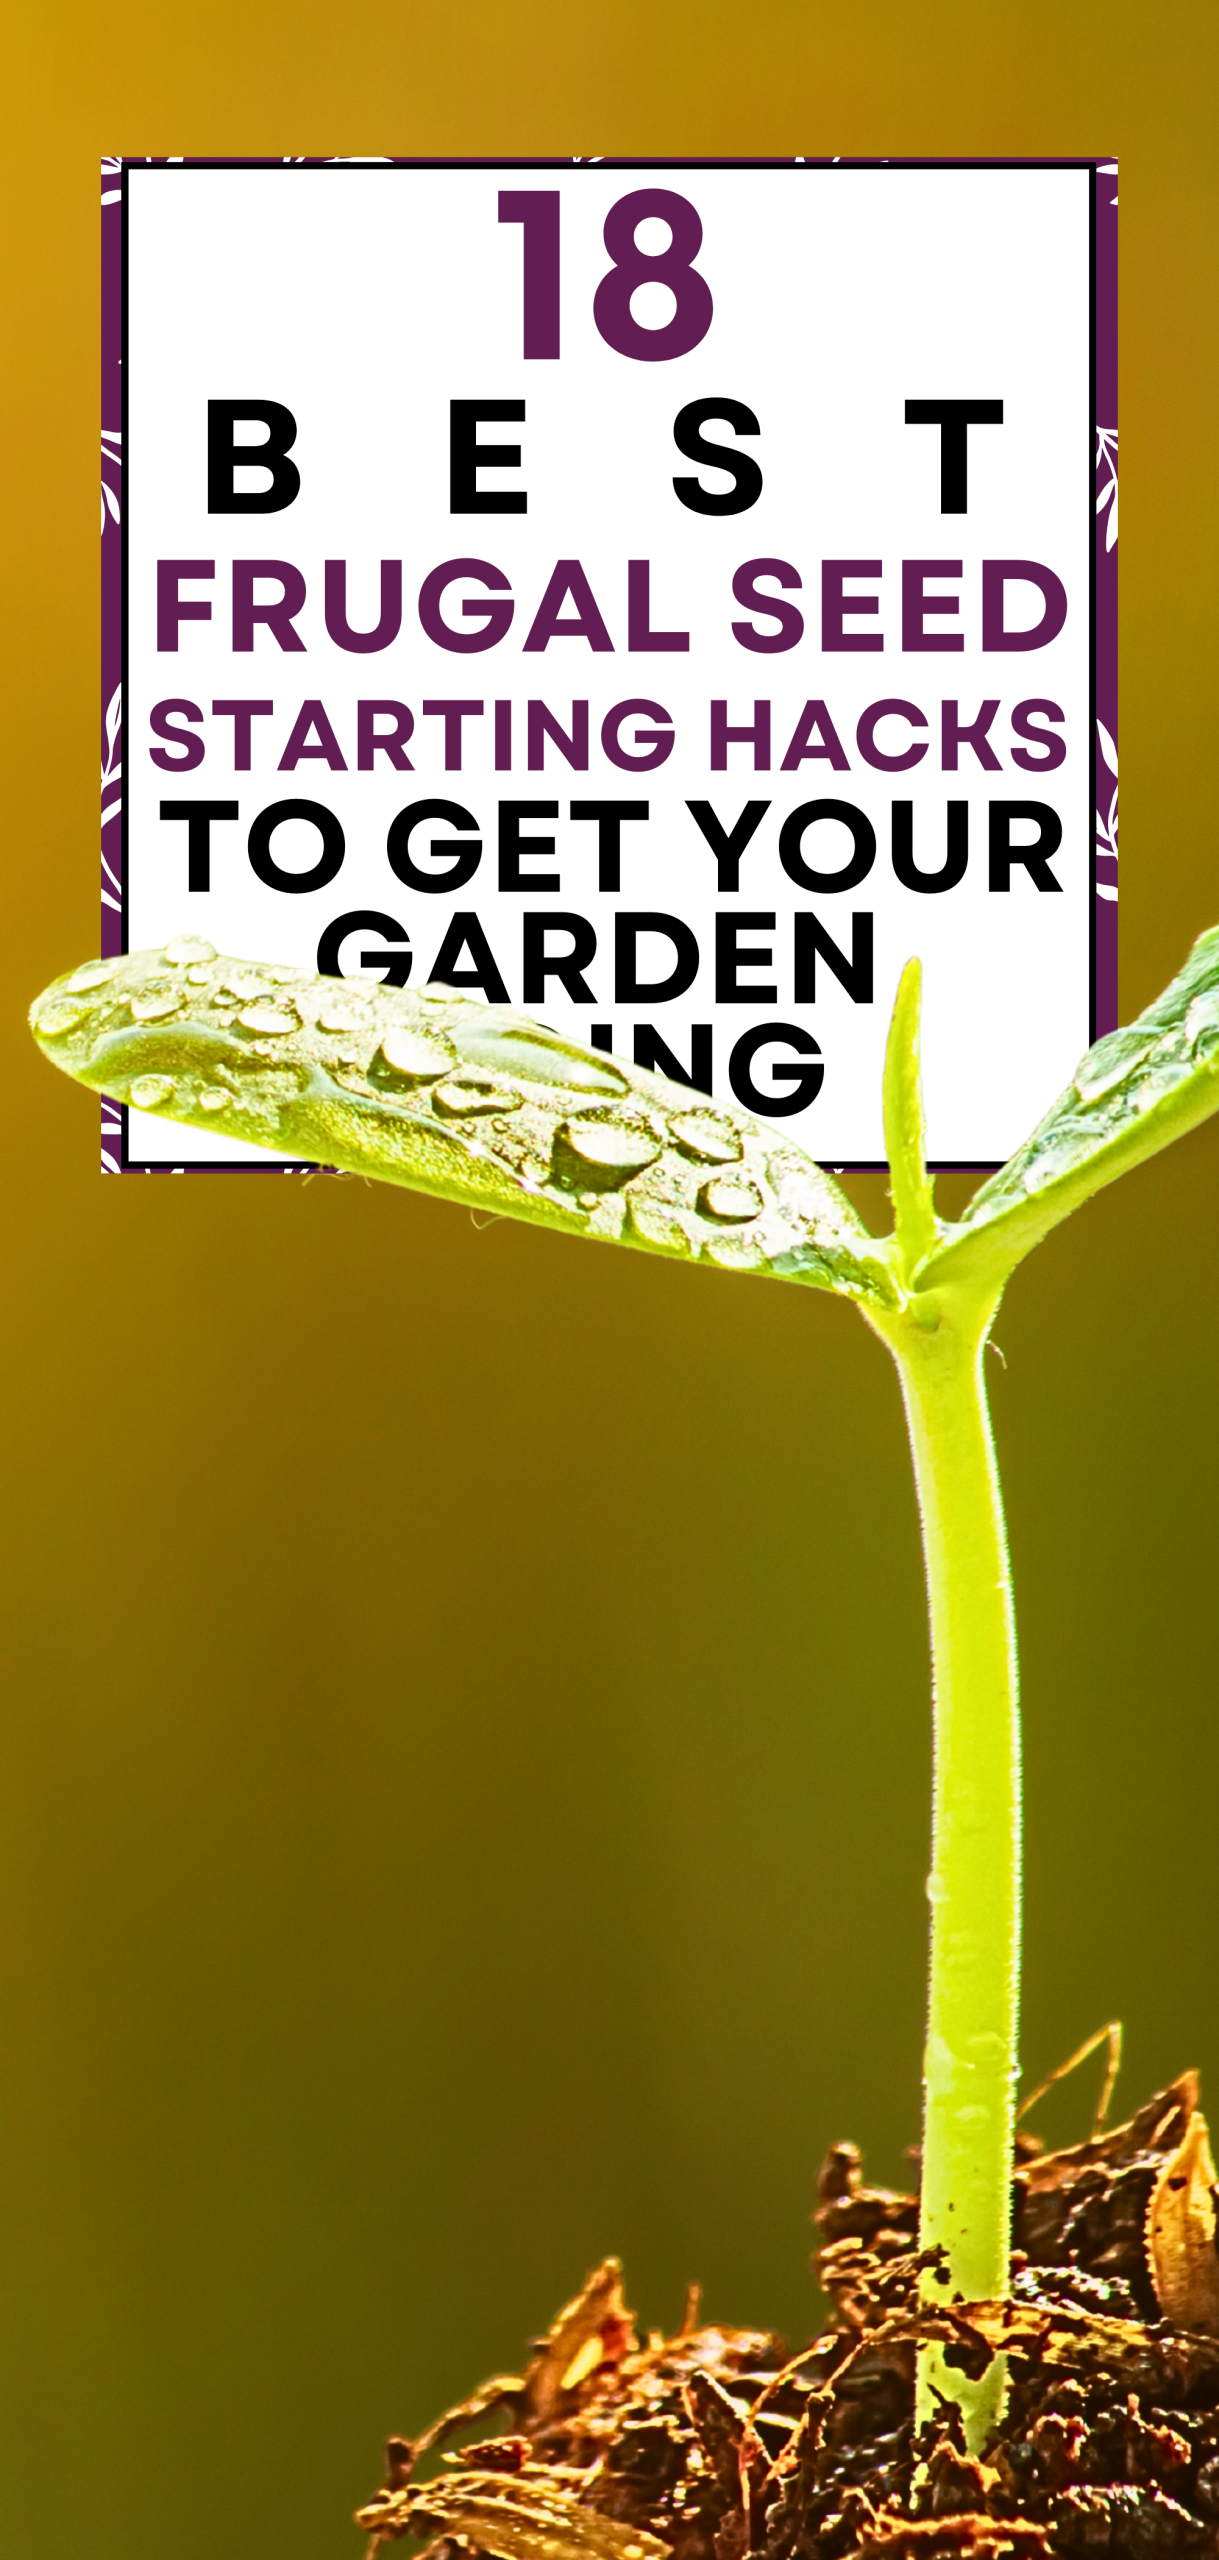
18 Best Frugal Seed Starting Hacks to Get Your Garden Going
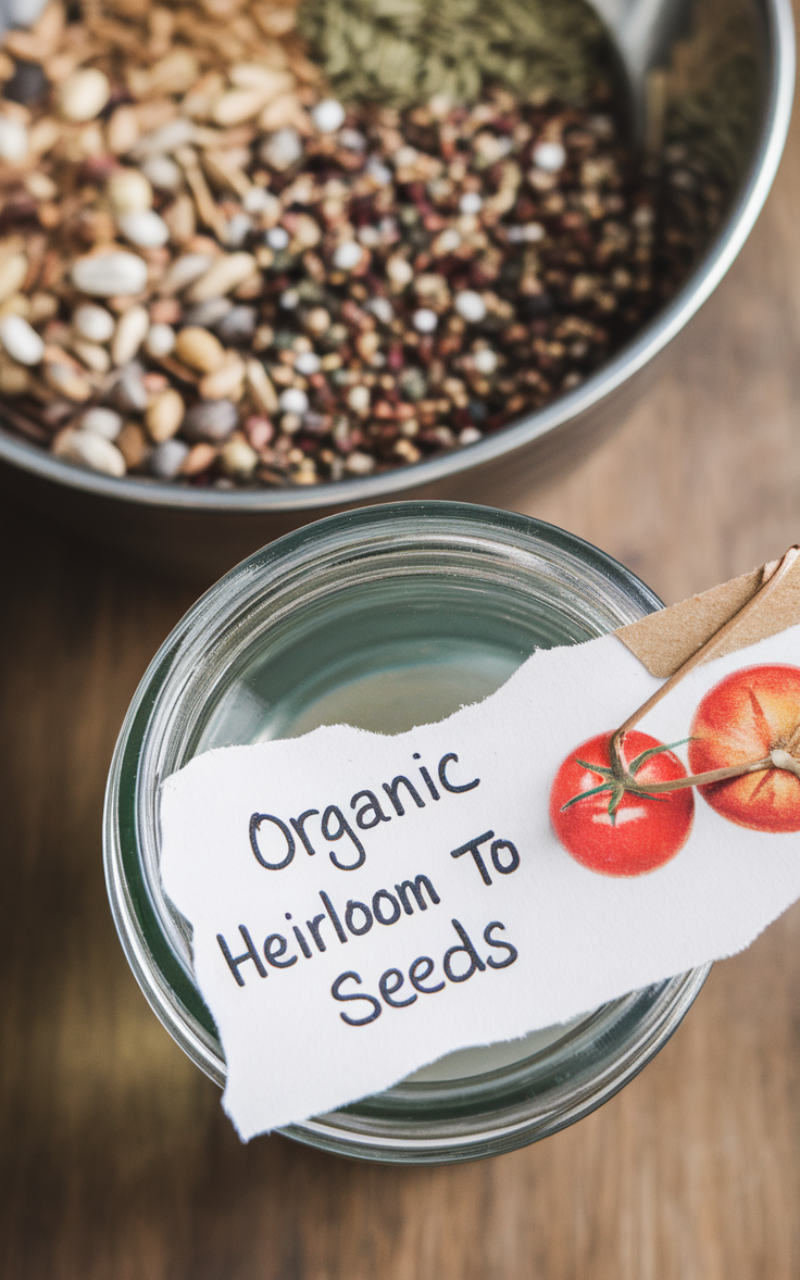
The challenge began when I decided to take Seed Starting seriously for my second year of gardening and quickly realized how overwhelming the equipment options could be, especially after remembering how a small detail like lighting can transform a space, just like in my article on Yellow Luxury Bedrooms.
I wanted a setup that was affordable, sturdy, and practical for zone four winters, but every cart either felt too expensive, too small, or too flimsy, which left me wondering if I could get something reliable without draining my budget.
As I explored more seed-starting ideas, gardeners kept sharing their creative setups built from simple shelving units, shop lights, and repurposed trays, and I began to understand that success depends less on fancy grow systems and more on consistency in light, height, airflow, and moisture.
Stories about wire shelves fitted with inexpensive LED or fluorescent lights, adjustable chains, nursery trays, and humidity domes showed me how effective a low-cost DIY setup could be and how even a small basement corner could turn into a thriving nursery for tomatoes, peppers, herbs, and more.
In the end, the solution to Seed Starting became surprisingly simple: build a setup that focuses on the essentials, good light placement, durable trays, airflow, and a warming environment, and skip anything that adds cost without improving results.
With a metal shelf, a few reliable lights, and some well-chosen trays, it becomes easy to start strong, healthy seedlings and turn a frugal system into a productive spring garden.
18. DIY Newspaper Seed Pots
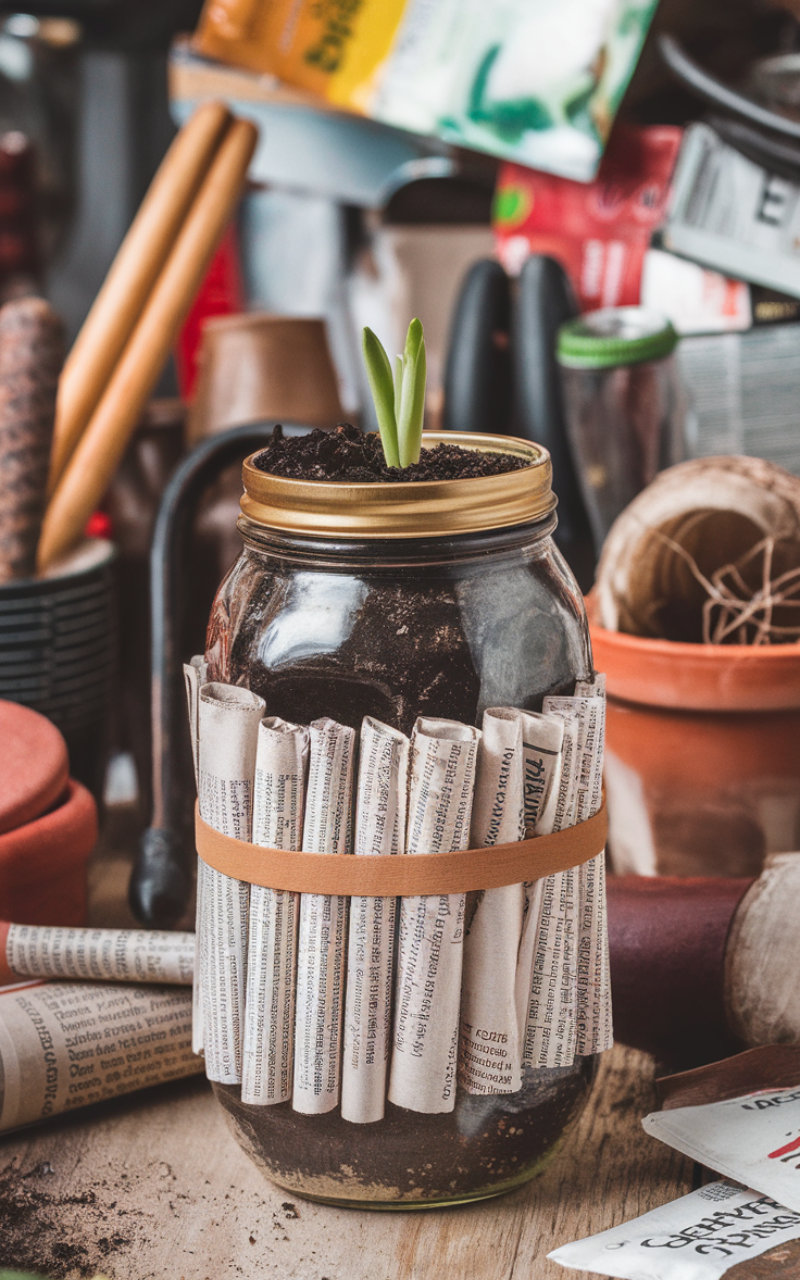
Roll strips of old newspaper around a cylindrical object like a jar or can to create biodegradable seed pots because this eliminates the need to buy plastic trays and reduces paper waste so the newspaper will break down naturally once you plant the pot directly into the garden thus these DIY containers minimize transplant shock because the roots are not disturbed so this is an incredibly economical approach to successful Seed Starting making it one of the easiest ways to be both frugal and environmentally friendly.
17. Eggshell Seed Starters
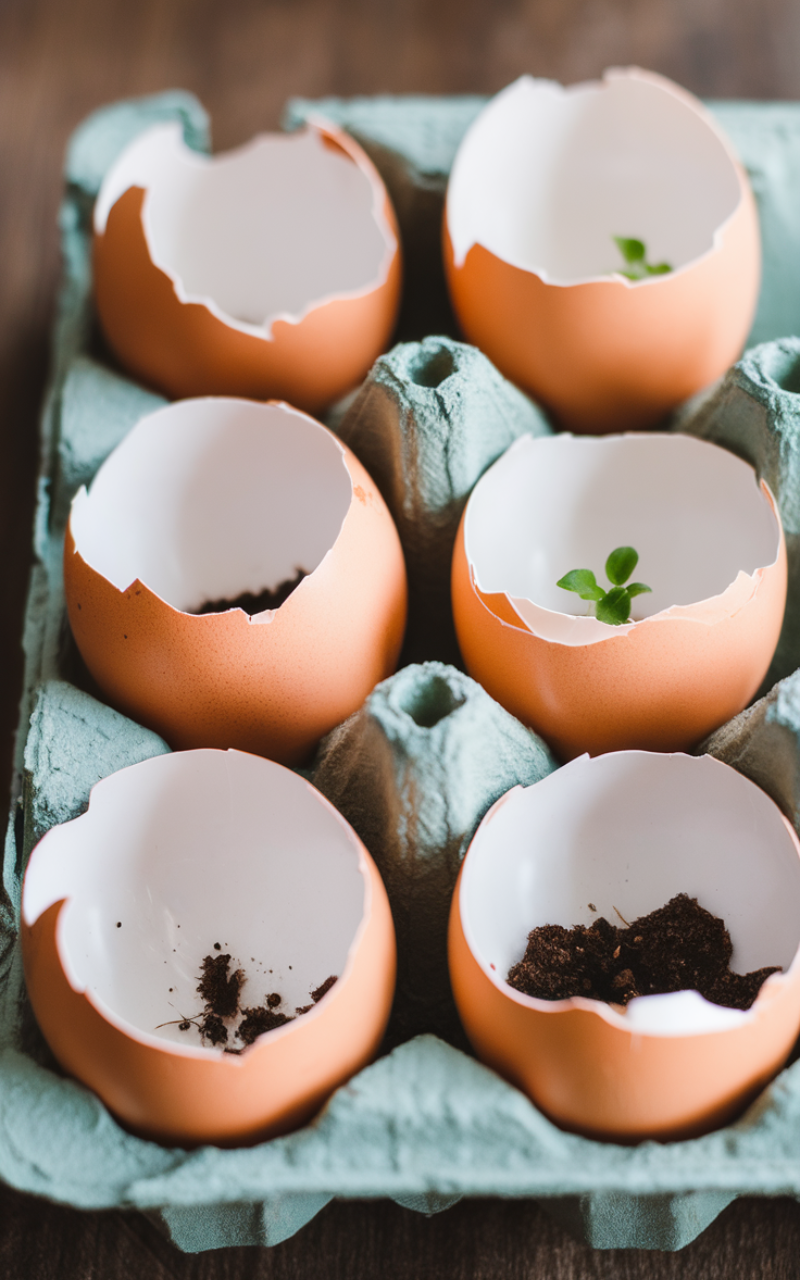
Use empty eggshells as small individual seed starting vessels because they are perfectly sized for tiny seedlings and come complete with natural calcium for the plants so gently crack the shell tops leaving the rest of the shell intact then poke a small drainage hole in the bottom thus you can simply crush the shell lightly before planting it straight into the soil so this organic method is one of the best nutrient-boosting tips for successful Seed Starting while recycling kitchen waste.
16. Recycled Yogurt Cup Containers
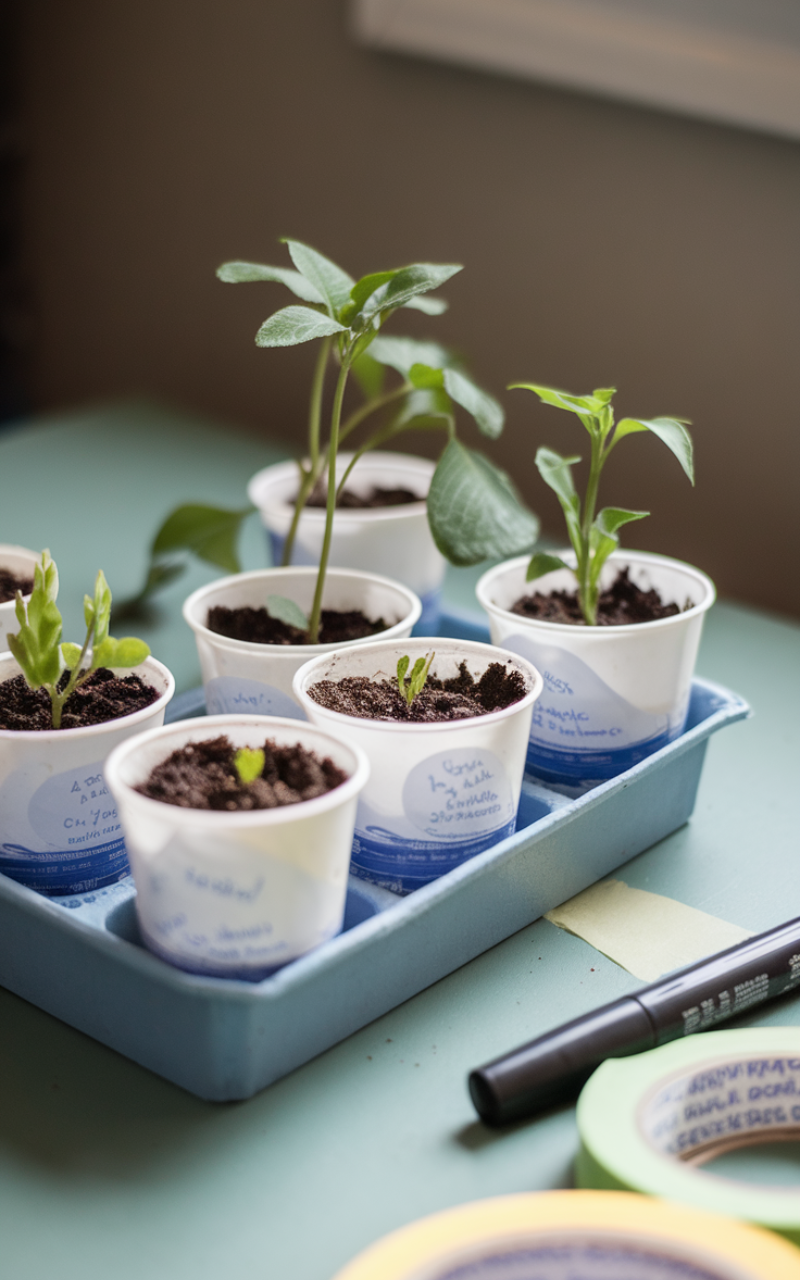
Wash and reuse individual yogurt or applesauce cups as starter pots because their durable plastic makes them perfect for multiple seasons of use so ensure you poke a few holes in the bottom of each cup for proper drainage which is essential to prevent root rot thus label them clearly with a permanent marker or tape so these readily available containers are a smart way to minimize costs for large-scale Seed Starting avoiding the need to purchase new trays.
15. Toilet Paper Roll Seed Trays
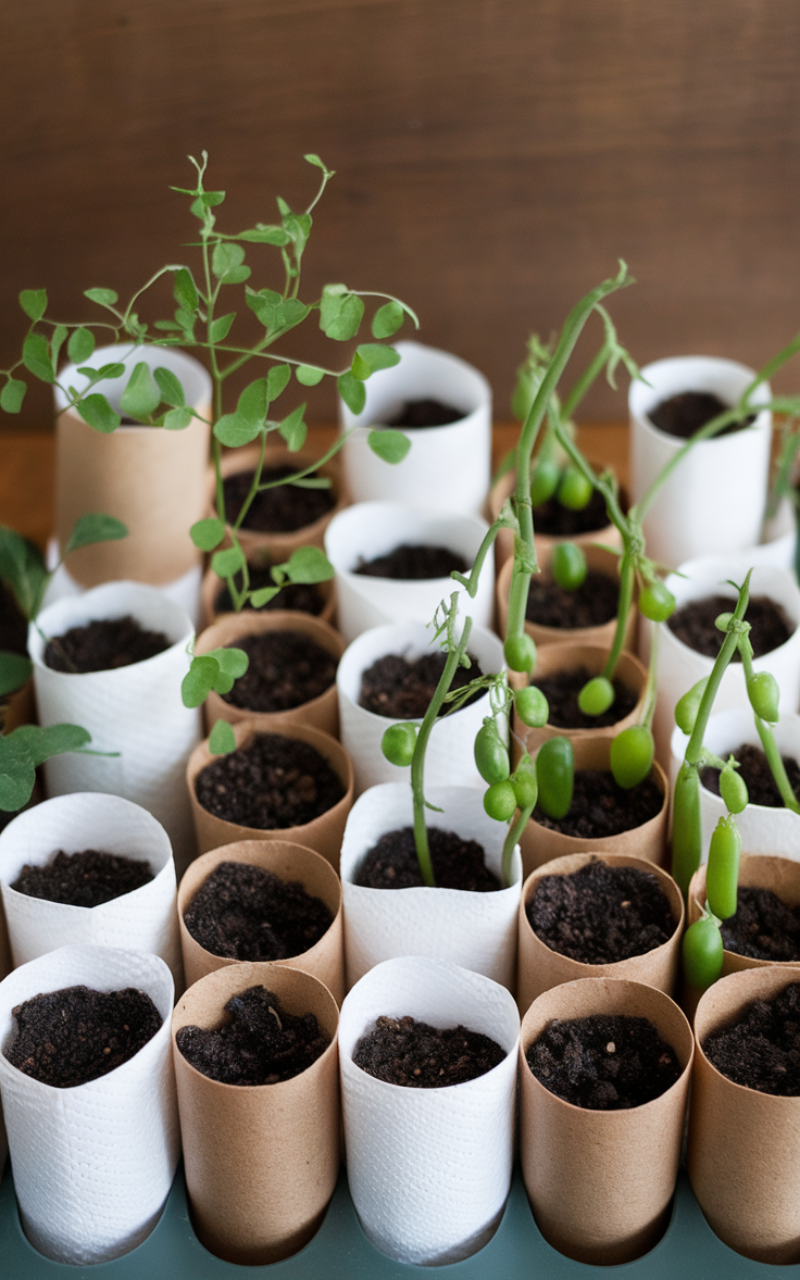
Save empty toilet paper or paper towel rolls and place them upright in a waterproof tray because their cardboard walls hold soil and provide sufficient depth for tap-rooted plants like peas or beans so the rolls are biodegradable just like the newspaper pots so you can plant them directly into the ground thus this method prevents long roots from tangling before transplanting making it a simple solution for easy Seed Starting of tricky vegetables.
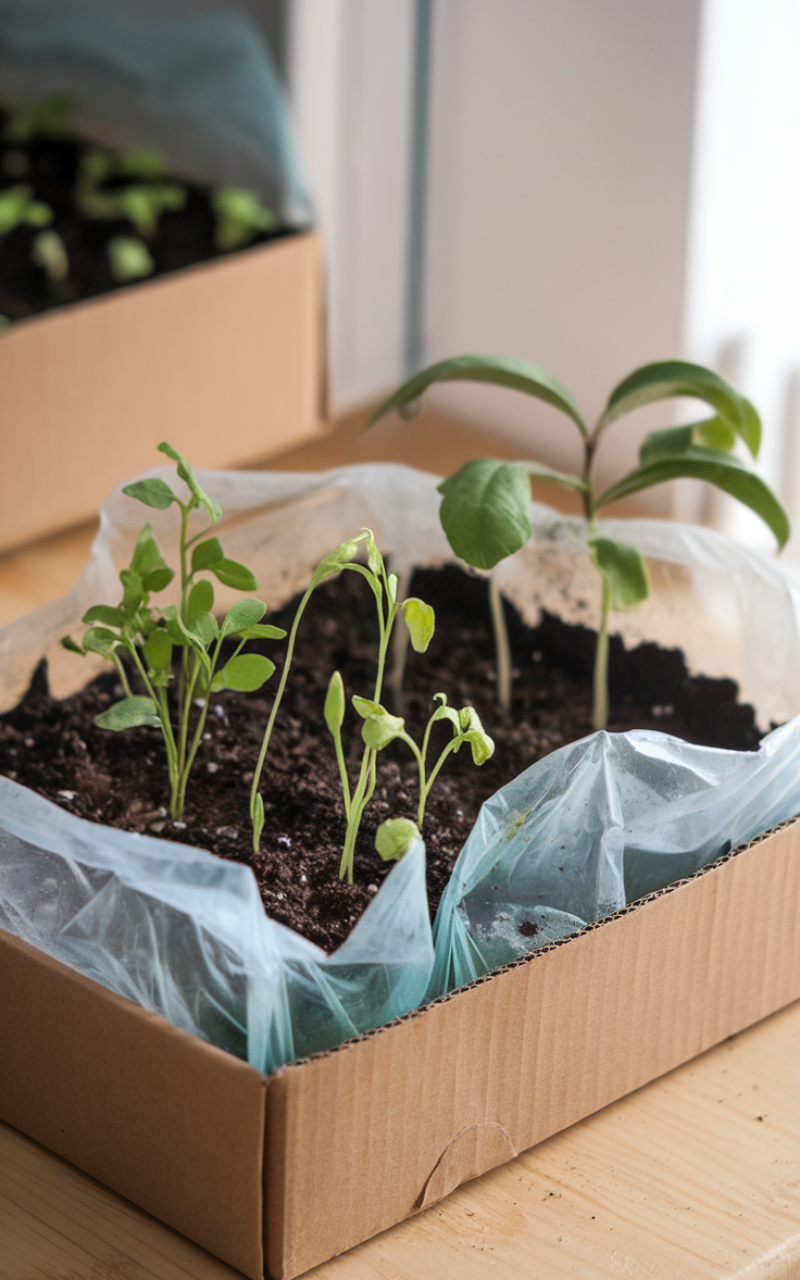
14. Clear Plastic Clamshell Containers as Mini Greenhouses
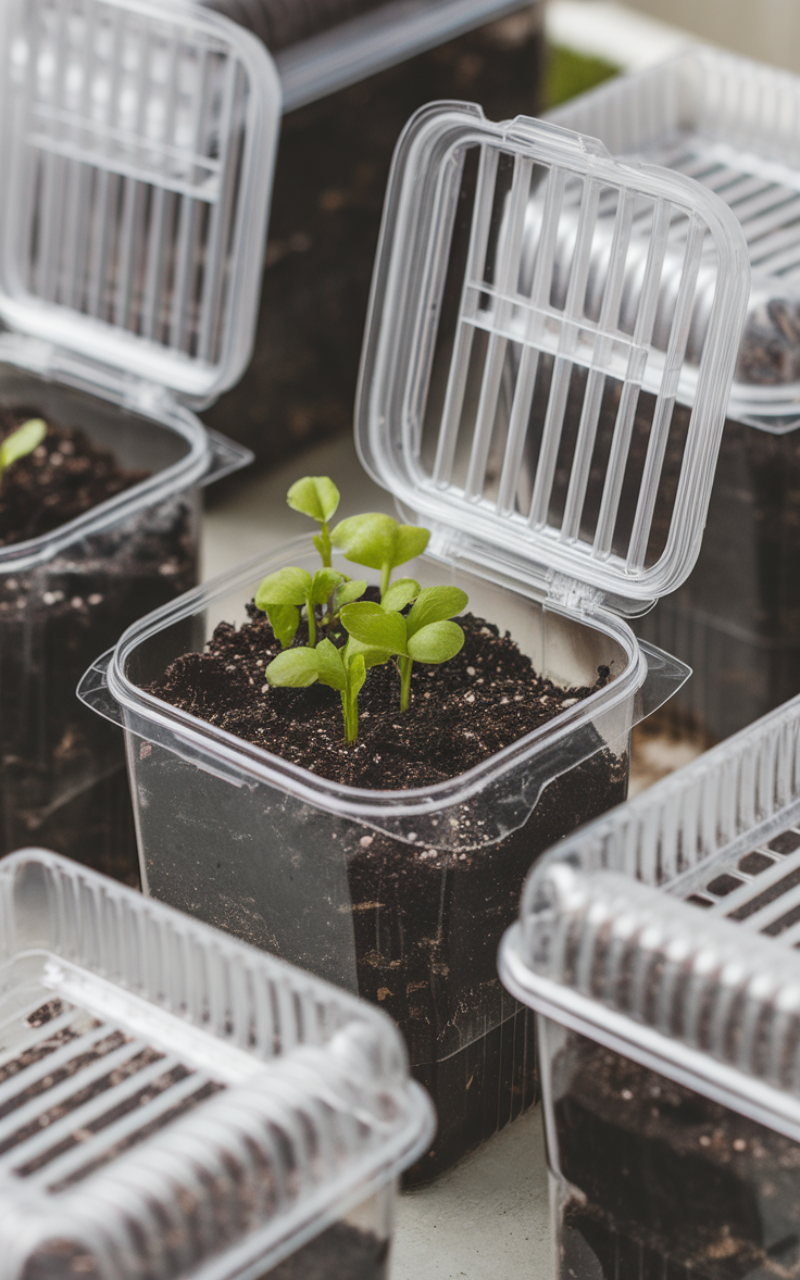
Repurpose clear plastic clamshell containers from takeout salads or bakery goods because their hinged lids and clear structure create perfect miniature greenhouses, so the lid traps humidity and warmth which accelerates germination thus once the seeds sprout you can prop the lid open for ventilation or remove it completely so this clever reuse is an excellent hack for efficient Seed Starting providing a ready-made humidity dome for free.
13. Homemade Potting Mix from Compost
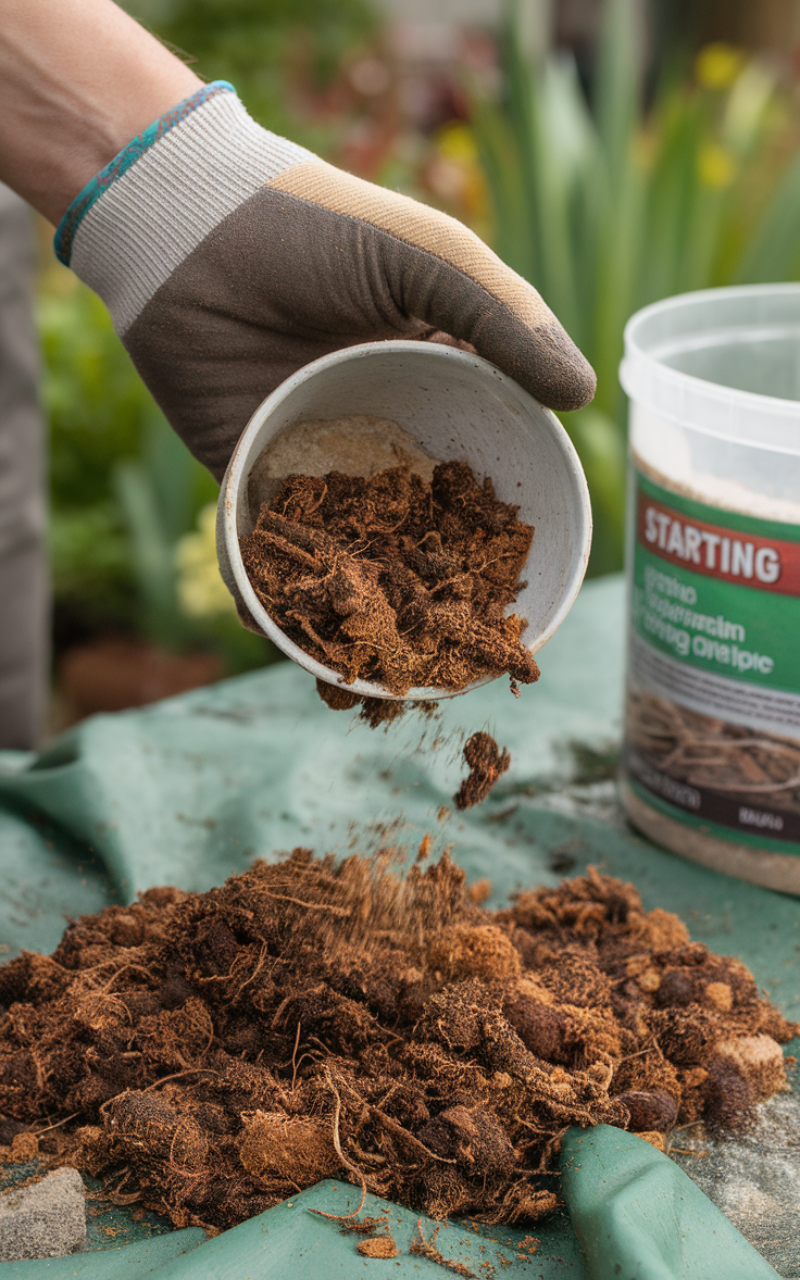
Create your own seed starting mix by sifting finely aged compost and mixing it with a small amount of sand or perlite because store-bought starting mixes can be expensive especially for bulk use so this DIY blend utilizes your own nutrient-rich soil to give your seedlings a strong start thus make sure your compost is well-rotted and free of large debris so this is the most cost-effective approach to healthy Seed Starting using resources you already have in your garden.
12. Plastic Water Jug Mini Cold Frame
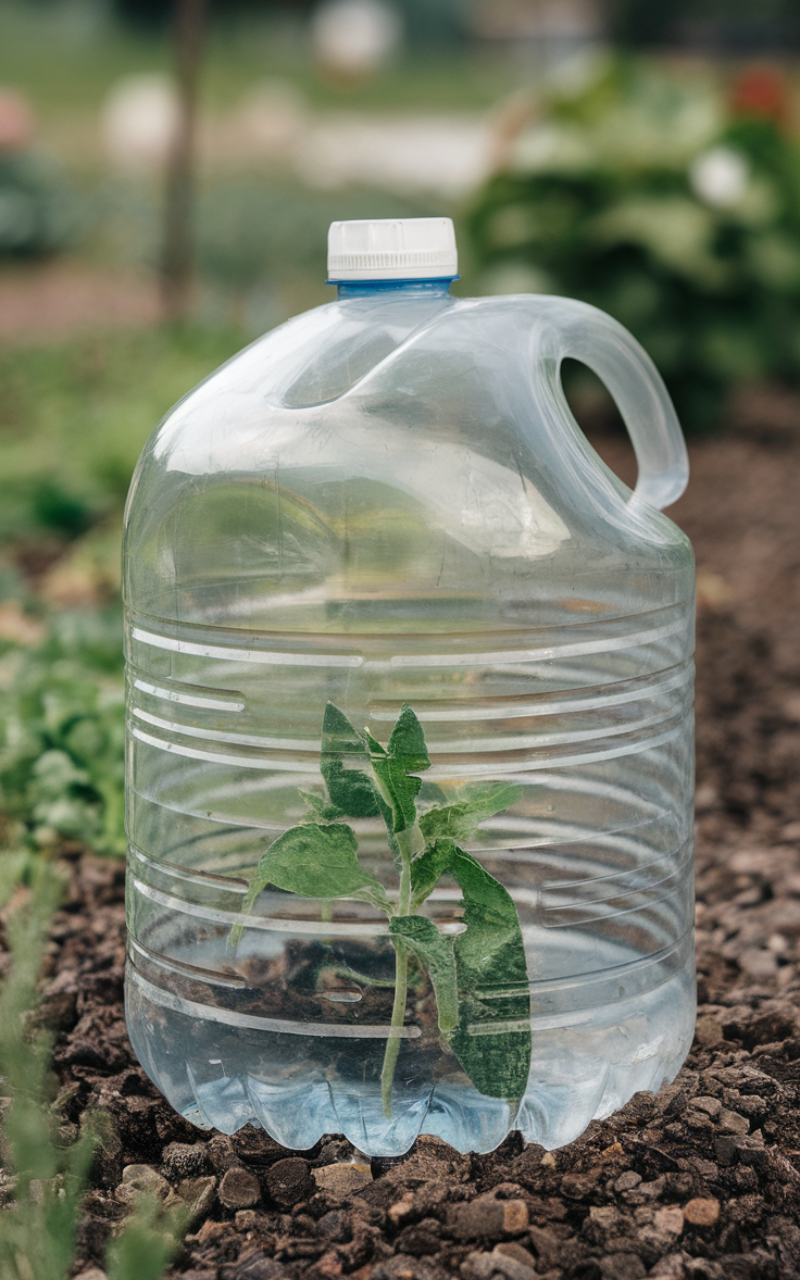
Cut the bottom off large clear plastic water jugs or milk containers and use the top portion as a temporary cold frame or protective dome because this shields tender seedlings from harsh weather or pests after they are transplanted outdoors so the translucent plastic allows sunlight to penetrate while keeping the young plants insulated thus this protective cover extends your Seed Starting season allowing you to get a head start on those early spring crops so the handle on the jug makes for easy lifting and removal.
11. Upcycled Cereal Bag Drip Trays
Line the bottom of a cardboard box or an old cookie sheet with plastic bags from cereal boxes or frozen vegetables because these waterproof liners act as excellent inexpensive drip trays so the plastic catches excess water preventing spills and protecting your surfaces from moisture thus this simple trick keeps your indoor Seed Starting setup tidy and organized so you can use these recycled liners until they wear out then simply replace them with another saved bag.
10. Popsicle Stick Plant Markers
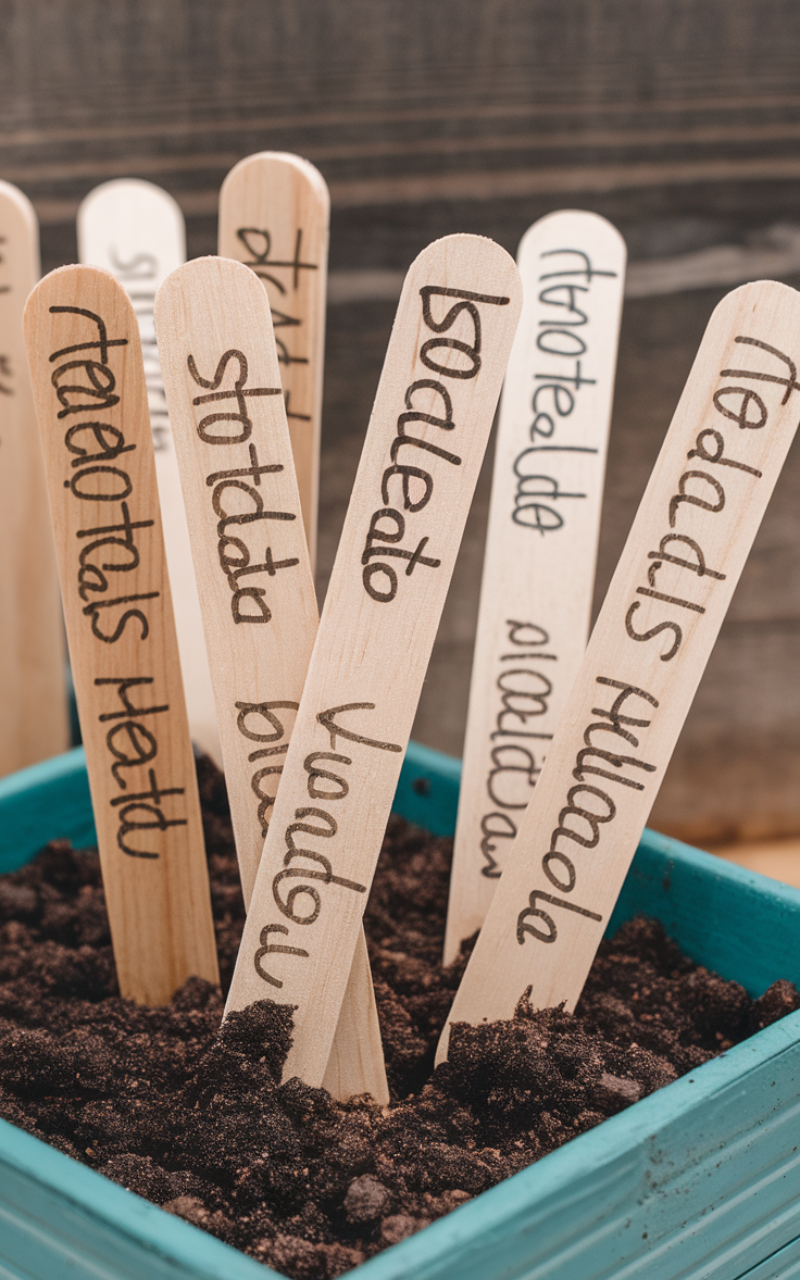
Save and clean wooden popsicle sticks or stir sticks because these make perfect free markers to label your seedlings so use a permanent marker to write the plant name and the planting date directly onto the wood thus stick the marked end into the soil beside the corresponding seed so these simple free markers are a fantastic way to keep track of your diverse Seed Starting efforts avoiding confusion when it is time to move the plants outdoors.
9. DIY Wicking Beds with Totes
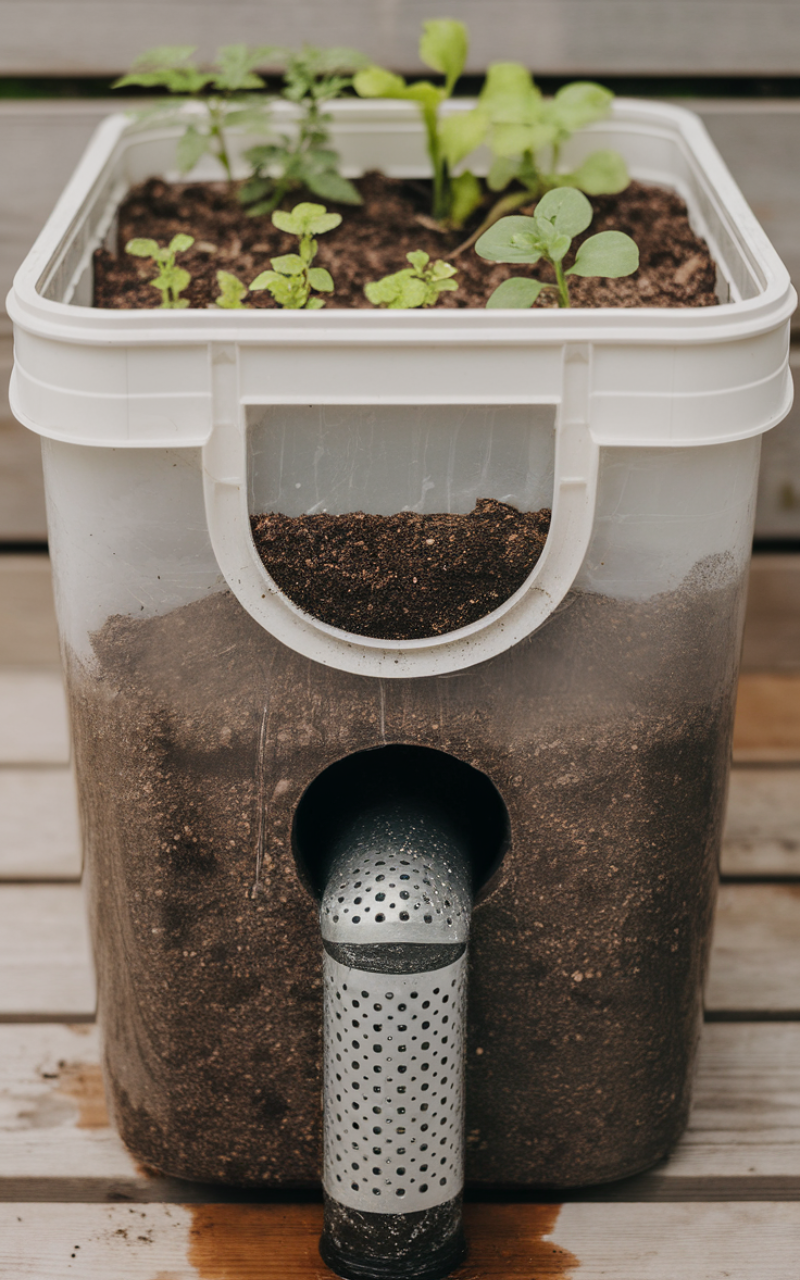
Create a self-watering system for your seedlings using plastic storage totes or old buckets because wicking beds pull moisture up into the soil from a reservoir below reducing the need for constant overhead watering so cut small holes near the base of the container for overflow then place a perforated pipe or bottle for filling the reservoir thus this reduces the risk of damping off and makes your Seed Starting maintenance much easier so this is a great low-cost solution for moisture management.
8. Coffee Filter Drainage Barriers

Place a small coffee filter inside the bottom of your recycled starter pots before adding soil because this prevents the fine potting mix from falling out of the drainage holes while still allowing water to flow through so the paper material is thin enough not to impede drainage but thick enough to hold the soil in place thus this ensures your indoor Seed Starting station stays cleaner and reduces soil loss when watering so this is an inexpensive and highly effective little trick.
7. Aluminum Foil Reflectors

Tape sheets of aluminum foil around three sides of your indoor seed starting area because the reflective surface bounces light back towards your seedlings so this ensures that plants receive light from multiple angles promoting stockier and more even growth thus this is an incredibly cheap alternative to buying supplemental grow lights or reflective sheeting so using these foil reflectors is a simple but effective strategy for better Seed Starting results especially near a window.
6. Old Water Bottles as Self-Watering Spikes
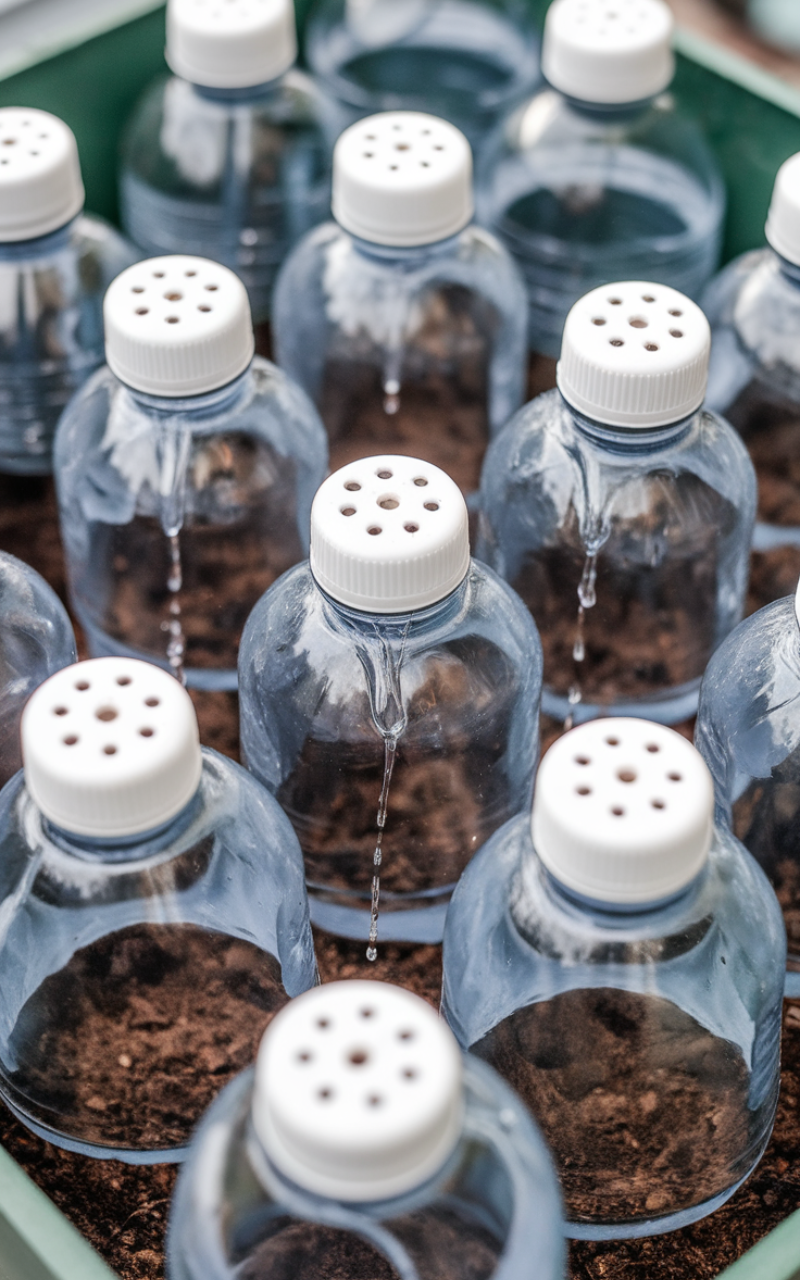
Take old plastic water bottles and poke small holes into the caps then fill them with water and invert them into the soil of your containers because this allows the water to slowly wick into the soil over time keeping the moisture level consistent so the bottle acts as a mini water reservoir thus this is particularly useful if you cannot water your Seed Starting setup every single day so this simple drip system reduces the chance of both underwatering and overwatering.
5. Canned Food Racks for Air Circulation
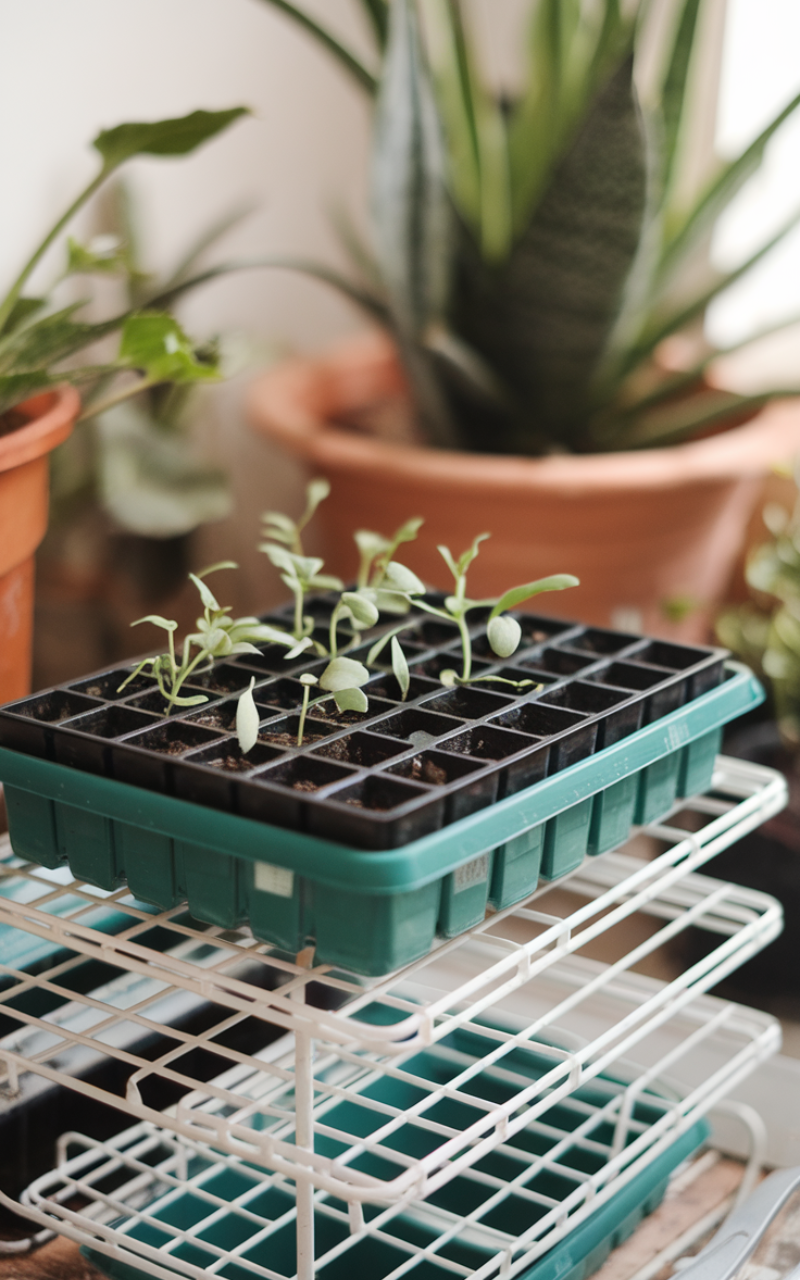
Place your seed starting trays on old empty canned food racks or cooling racks because this elevates the containers slightly allowing for better air circulation around the bottom so air flow is crucial to prevent fungal growth like damping off which can be devastating to new seedlings thus this free elevated setup keeps the base of the pots drier and healthier so improving air circulation is a key preventative measure in successful Seed Starting that costs nothing extra.
4. Ice Cube Trays for Small Seeds
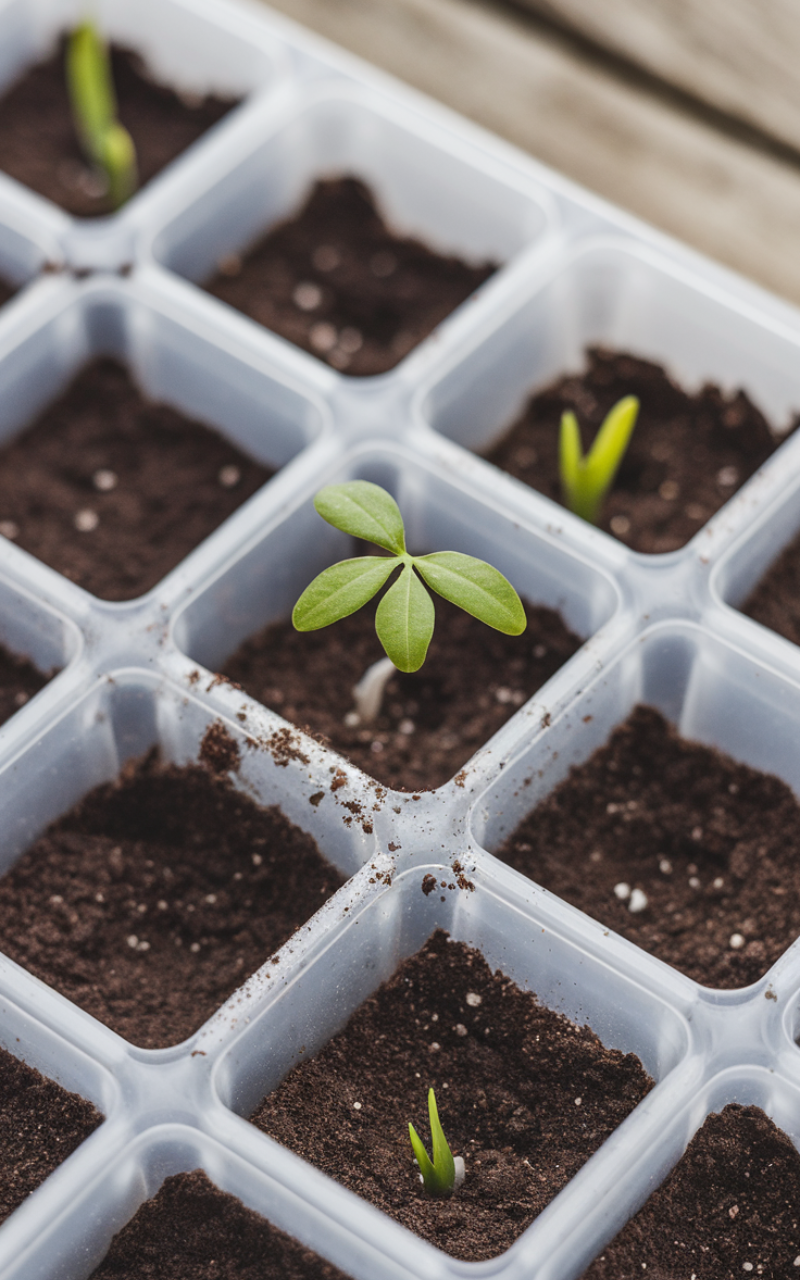
Use clean plastic ice cube trays as individual mini-cell starter units for very small or slow-germinating seeds because the small compartments provide perfect separation and control over tiny seedlings so place one or two seeds in each section and fill with soil thus this is an ideal method for organizing and tracking different varieties during the initial stages of Seed Starting so you can easily transplant the small root ball when the time is right.
3. Plastic Utensils as Temporary Labels
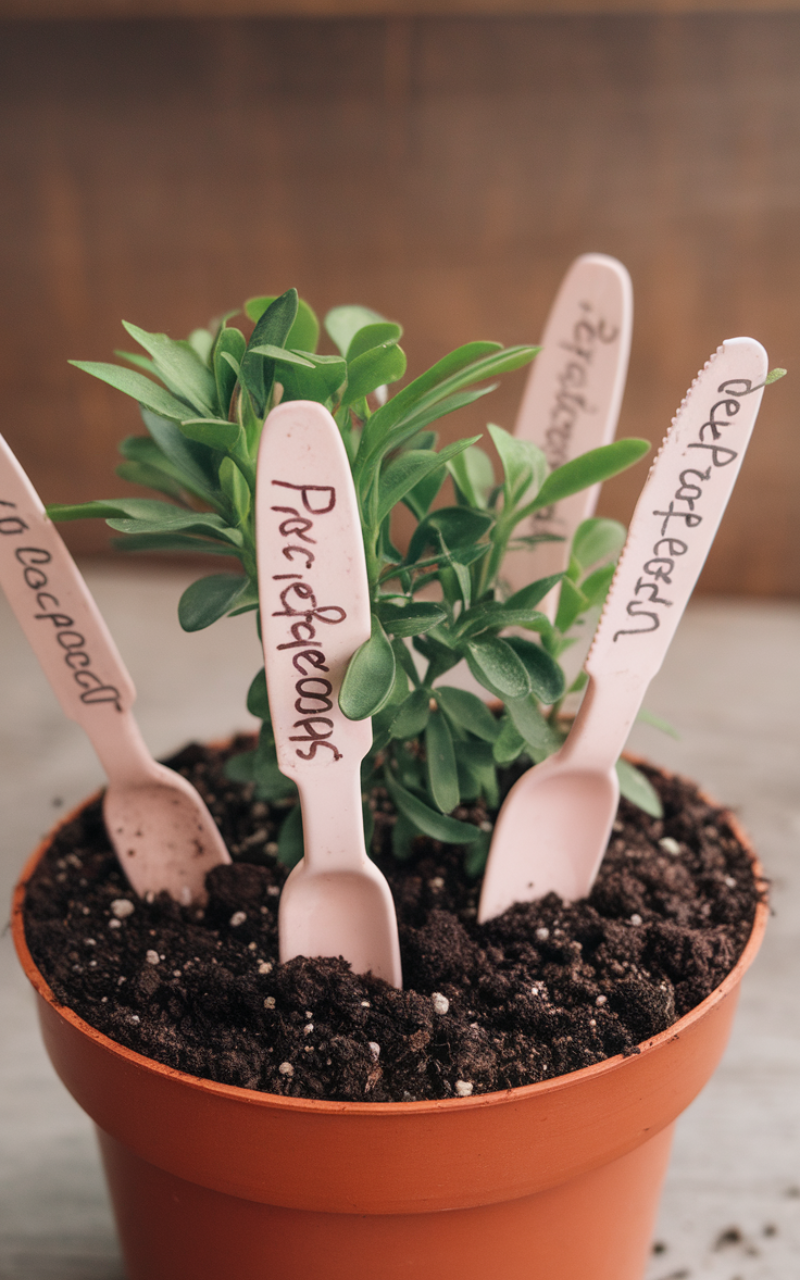
Clean and use disposable plastic knives or spoons as temporary plant markers because they are readily available and their shape provides a good surface for labeling so use a permanent marker to write the plant name on the handle or bowl of the utensil thus this is a free and quick solution when you run out of popsicle sticks so using these simple plastic utensils ensures you maintain excellent organization during your Seed Starting process.
2. Milk Jug Bottoms as Drip Trays
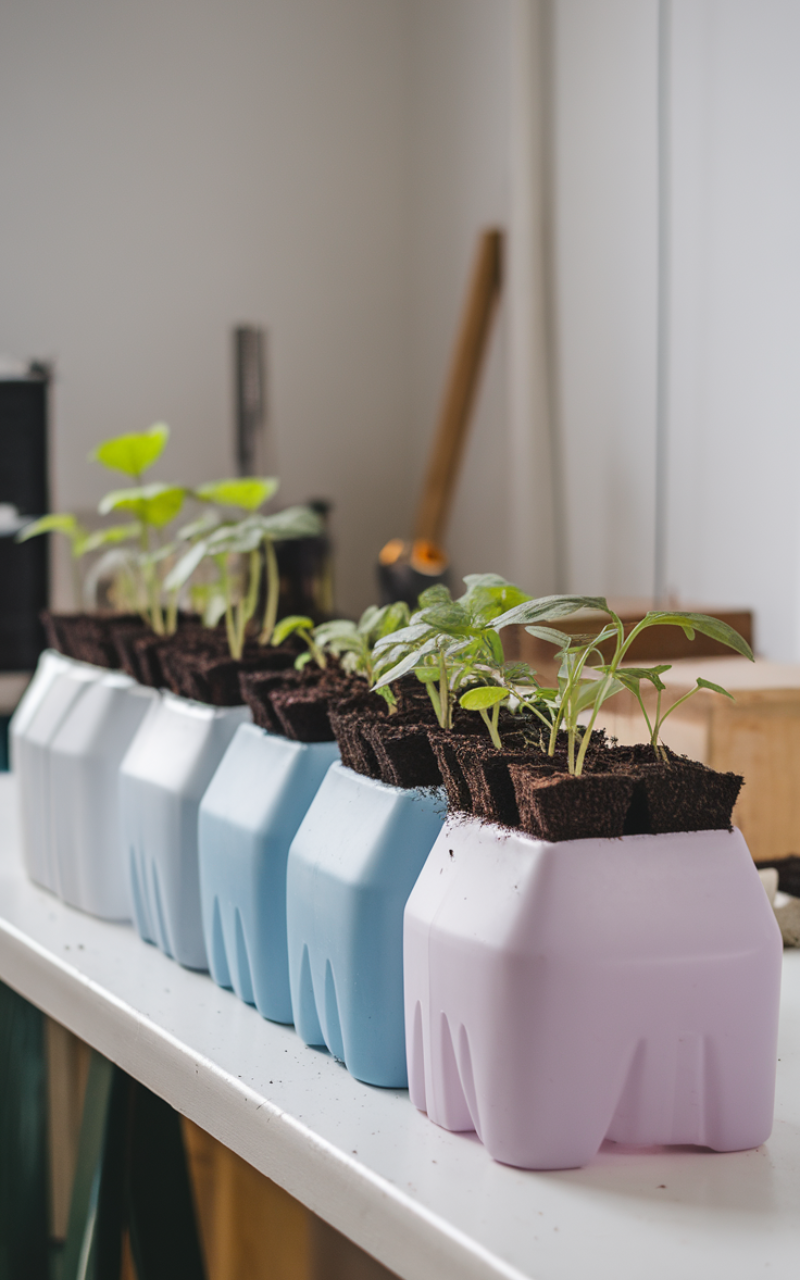
Cut the bottoms off plastic milk jugs or two-liter soda bottles because the wide sturdy bases make excellent individual drip trays for single starter pots so they are perfectly sized to hold excess water without being too large or cumbersome thus this free recycling hack ensures your indoor surfaces stay dry and clean so using these sturdy bases is a simple reliable way to manage moisture during indoor Seed Starting.
1. Rubber Bands for Secure Labeling
Use rubber bands to secure paper labels around your recycled containers like yogurt cups or soda bottles because paper labels stick better and are easier to read than writing directly on plastic so the rubber band holds the label firmly in place preventing it from peeling off due to moisture thus this simple pairing ensures all your seedlings are clearly identified throughout the entire Seed Starting process so accurate labeling is fundamental to a well-organized and successful garden.
Conclusion
Embracing these frugal Seed Starting hacks demonstrates that gardening does not have to be an expensive hobby so by creatively reusing items you already have on hand like eggshells and yogurt cups you can nurture healthy seedlings without the need for costly specialized gear thus these clever DIY solutions are not only budget-friendly but also environmentally conscious minimizing waste while maximizing your planting potential so start preparing your free containers today and enjoy the satisfying process of successful Seed Starting so please consider subscribing to my blog for more detailed décor guides and inspiration for your next home project.
