Join Our Newsletter for Cozy Home Inspiration, Family Fun, and Delicious Recipes Every Week
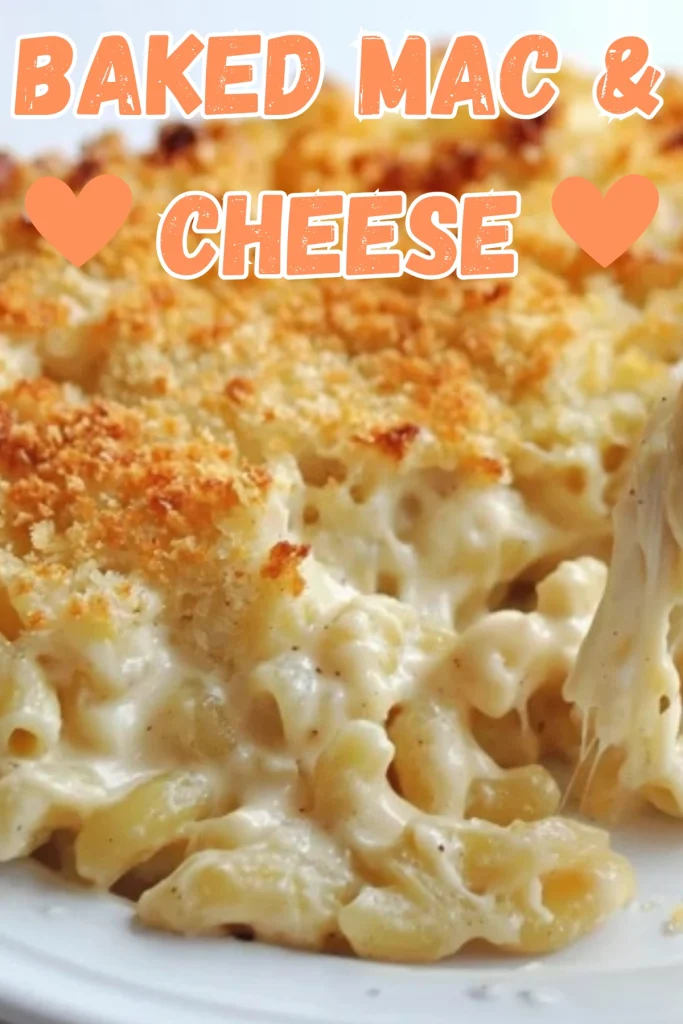
Baked Mac And Cheese
You know that feeling when only comfort food will do? Well, that was me last weekend because I had a long day and the chilly weather was setting in. At that point, I realized there was nothing in the fridge except a block of cheese and some elbow macaroni. As a result, I knew it was a sign and therefore, baked mac and cheese had to happen.
On the other hand, my first attempt at baked mac and cheese was not great. To clarify, it turned out too dry and in addition, it lacked enough cheese pull. Furthermore, I may or may not have overdone the breadcrumbs. Nevertheless, that’s how we learn, right? With this in mind, I was determined to get it just right and specifically, I wanted it to be creamy as well as cheesy while also having the perfect crispy crust on top.
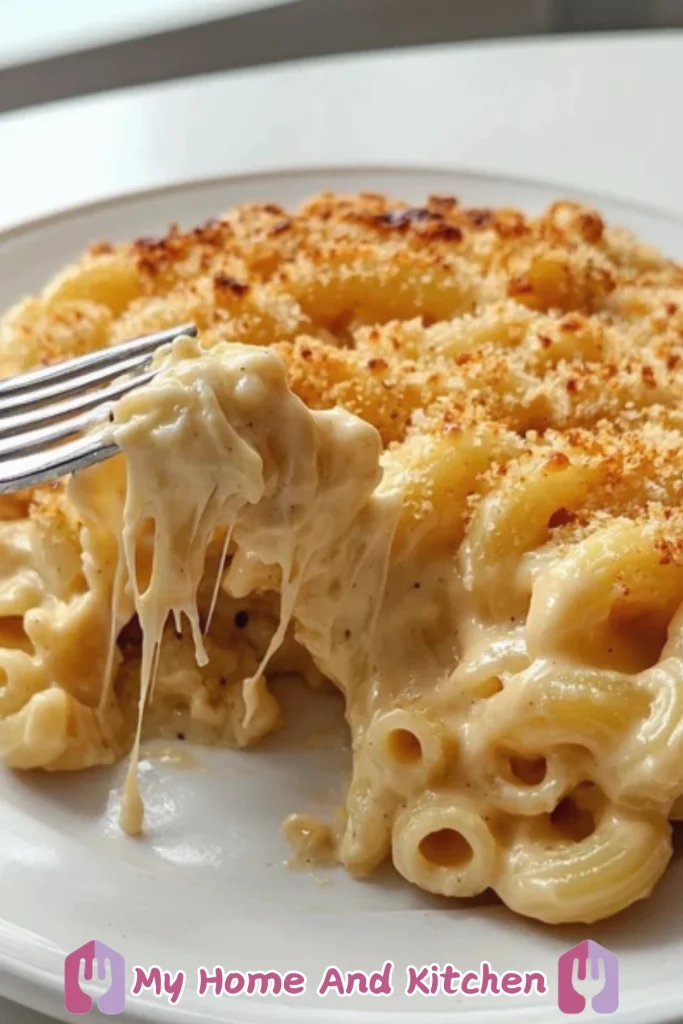
Moving on to the secret, to begin with, it’s a dreamy blend of sharp cheddar combined with gooey mozzarella. In addition to that, just a touch of Parmesan adds that extra oomph. Not to mention, heavy cream plays a crucial role. Because of this, trust me when I say you don’t want to skip it.
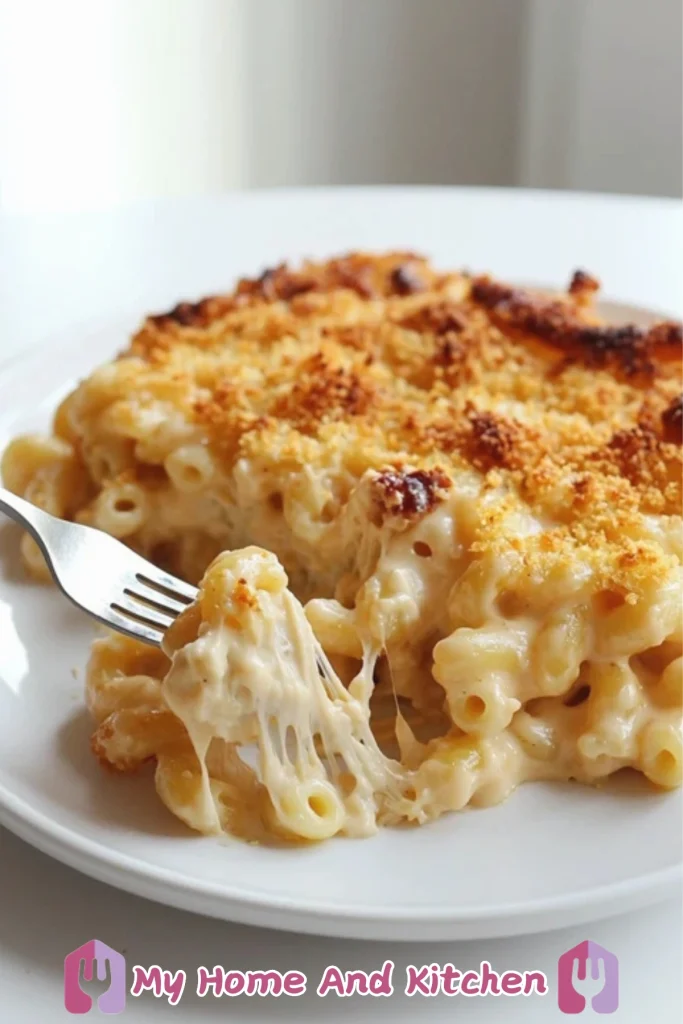
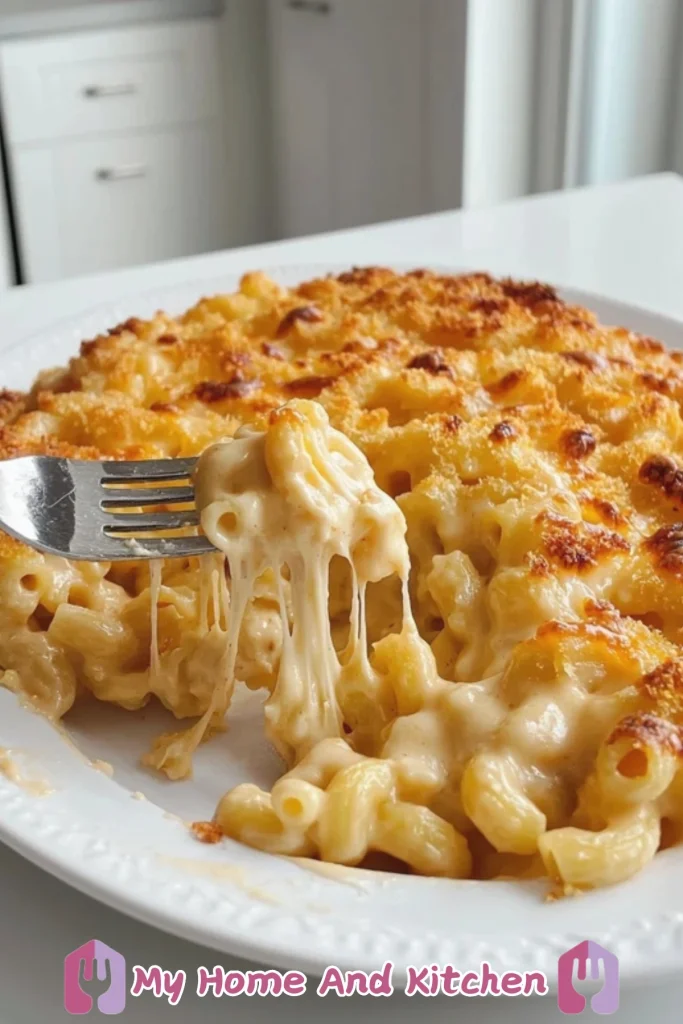
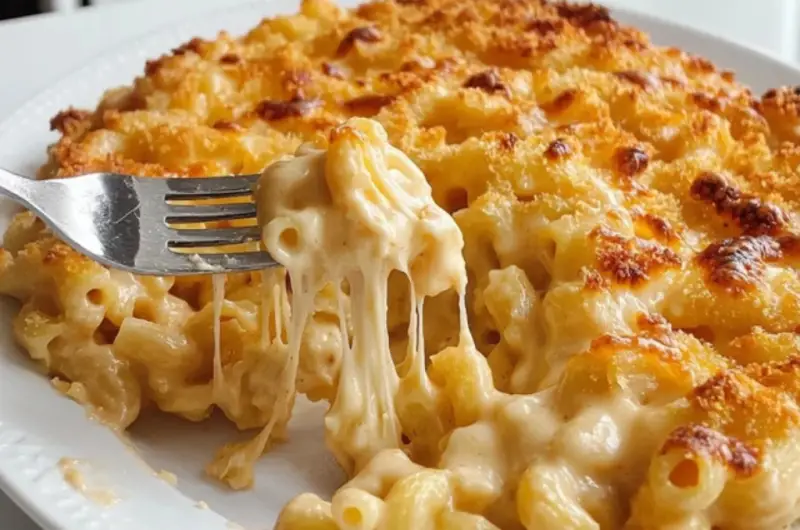
As soon as I pulled the dish out of the oven, the smell alone was enough to make my stomach growl. Moreover, that golden-brown topping looked like absolute perfection. In fact, I barely let it cool before diving in and as expected, it was worth every single calorie.
If you’ve never made baked mac and cheese from scratch, now is your time. Without a doubt, it’s rich while also being cozy and most importantly, it’s guaranteed to disappear fast.
Ingredients You’ll Need
Let’s gather everything you need for this cheesy masterpiece. Nothing fancy just good, simple ingredients that come together like a dream.
- Elbow Macaroni – The classic choice, but hey, any short pasta works.
- Unsalted Butter – Because butter makes everything better.
- Flour – To thicken that dreamy cheese sauce.
- Milk & Heavy Cream – For that extra creamy goodness.
- Cheese Trio:
- Sharp Cheddar – The bold, cheesy backbone.
- Mozzarella – For that epic cheese pull.
- Parmesan – Adds a little salty, nutty kick.
- Garlic & Onion Powder – Just a touch for flavor magic.
- Salt & Black Pepper – To taste. Trust your instincts.
- Panko Breadcrumbs – For that crispy, golden topping.
- More Butter (Yes, More!) – To mix with the breadcrumbs for crunch perfection.
See? Nothing complicated, just pure cheesy goodness waiting to happen.
Step by Step Instructions
Step 1: Preheat & Prep
First things preheat your oven to 375°F (190°C). Grease your baking dish so nothing sticks (because scraping cheese off a dish is no fun).
Step 2: Cook Your Pasta
Boil your macaroni in salted water until it’s al dente—not mushy! Drain and set it aside.
Step 3: Make the Magic Cheese Sauce
Now, this is where the magic happens.
- Melt 2 tablespoons of butter in a saucepan over medium heat.
- Whisk in the flour and cook for 1-2 minutes (don’t skip this step, or you’ll taste raw flour—not great).
- Slowly add the milk and heavy cream, whisking constantly until it thickens.
- Stir in cheddar, mozzarella, and Parmesan until smooth and creamy. Try not to eat it straight from the pan (hard, I know).
- Add garlic powder, onion powder, salt, and black pepper to taste.
Step 4: Mix It All Together
Pour the cheese sauce over your cooked pasta and stir until every noodle is coated in cheesy goodness.
Step 5: Assemble & Add That Crispy Topping
- Pour the mac and cheese into your greased baking dish.
- Mix panko breadcrumbs with 2 tablespoons of melted butter and sprinkle it on top.
Step 6: Bake to Perfection
Pop it in the oven for 20-25 minutes or until it’s golden brown and bubbling. Your kitchen will smell amazing.
Step 7: Let It Rest (If You Can Wait)
Give it a few minutes before diving in. It’s molten lava hot!
Tools You’ll Need
- Large Pot – For boiling pasta.
- Saucepan – For making that dreamy cheese sauce.
- Whisk – Helps keep the sauce smooth.
- Baking Dish – To get that crispy, golden crust.
- Mixing Bowl – For the breadcrumb topping.
What to Eat with Baked Mac and Cheese
This dish is a star on its own, but if you wanna go all out, try these pairings:
- Crispy Fried Chicken – Because why not?
- Garlic Bread – More carbs? Yes, please.
- A Fresh Side Salad – You know, balance.
- Tomato Soup – Ultimate cozy combo.
- BBQ Ribs – That smoky, saucy goodness pairs perfectly.
Recipe Tips & Tricks
Want it extra creamy? Add more cheese (obviously). You can also stir in a bit of cream cheese.
No panko? Crushed Ritz crackers or regular breadcrumbs work too.
Gluten-free? Use gluten-free pasta and swap flour for cornstarch.
Make it ahead: Assemble it, refrigerate, and bake when ready. Add a few extra minutes to the bake time.
Leftovers? Store in an airtight container in the fridge for up to 4 days. Reheat in the oven for best results.

Frequently Asked Questions
Can I use different cheeses in baked mac and cheese?
Absolutely! Try Gouda, Monterey Jack, or even a little blue cheese if you’re feeling bold.
How do I keep my mac and cheese from drying out?
Don’t overbake! Also, adding an extra splash of milk before reheating helps.
Can I make this ahead of time?
Yes! Assemble everything but don’t bake it. Cover and refrigerate, then bake when ready.
Can I freeze baked mac and cheese?
Yep! Freeze it before baking for up to 3 months. Bake straight from frozen, adding extra time.
Even if you’re new to making homemade mac and cheese, don’t stress you got this! It’s cheesy, comforting, and honestly, pretty hard to mess up. And if you do? Just call it a “cheese experiment.”
Wanna make it fancier? Try:
- Adding crispy bacon bits on top.
- Mixing in cooked lobster for a fancy twist.
- Swirling in sriracha or hot sauce for a spicy kick.
Seriously, try this recipe and let me know how it turns out! PIN IT NOW FOR LATER ON PINTEREST so you don’t forget.
Baked Mac And Cheese
Course: Dinner, Side DishCuisine: American, Comfort FoodDifficulty: EasyServings
7
servingsPrep time
15
minutesCooking time
25
minutesCalories
550
kcalTotal time
40
minutesThis Baked Mac and Cheese is everything you want in a comfort food—creamy, cheesy, and topped with a crispy golden crust. Made with a rich homemade cheese sauce, three types of cheese, and buttery panko breadcrumbs, it’s the ultimate upgrade from the boxed stuff. Perfect for a cozy dinner, a side dish for BBQ, or just a bowl of happiness on a cold night. One bite, and you’ll never go back to store-bought!
Ingredients
2 cups elbow macaroni (uncooked)
2 tablespoons unsalted butter
2 tablespoons all-purpose flour
2 cups milk (whole milk or 2%)
1 cup heavy cream
2 cups shredded sharp cheddar cheese
1 cup shredded mozzarella cheese
1/2 cup grated Parmesan cheese
1/2 teaspoon garlic powder
1/2 teaspoon onion powder
Salt and black pepper to taste
1/2 cup panko breadcrumbs
2 tablespoons unsalted butter (melted, for topping)
Directions
- Preheat Oven: Preheat your oven to 375°F (190°C).
- Cook Macaroni: Boil the macaroni in salted water until al dente, as per package instructions. Drain and set aside.
- Prepare the Cheese Sauce:
- In a large saucepan, melt butter over medium heat.
- Whisk in the flour and cook for 1-2 minutes to remove the raw taste.
- Gradually add milk and cream, whisking constantly until smooth and thickened.
- Stir in cheddar, mozzarella, and Parmesan cheeses until melted and creamy.
- Add garlic powder, onion powder, salt, and pepper to taste.
- Combine Pasta and Sauce: Mix the cooked macaroni with the cheese sauce until well-coated.
- Assemble and Top:
- Transfer the macaroni mixture to a greased baking dish.
- In a small bowl, mix panko breadcrumbs with melted butter. Sprinkle evenly over the top.
- Bake: Bake in the preheated oven for 20-25 minutes or until golden brown and bubbly.
- Serve: Let it cool for a few minutes before serving.
Notes
- Use freshly grated cheese! Pre-shredded cheese doesn’t melt as well, and you want that smooth, creamy texture.
Want extra crispy topping? Broil it for the last 2-3 minutes for that perfect crunch.
Make it ahead! Assemble everything, cover, and refrigerate. Bake when ready.
Leftovers? Store in the fridge for up to 3 days. Reheat with a splash of milk to keep it creamy.
Feeling fancy? Add crispy bacon, jalapeños, or even a drizzle of hot sauce on top. Absolute game-changer.